The Team Members sub-section controls who has access to your agency dashboard.
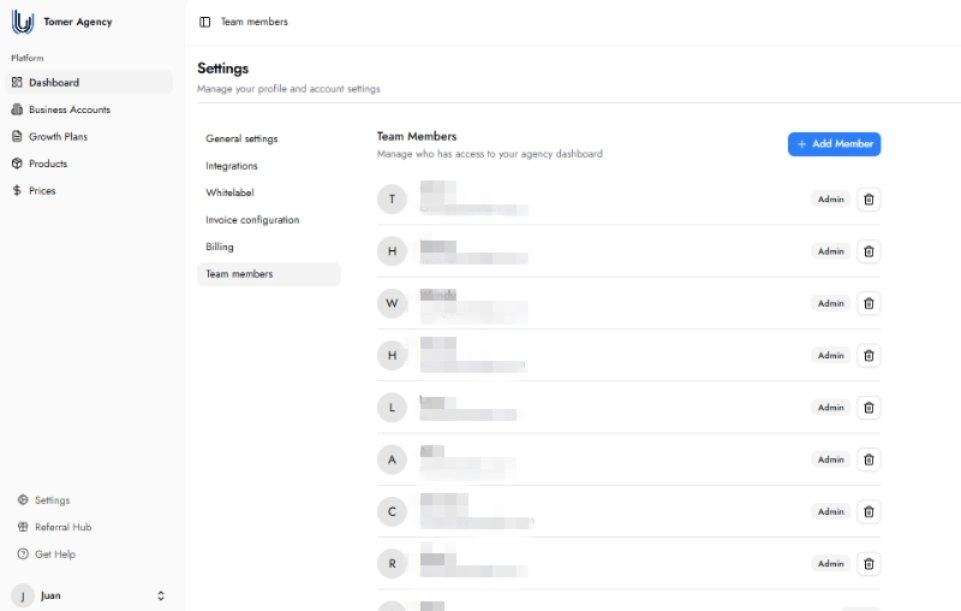
There are two access levels:
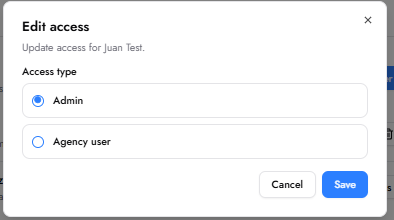
Admin: full access to every section of the platform, including Settings, Billing, and Team Members management. Admins can see all agency data and manage all clients.
Agency user: limited access controlled by feature permissions and data visibility. When you assign someone the Agency user role, you choose exactly which areas of the platform they can access and whether they can see all clients or only their own.
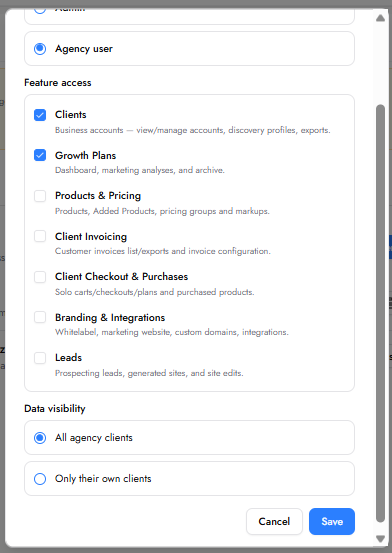
When editing an Agency user's access, the following feature permissions can be toggled on or off individually:
Clients: view and manage Business Accounts, discovery profiles, and exports.
Growth Plans: access to the dashboard, marketing analyses, and archive.
Products & Pricing: access to Products, Added Products, pricing groups, and markups.
Client Invoicing: access to the Customer Invoices list, exports, and Invoice Configuration.
Client Checkout & Purchases: access to solo carts, checkouts, plans, and purchased products.
Branding & Integrations: access to Whitelabel, marketing website, custom domains, and integrations.
Leads: access to prospecting leads, generated sites, and site edits.
Agency User Data Visibility
In addition to feature access, you control what data an Agency user can see:
All agency clients: the team member can view and work with every client in the agency.
Only their own clients: the team member can only see clients assigned to them.
To add a new team member, click the + Add Member button. The Add Team Member modal opens with two required fields:
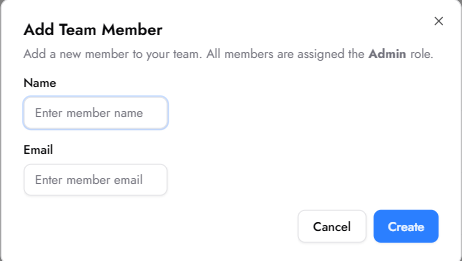
Name: The full name of the team member being added.
Email: The email address the team member will use to log in. An invitation is sent to this address.
Click Create to send the invitation.
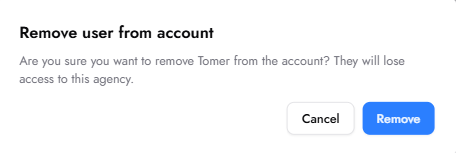
To remove a team member, click the delete icon on their row. A confirmation modal appears asking you to confirm the removal. Click Remove to proceed, or Cancel to go back. Removing a team member immediately revokes their access to the agency dashboard.
Before creating any chat links or onboarding customers, complete the following steps in Settings in this order:
General Settings — add your company name, logo, and Talk to a Human contact details.
Integrations — connect your Stripe account.
Whitelabel — select your branding option.
Invoice Configuration — complete your invoice design, add terms and conditions, and configure any applicable taxes.
Prices — configure your pricing groups and markup. Once this is done, you are ready to create chat links and start onboarding customers.