The Whitelabel section controls the domain and branding used for your agency's client-facing pages — including the Discovery Chat, Growth Plans, and Customer Hub.
The Whitelabel section controls the domain and branding used for your agency's client-facing pages — including the Discovery Chat, Growth Plans, and Customer Hub.
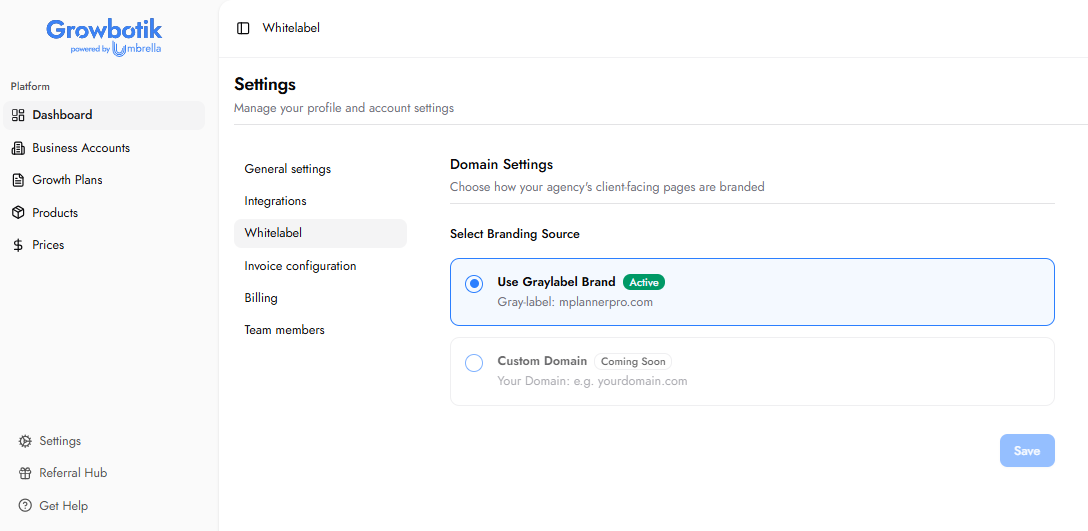
Two branding options are available:
Use Gray Label Brand: Client-facing pages are served under the MplannerPro domain. This provides a branded experience that removes Growbotik branding and is available immediately with no setup required.
Custom Domain: Serves all client-facing pages under your own subdomain for complete brand ownership. Follow the setup steps below to connect your domain.
Select the option that fits your branding requirements, then click Save.
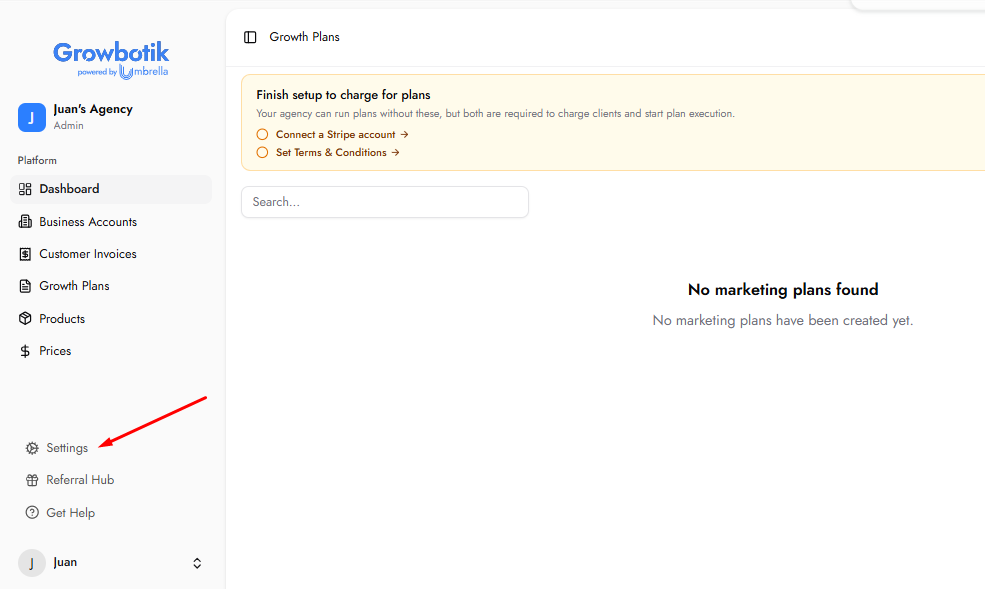
Step 1: From your dashboard, click Settings in the bottom left corner.
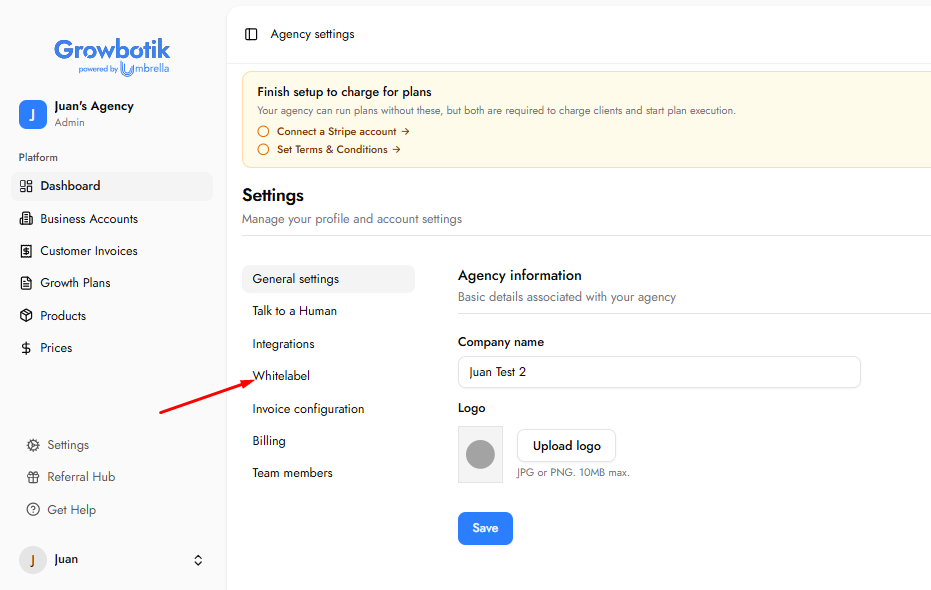
Step 2: Click Whitelabel in the Settings menu.
Step 3: Review your current brand option. By default, Use Gray Label Brand is active, serving your client-facing pages on mplannerpro.com
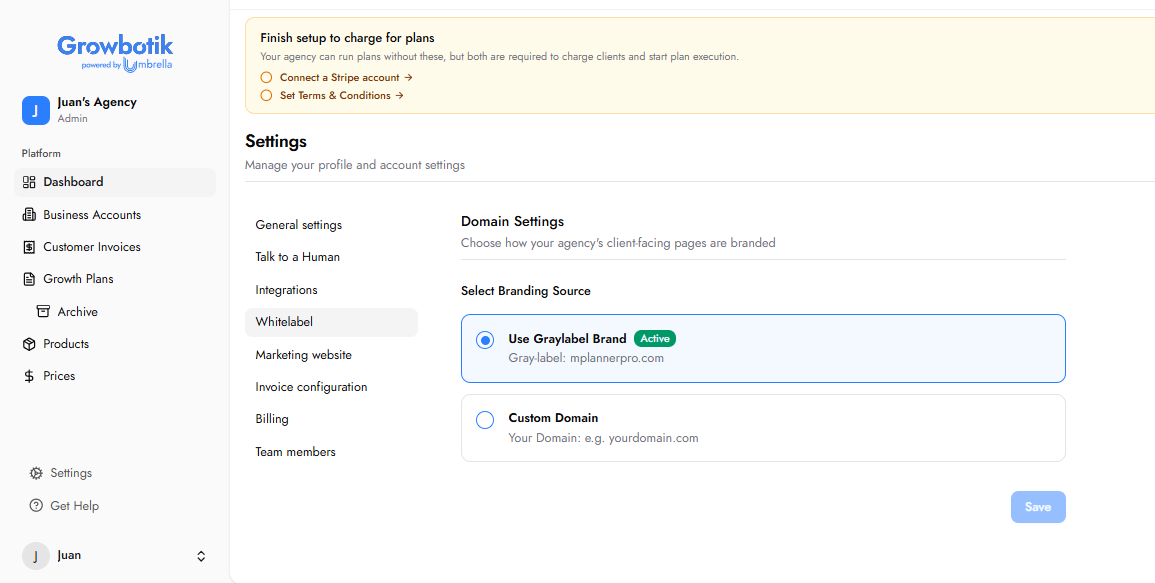
Step 4: Select Custom Domain.
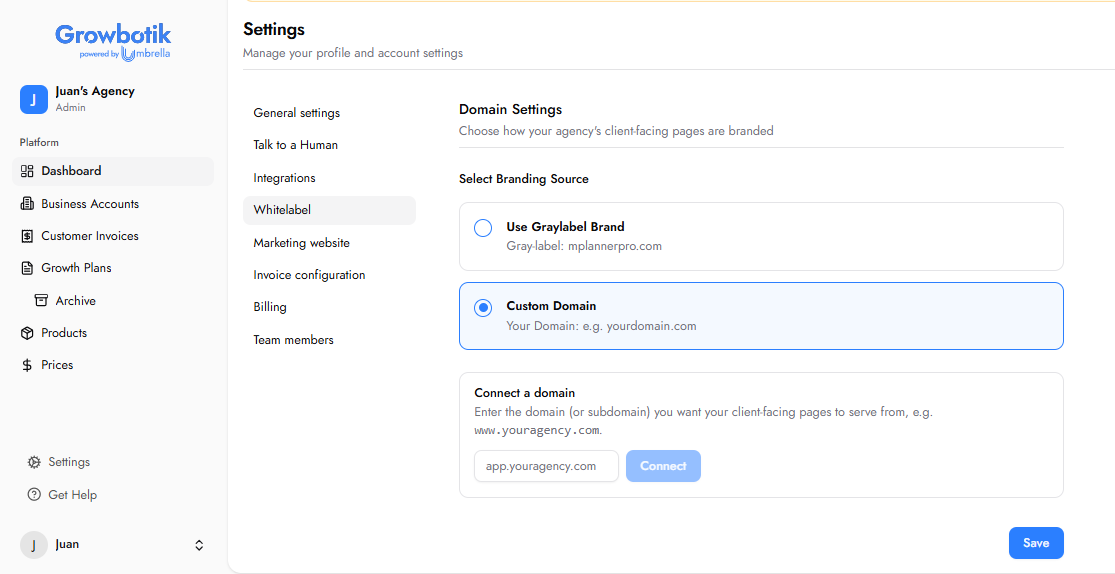
Step 5: Enter the subdomain you want to use — for example, app.youragency.com.
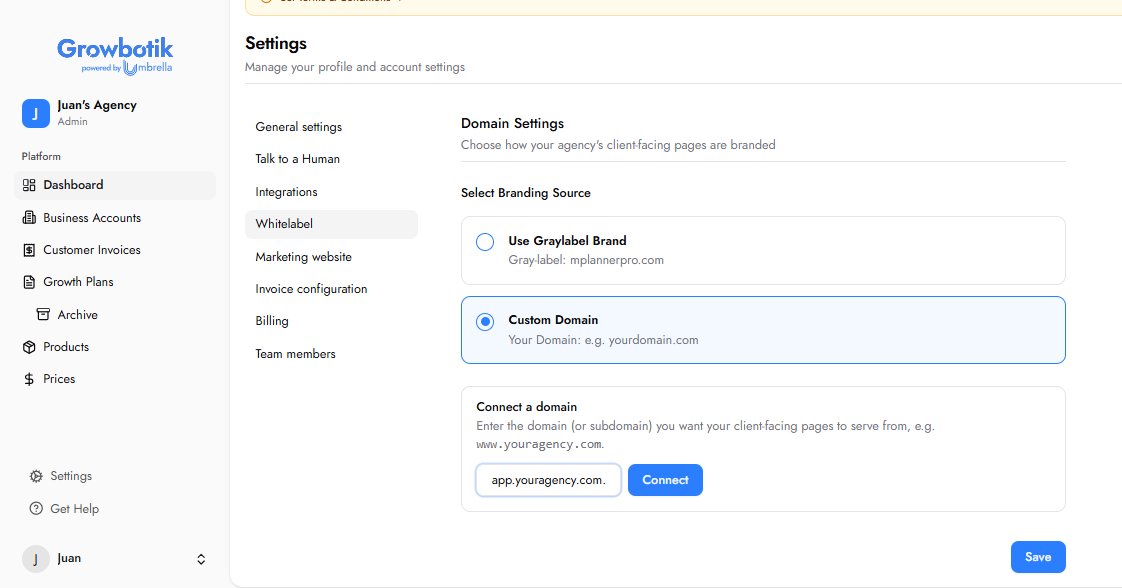
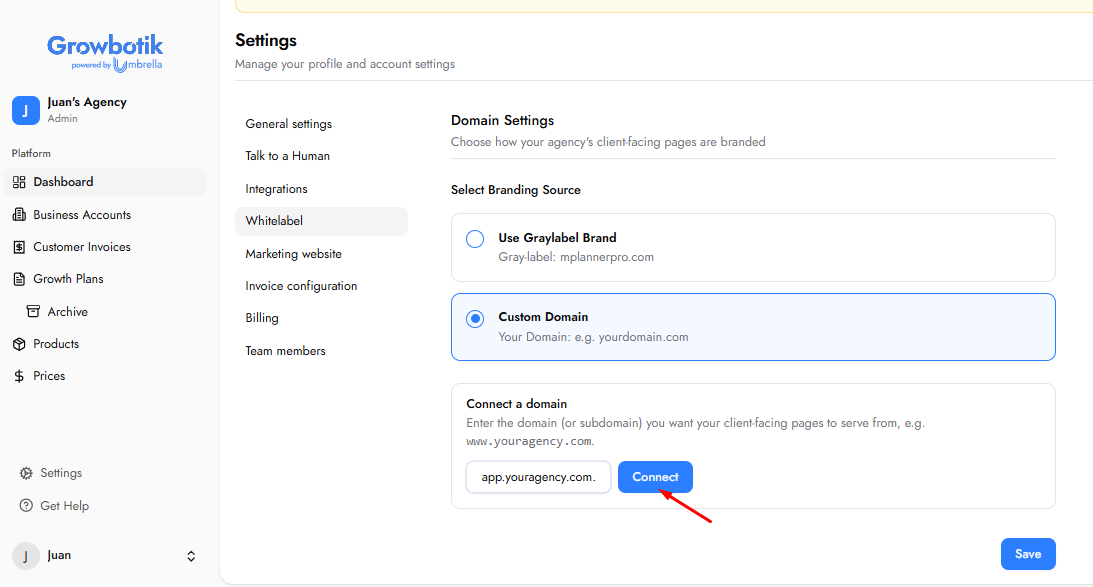
Step 6: Click Connect.
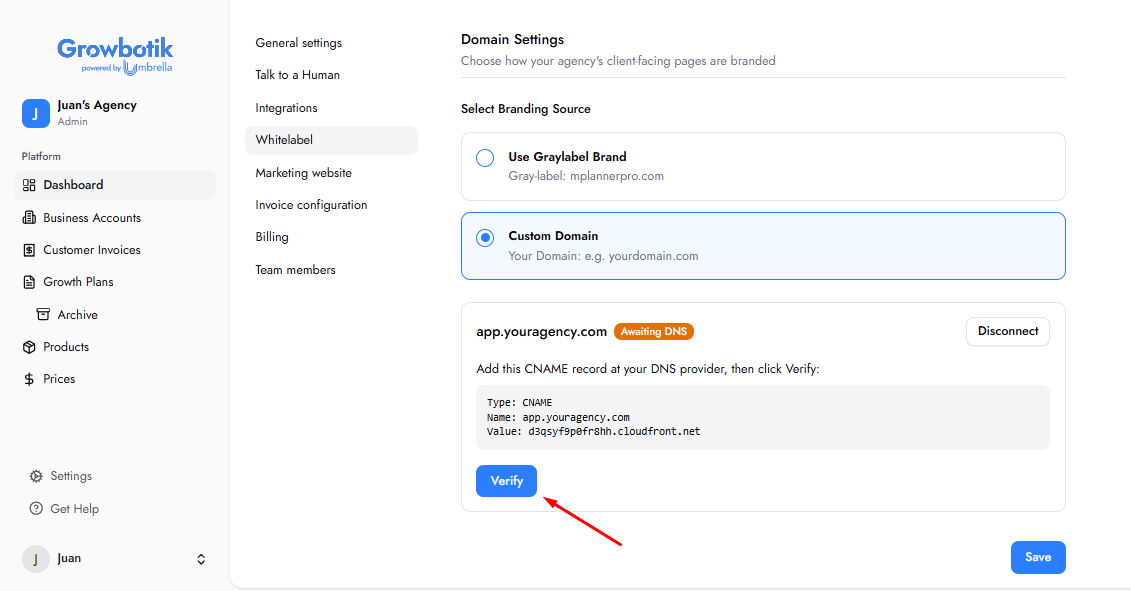
Step 7: After clicking Connect, you will see instructions to add a CNAME record at your DNS provider for your chosen domain.
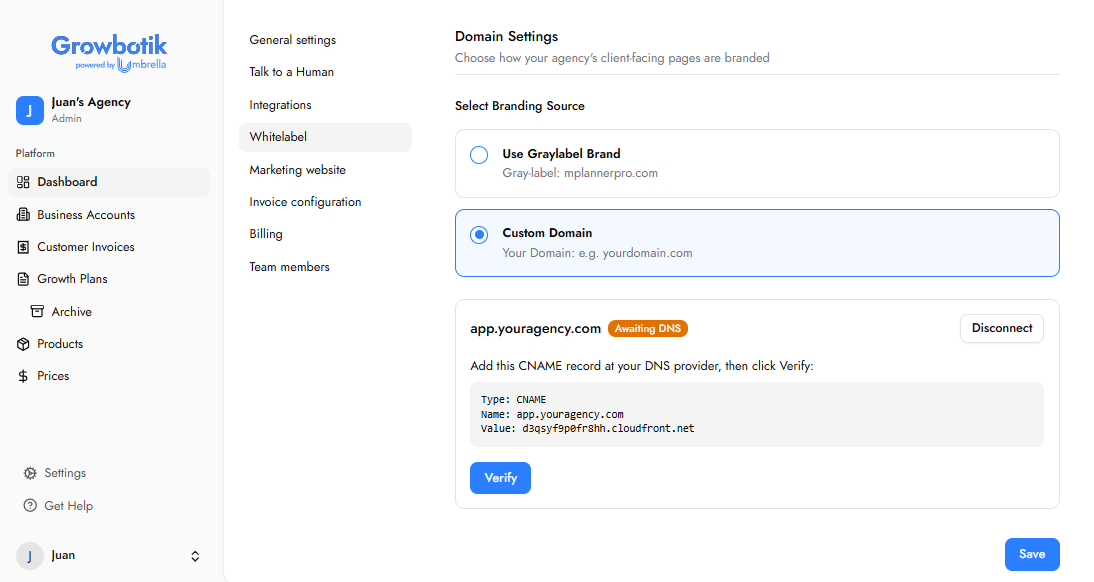
Step 8: Copy the CNAME details provided.
Step 9: Log in to your domain provider (e.g. GoDaddy, Namecheap) and add the CNAME record to your DNS records. If you are unsure how to add a DNS record, contact your domain provider's customer support for assistance.
Step 10: Wait for your DNS changes to propagate. This may take some time depending on your domain provider.
Step 11: Back in the Whitelabel settings, click Verify to check your setup.
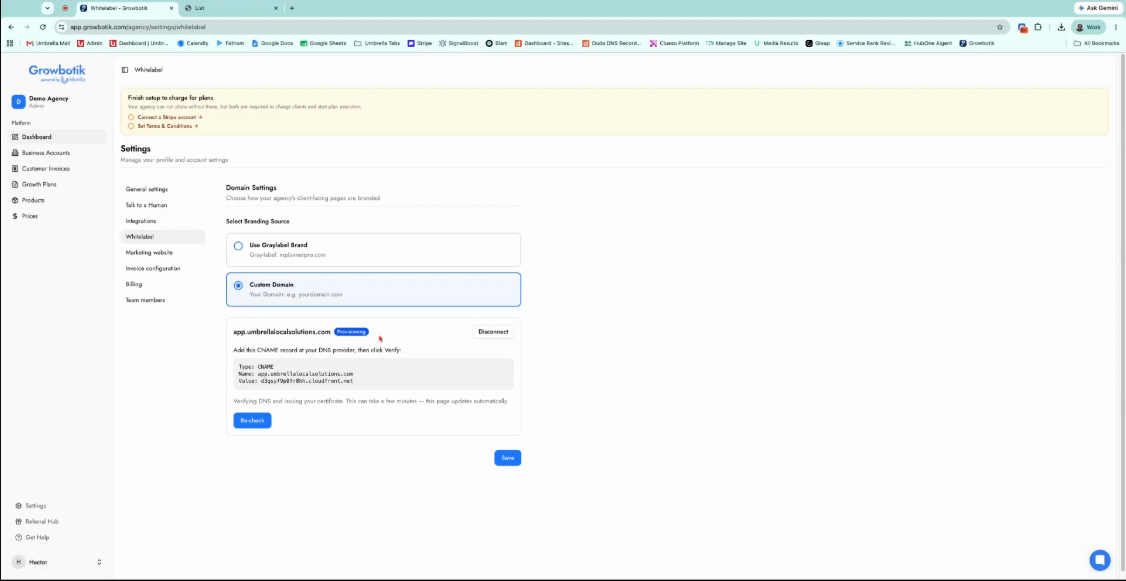
Step 12: A notification will confirm that your domain is being verified and your SSL certificate is being issued.
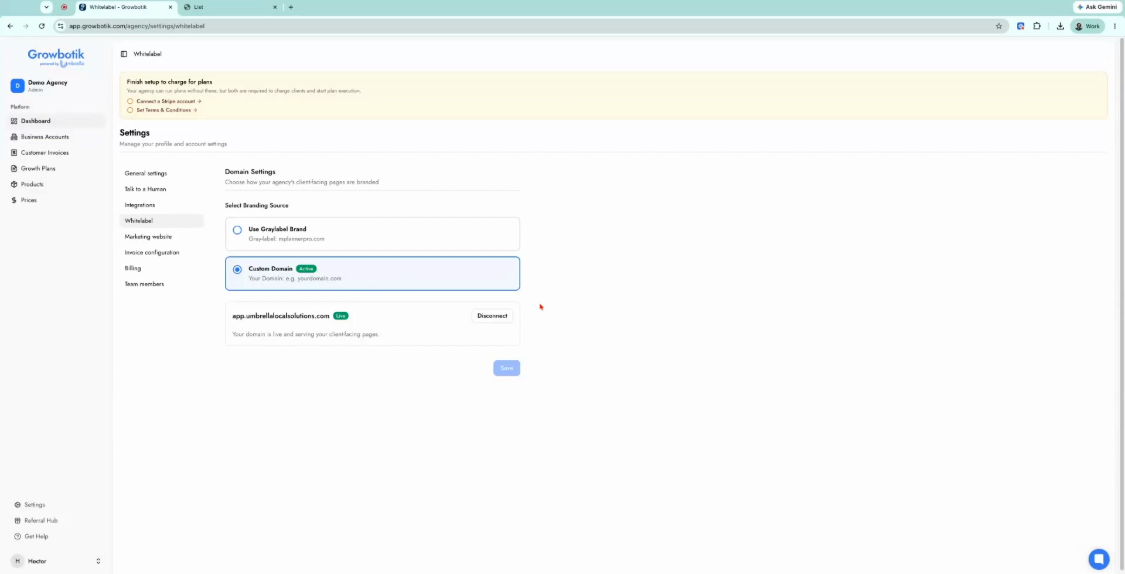
Step 13: The page will automatically update once everything is verified and your branded domain is live.
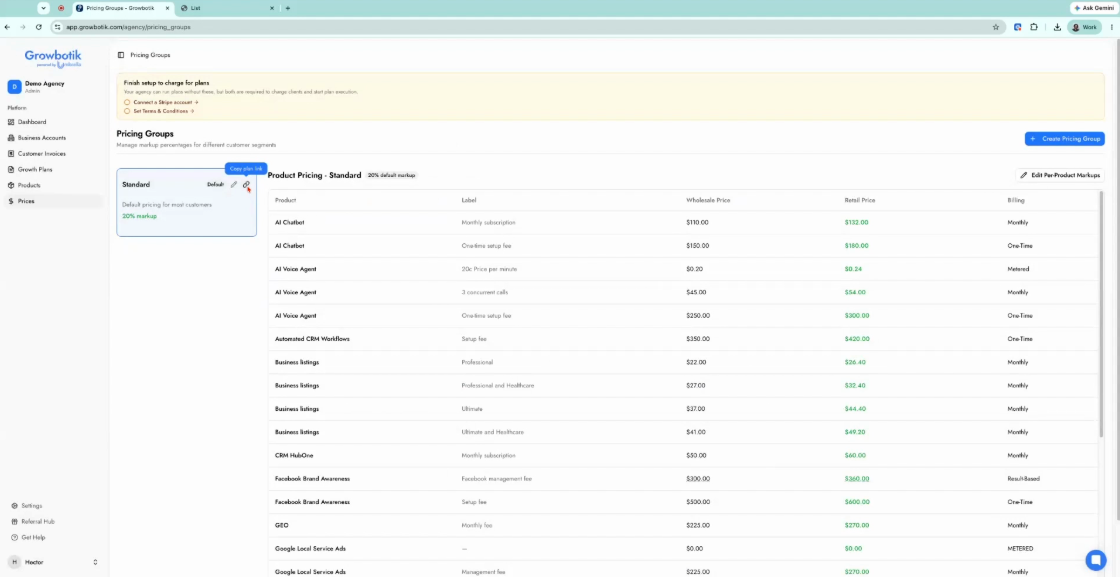
Step 14: Visit the Discovery Chat page to confirm your new domain appears properly. To check a Discovery Chat link, go to the Prices section, copy the plan link, and open it in your browser.
Step 15: Confirm the page loads under your custom white label domain.
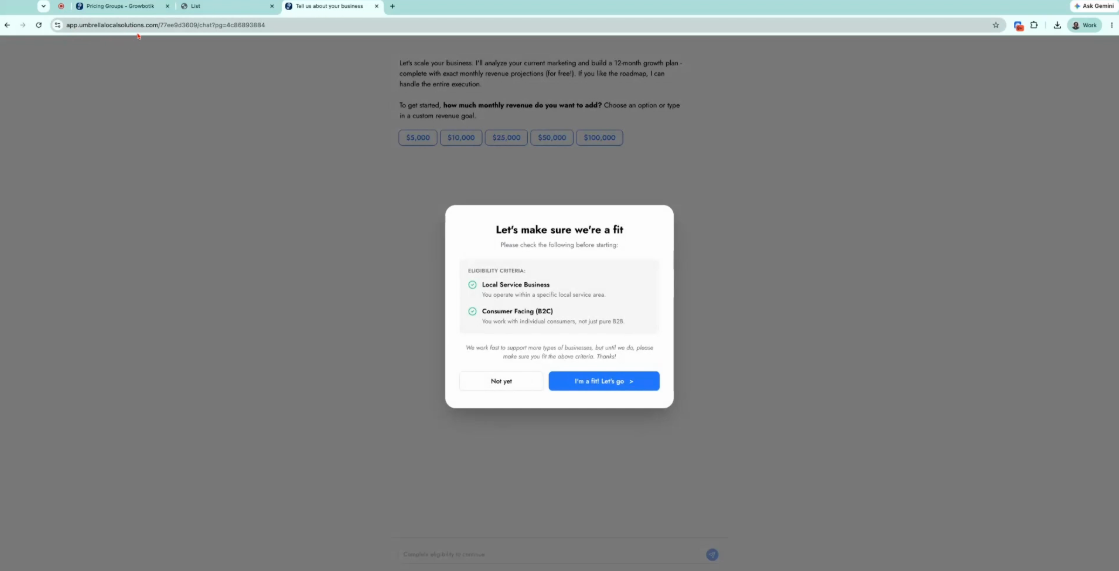
Once configured, whenever you share a Growth Plan, Gap Analysis, or Discovery Chat, your clients will see your branding — building trust and keeping your agency front and center.
Note: White label is available on the Pro and Super tiers only.
The Email Settings section lets you configure the sender address and Reply-To address for client-facing emails, helping you maintain your agency's branding and direct client replies to the appropriate inbox.
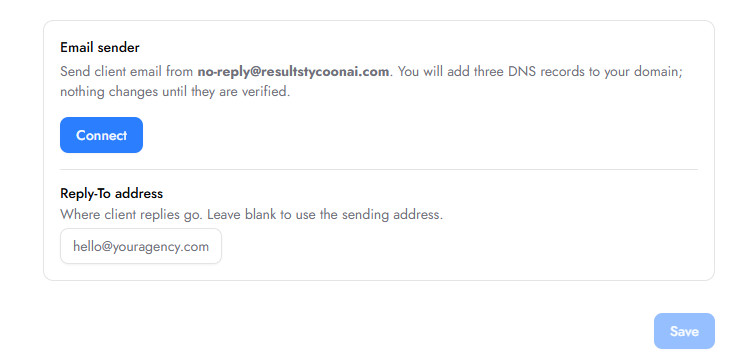
You can connect a custom email sender to send client emails from your agency's branded email address.
In the Whitelabel section, locate Email Sender.
Click Connect to begin setting up your email sender.
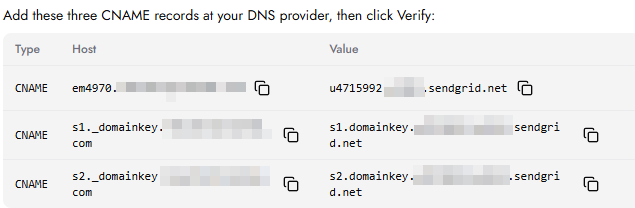
A list of three DNS records will appear. These records are required to verify your sending domain and authenticate your email sender.
After clicking Connect, you will see three CNAME records that need to be added to your domain's DNS settings.
Step 1: Copy the three CNAME records displayed in the Email Sender setup.
The records include the following information:
Type
Host
Value
Step 2: Log in to your domain provider (e.g., GoDaddy or Namecheap) and navigate to your domain's DNS settings.
Step 3: Add all three CNAME records, entering the Host and Value exactly as provided in the Email Sender setup.
Step 4: Save the DNS changes and wait for the records to propagate. This may take some time, depending on your domain provider.
Step 5: Return to the Whitelabel settings and click Verify to check your DNS configuration.
Once the records are successfully verified, your email sender will be ready to use.
The Reply-To address determines where client replies to your emails will be delivered.
Locate the Reply-To address field.
Enter the email address where you want to receive client replies (for example, [email protected]).
If you leave this field blank, replies will be directed to the sending email address.
Click Save to apply your changes.
Note: Make sure the Reply-To address is an inbox you can access so you can receive and respond to client messages.