The Integrations sub-section is where you connect third-party services required for the platform to function. Currently, Stripe is the only integration available.
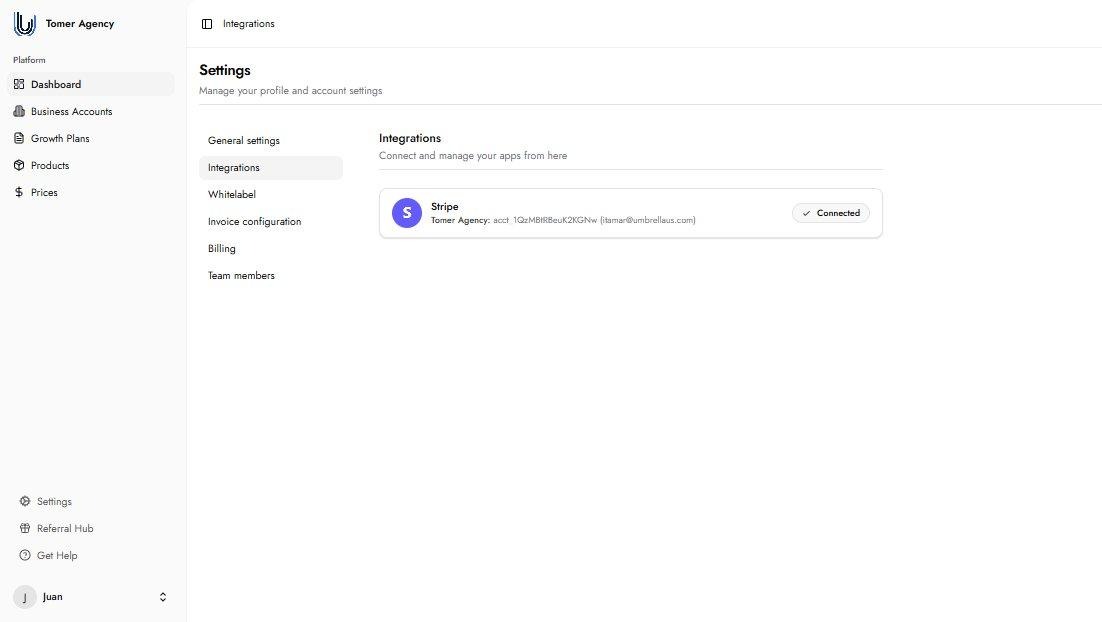
Connecting a Stripe account is mandatory. The platform cannot process customer billing or remit agency earnings without it. This must be completed before any Growth Plan is activated.
Growbotik requires Stripe because its billing model involves multiple fee types that are calculated and triggered in different ways, all consolidated into a single invoice per customer:
Monthly subscription fees — fixed recurring charges for services such as AI Chatbot or Business Listings, billed on the same date each month.
One-time setup fees — charged once when a service is first activated, such as the build and installation of the AI Voice Agent.
Pay-per-result fees — charged when specific outcomes occur, such as a qualified lead being generated. These are sporadic and cannot be predicted in advance.
Usage-based fees — for services like AI Chatbot and AI Voice Agent, charges scale with actual usage. Voice AI is billed per minute based on how many calls the agent handles. These amounts vary month to month.
Growbotik handles all of this programmatically — calculating each fee as it occurs, bundling everything into one consolidated invoice for the customer, charging them on the correct schedule, and remitting your margin directly to your connected bank account.
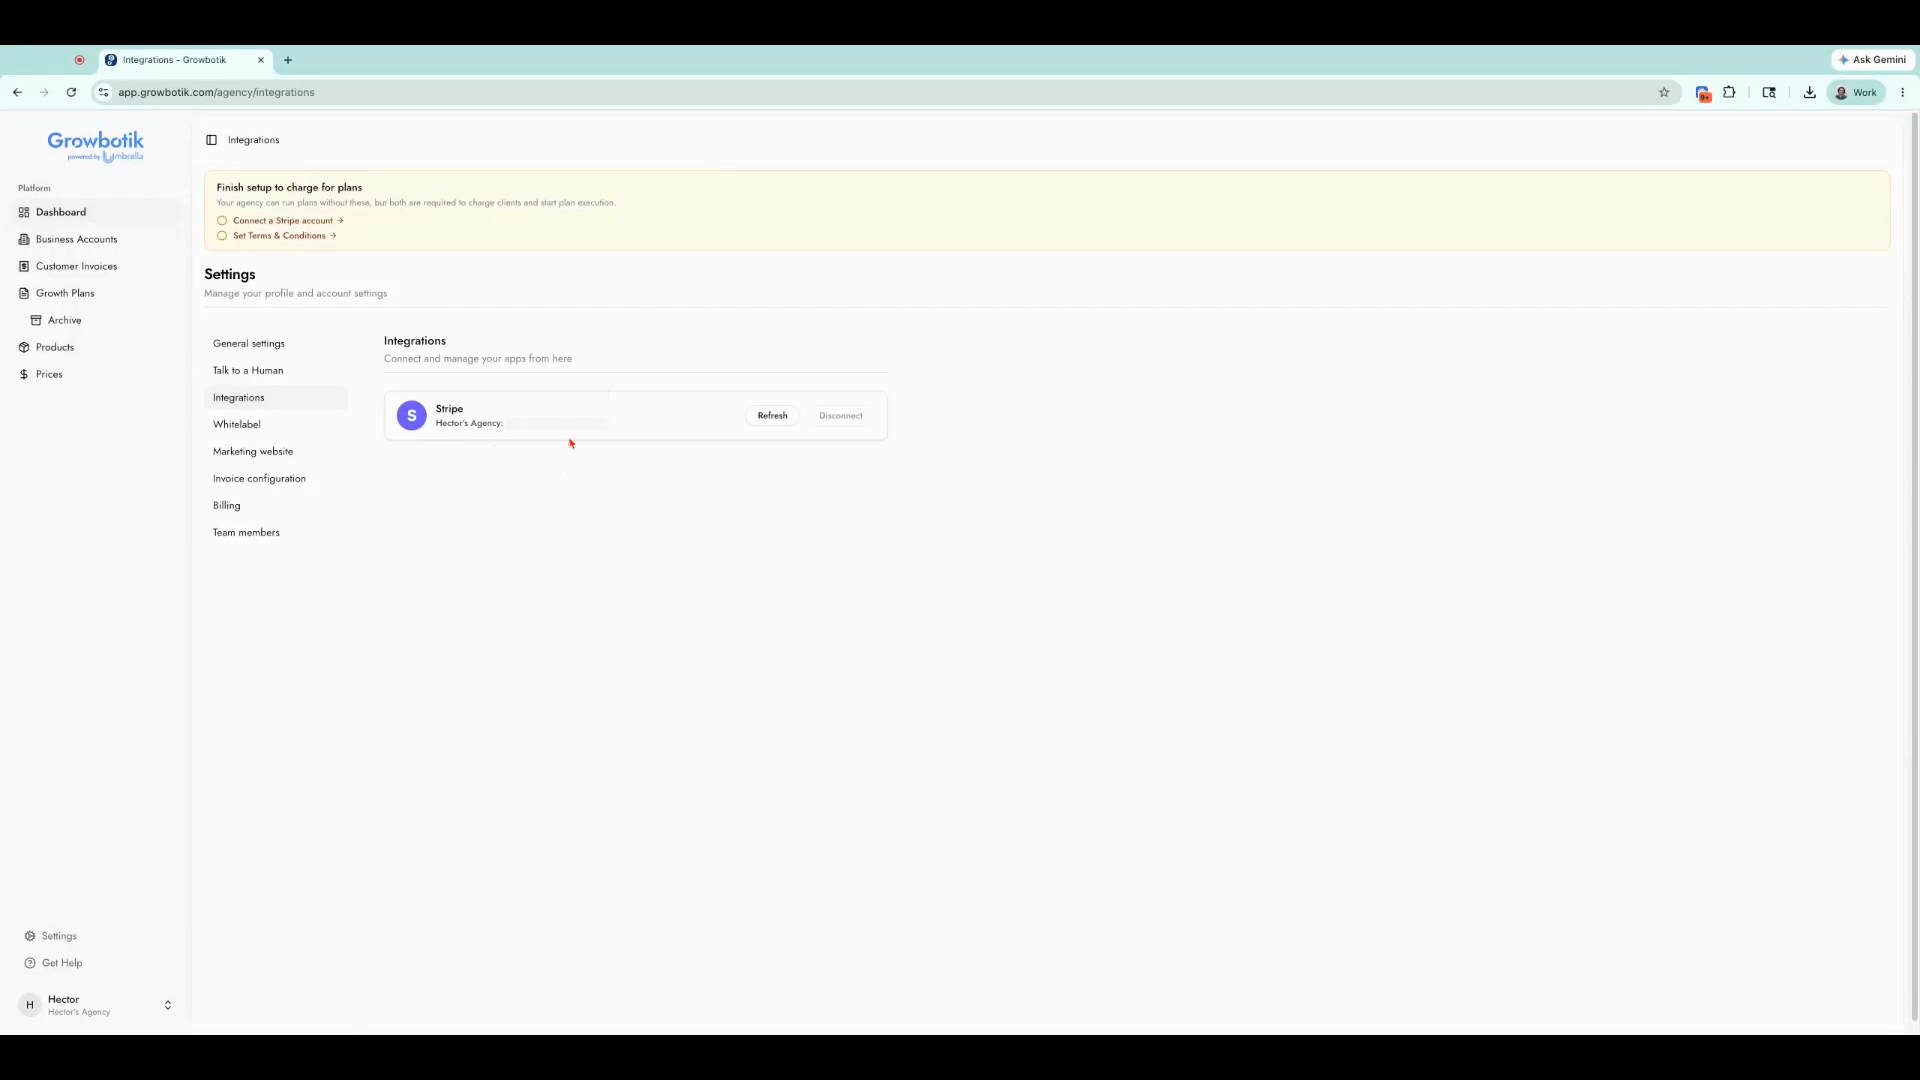
You can connect an existing Stripe account or create a new one through the connection flow. Stripe is free to create and connects directly to your bank account. Once connected, the integration card displays your Stripe account ID, the associated email address, and a Connected status badge.
Setting up Stripe with your Growbotik Dashboard lets you accept online payments, customize your payouts, and manage transactions securely. Follow these steps to connect Stripe and get your business ready to accept payments.
Start in the Growbotik Dashboard. Scroll down to the Settings section.
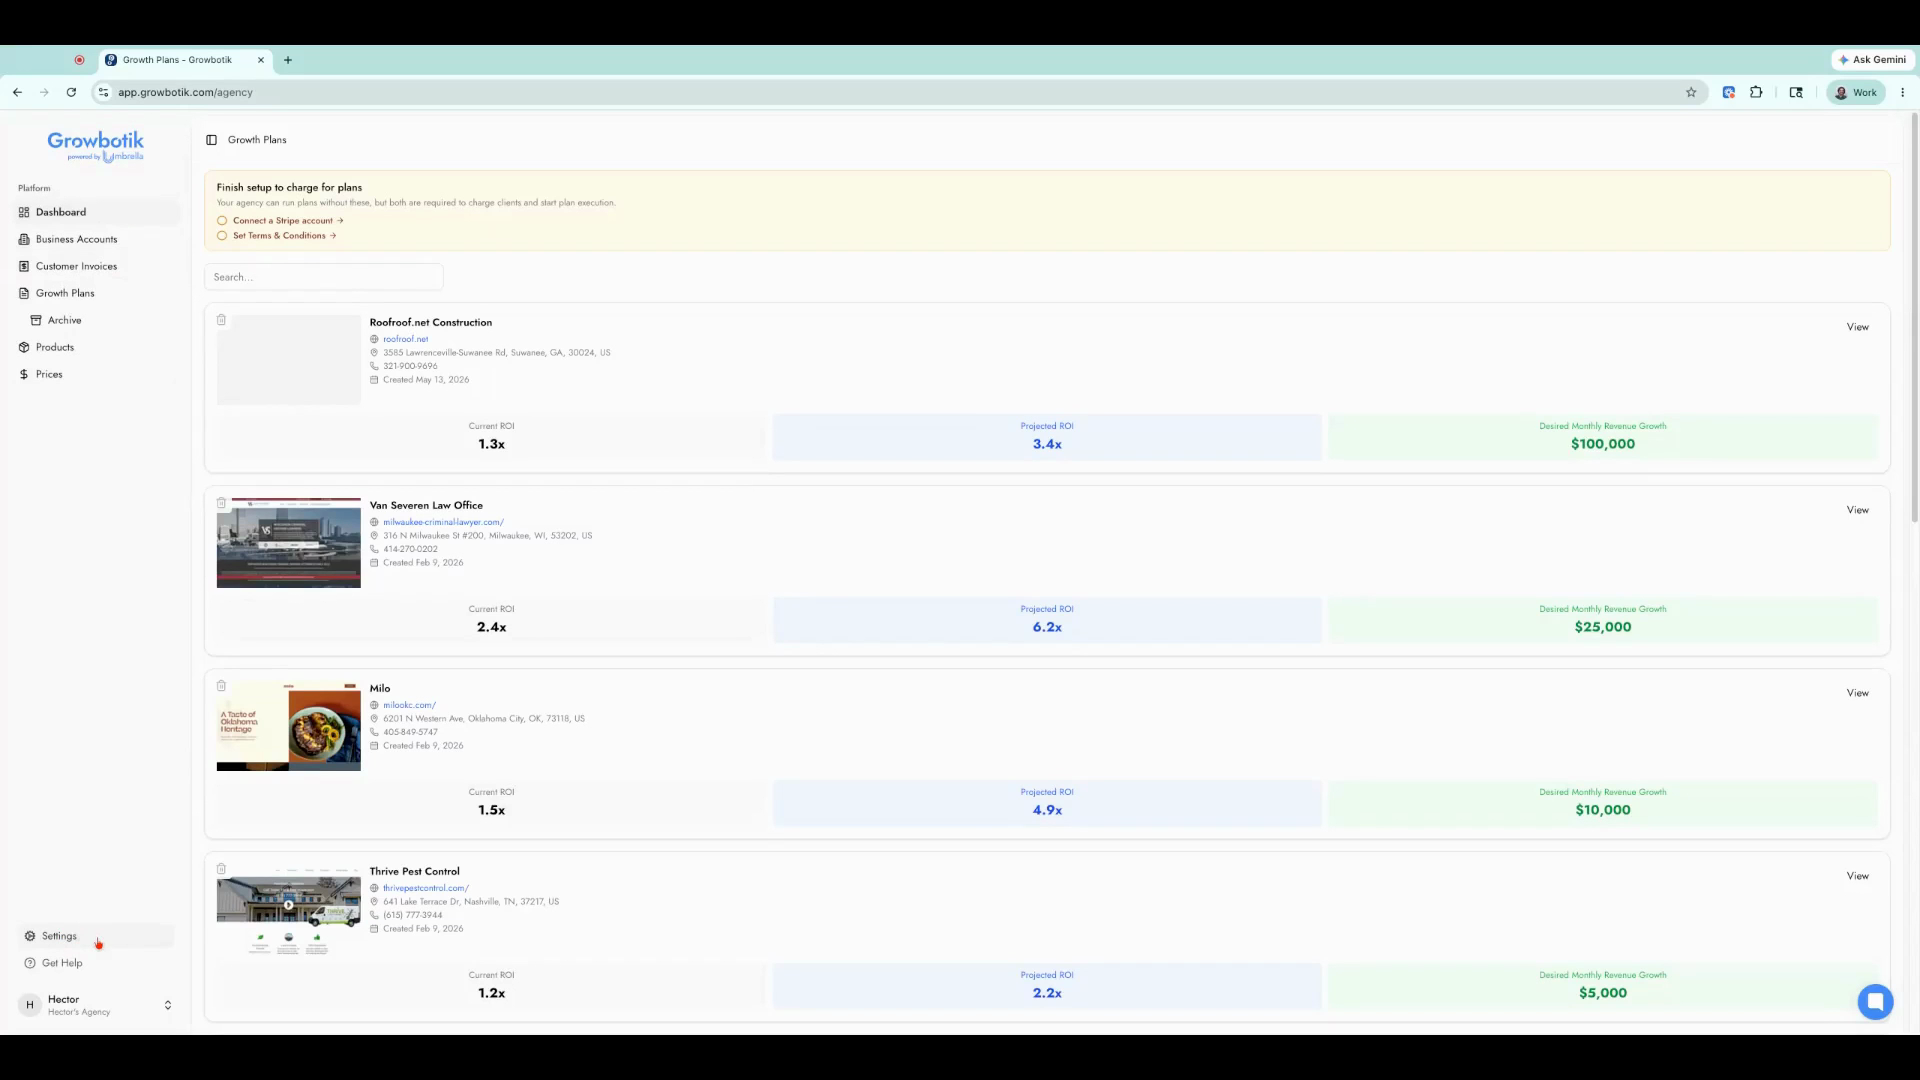
Go to Integrations within Settings.
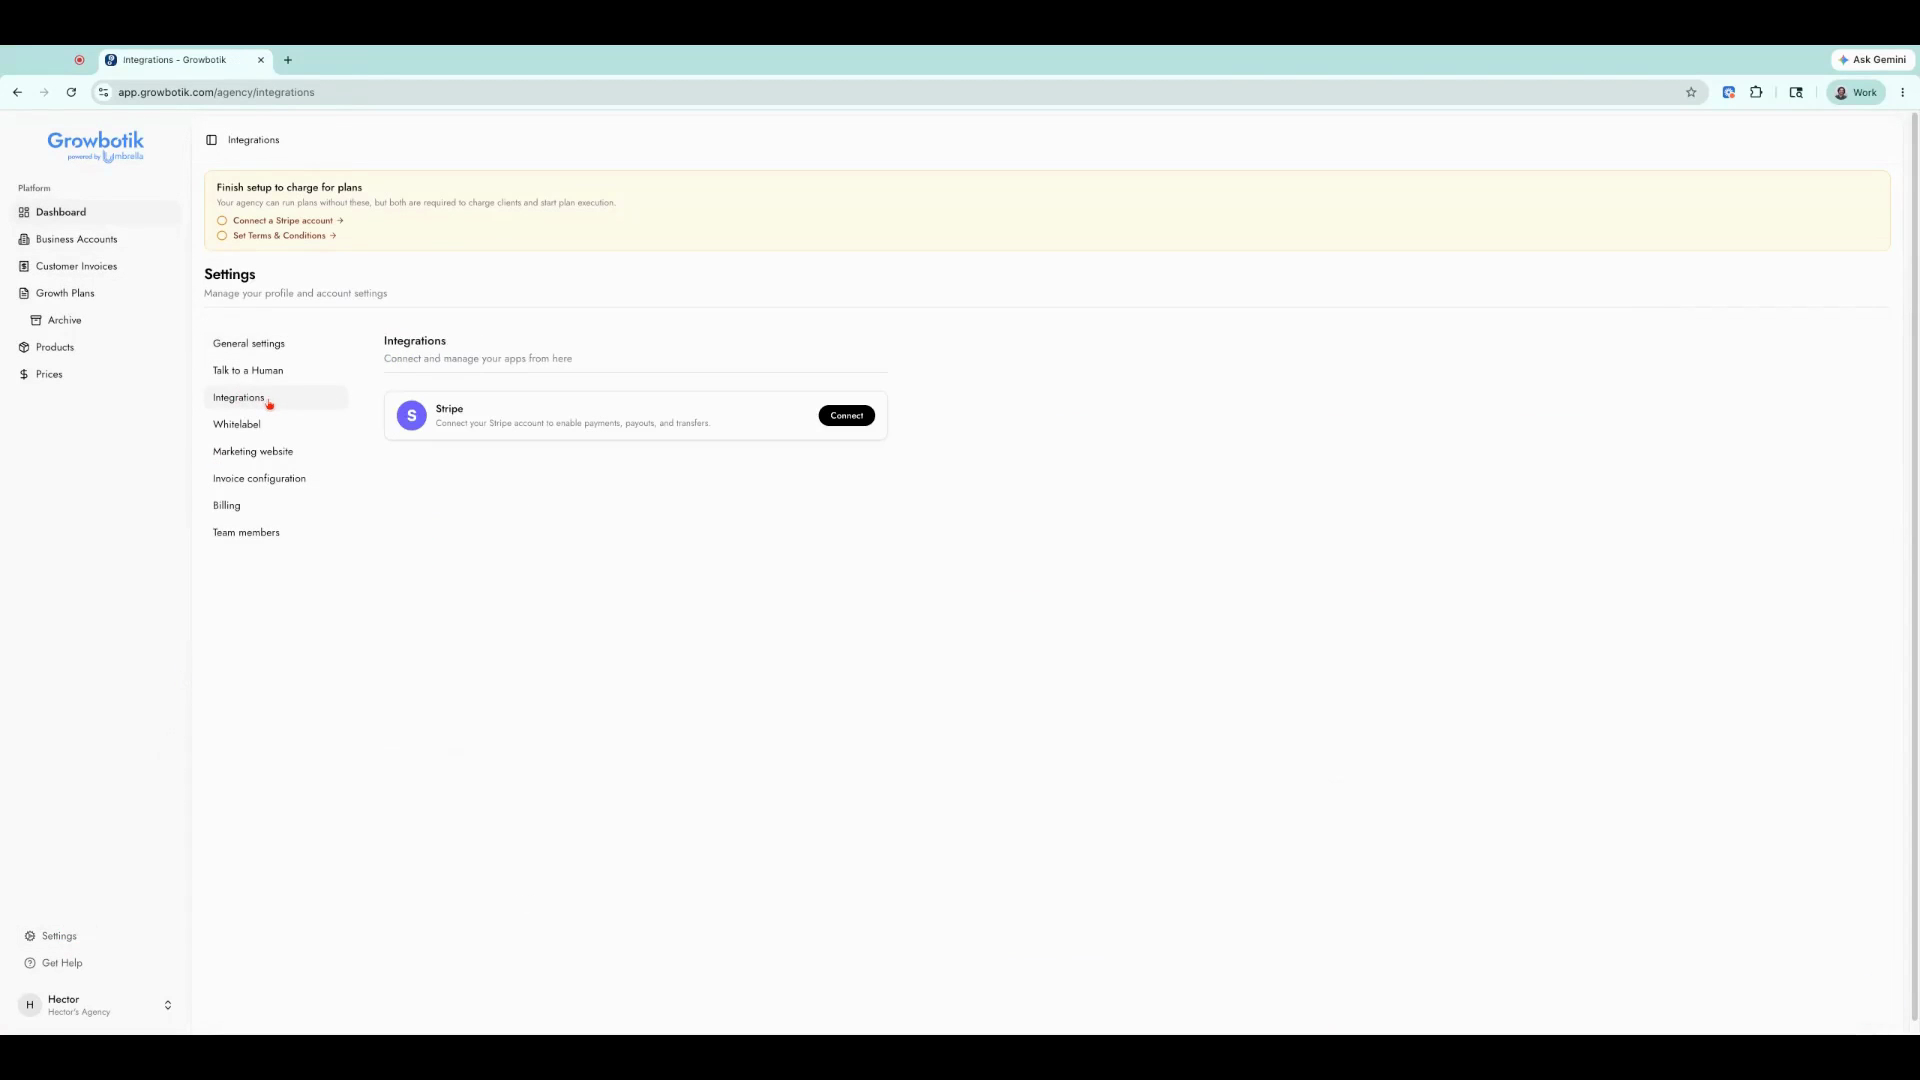
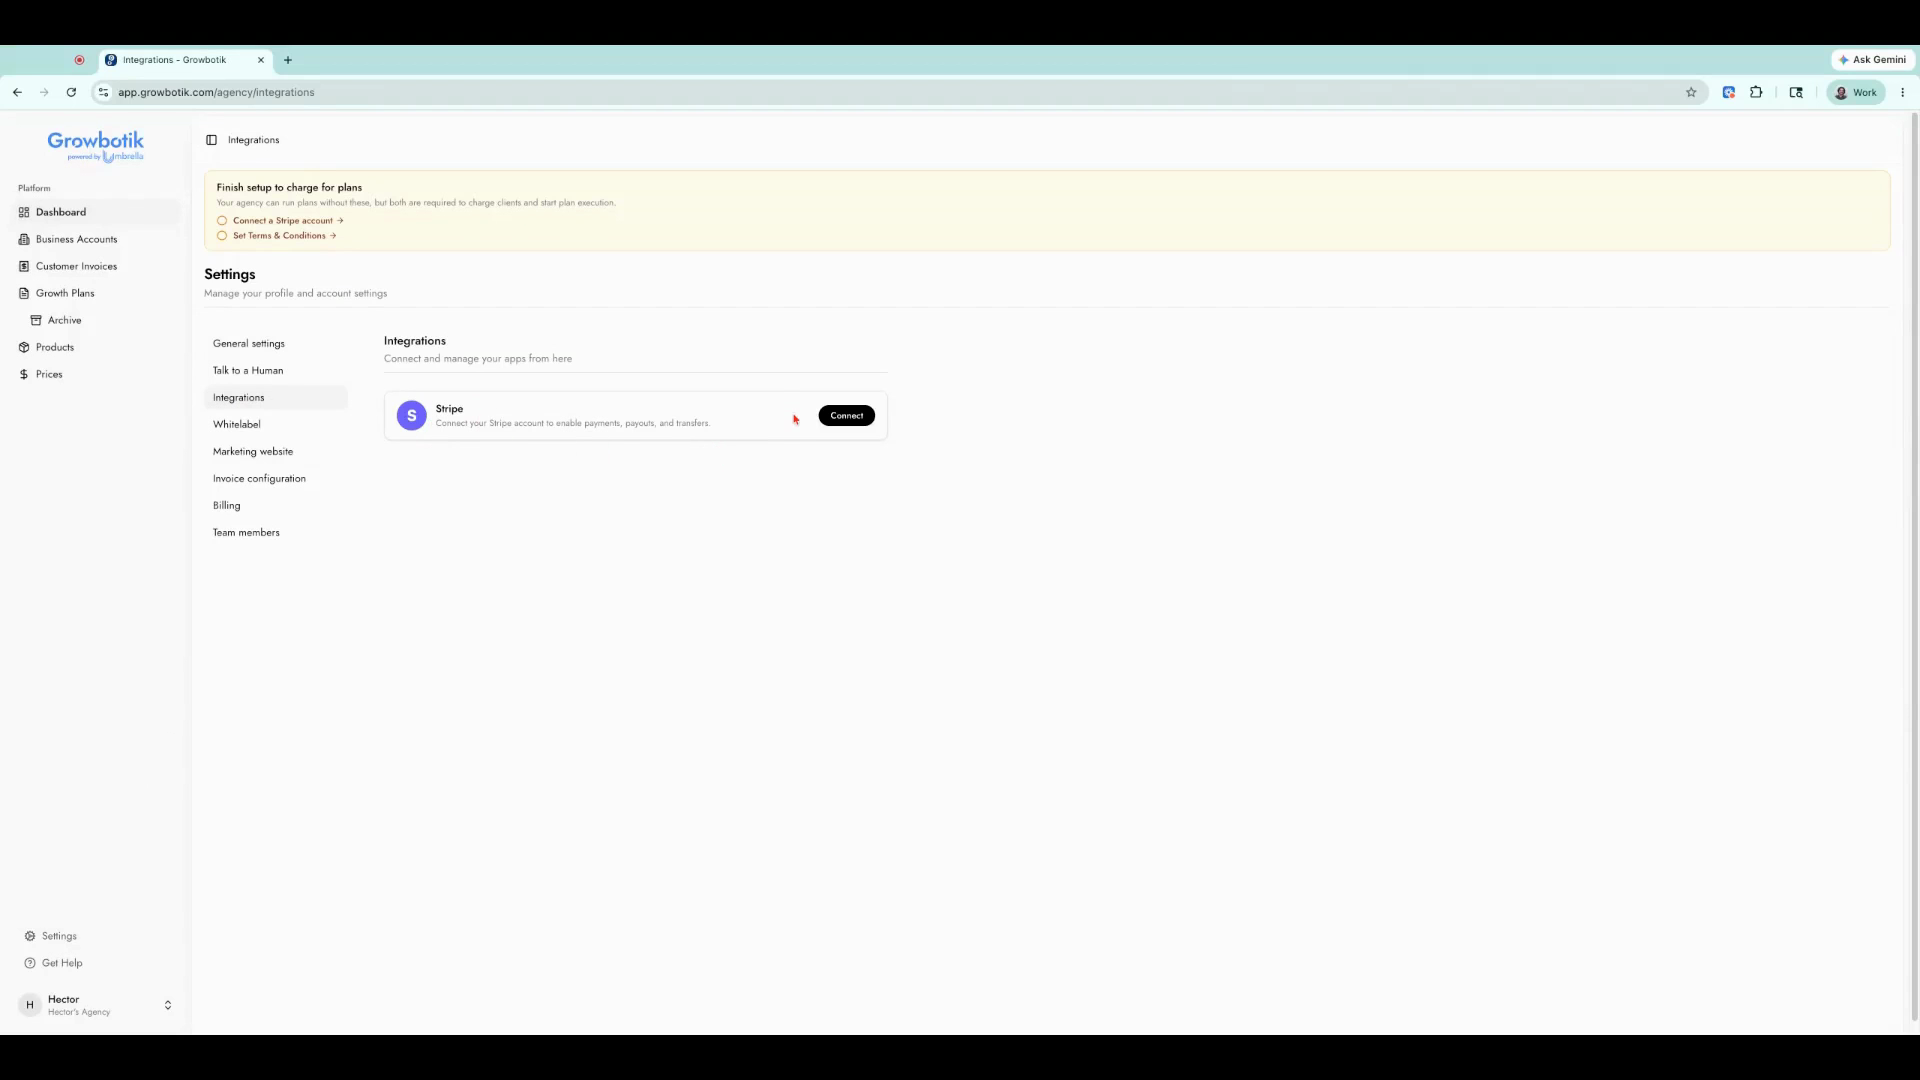
Find the Stripe option and click Connect to start the connection process. If you don’t have a Stripe account, you’ll be prompted to create one.
Enter your email address for Stripe. Use an existing Stripe email or type the one you’d like for your new account.
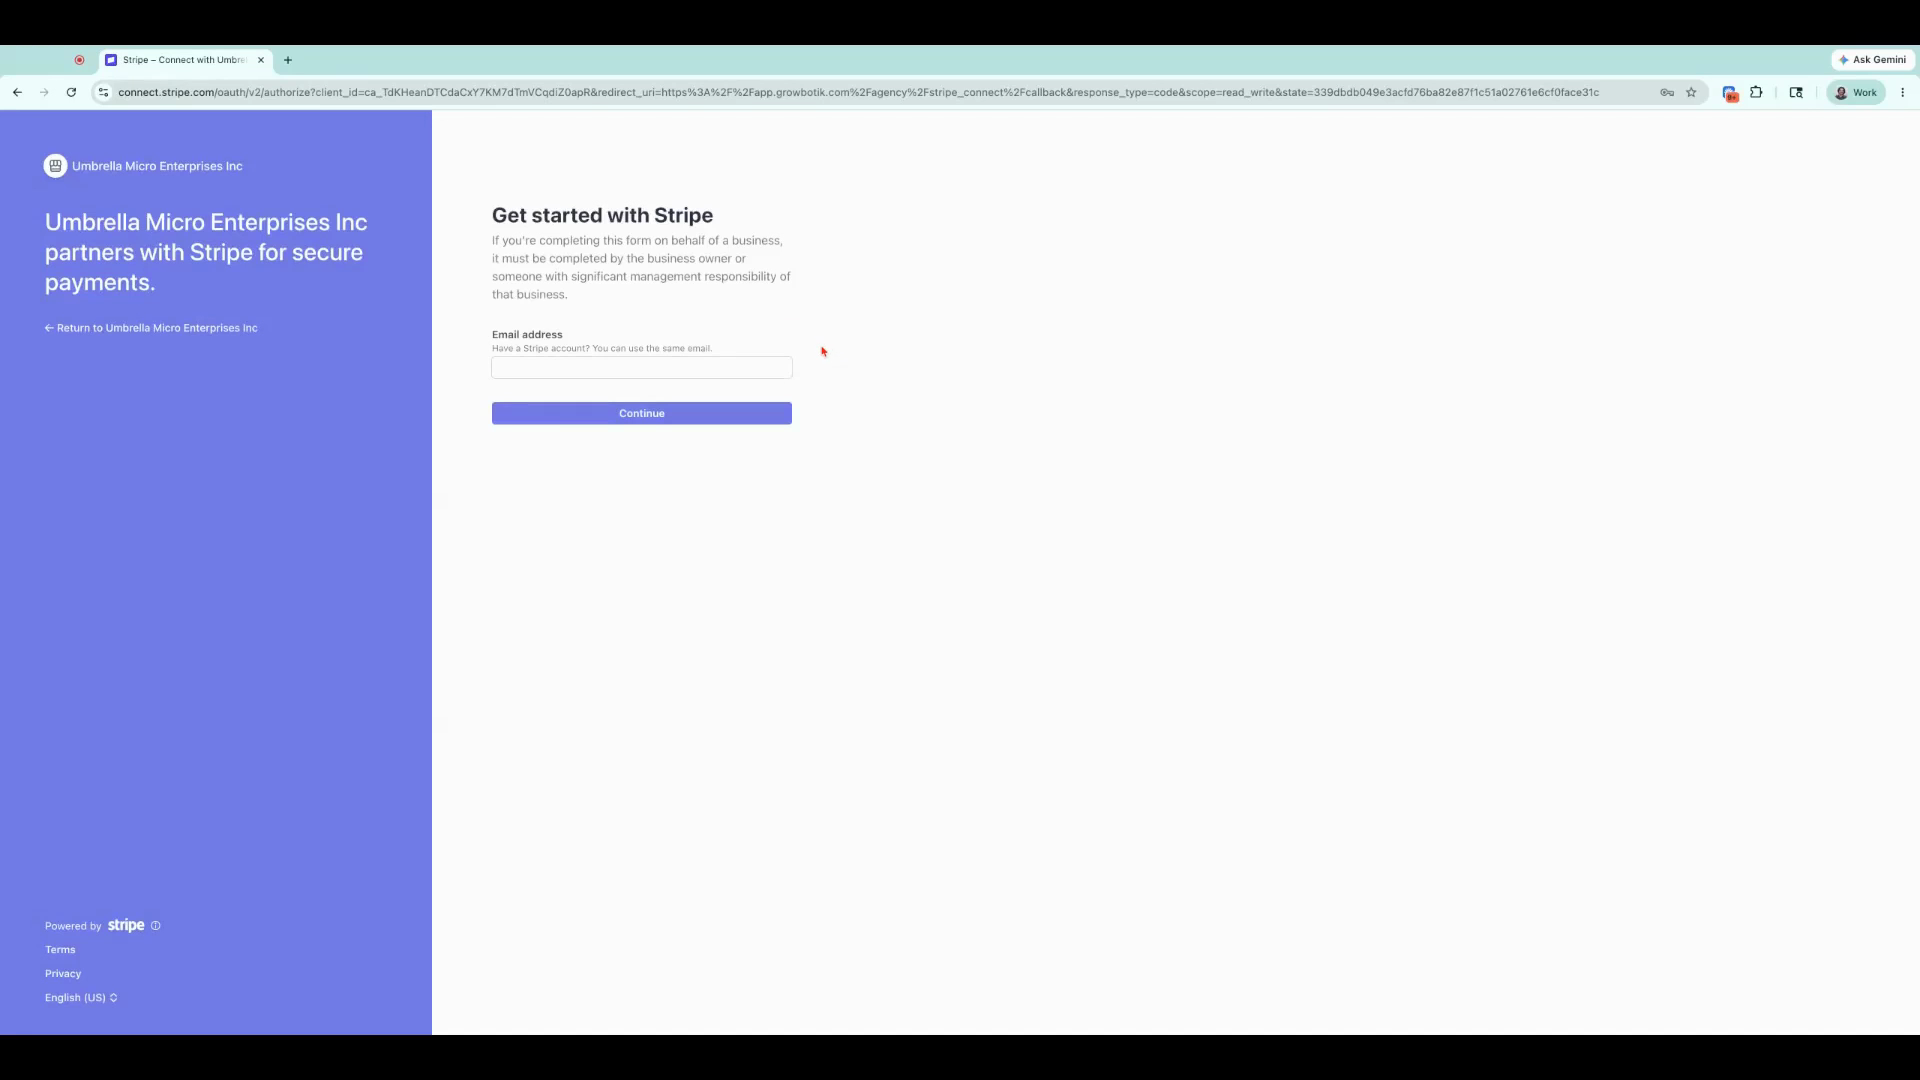
Click Continue.
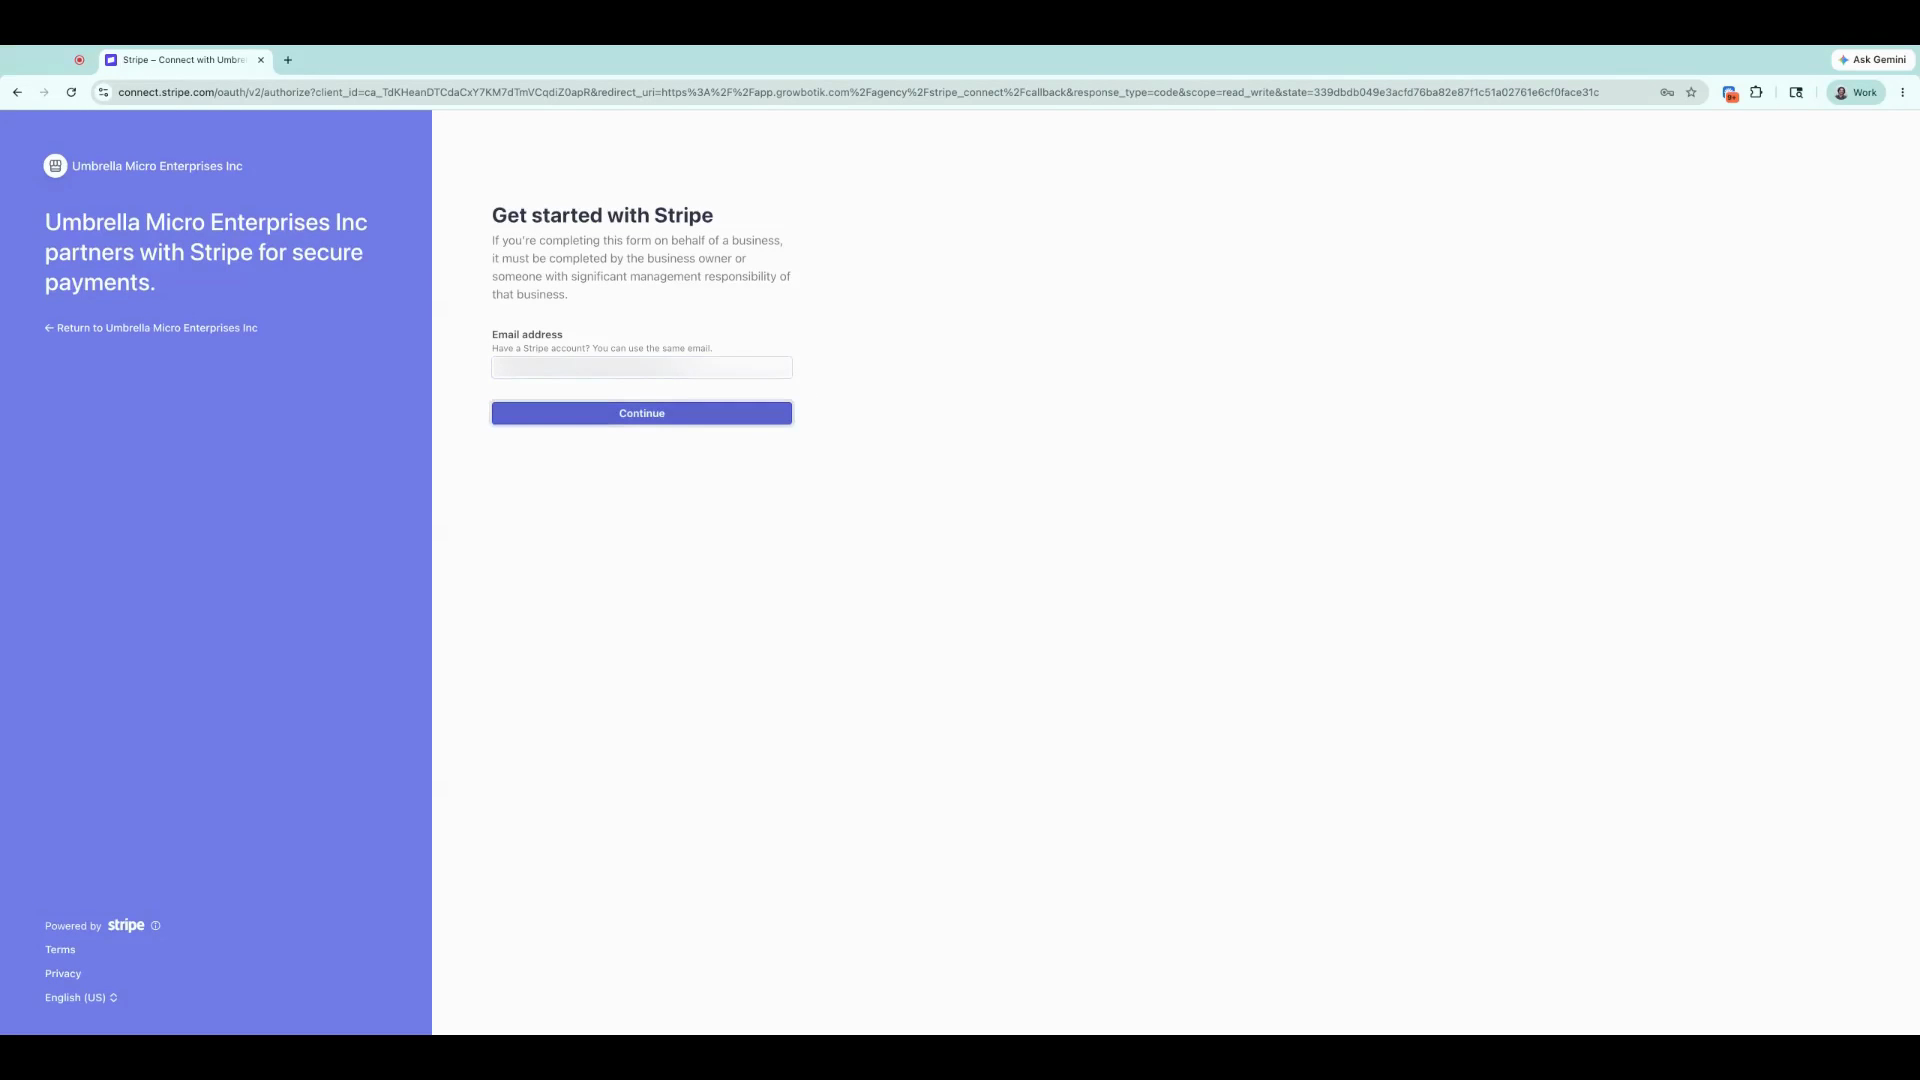
If no Stripe account exists with your email, create one by entering a secure password.
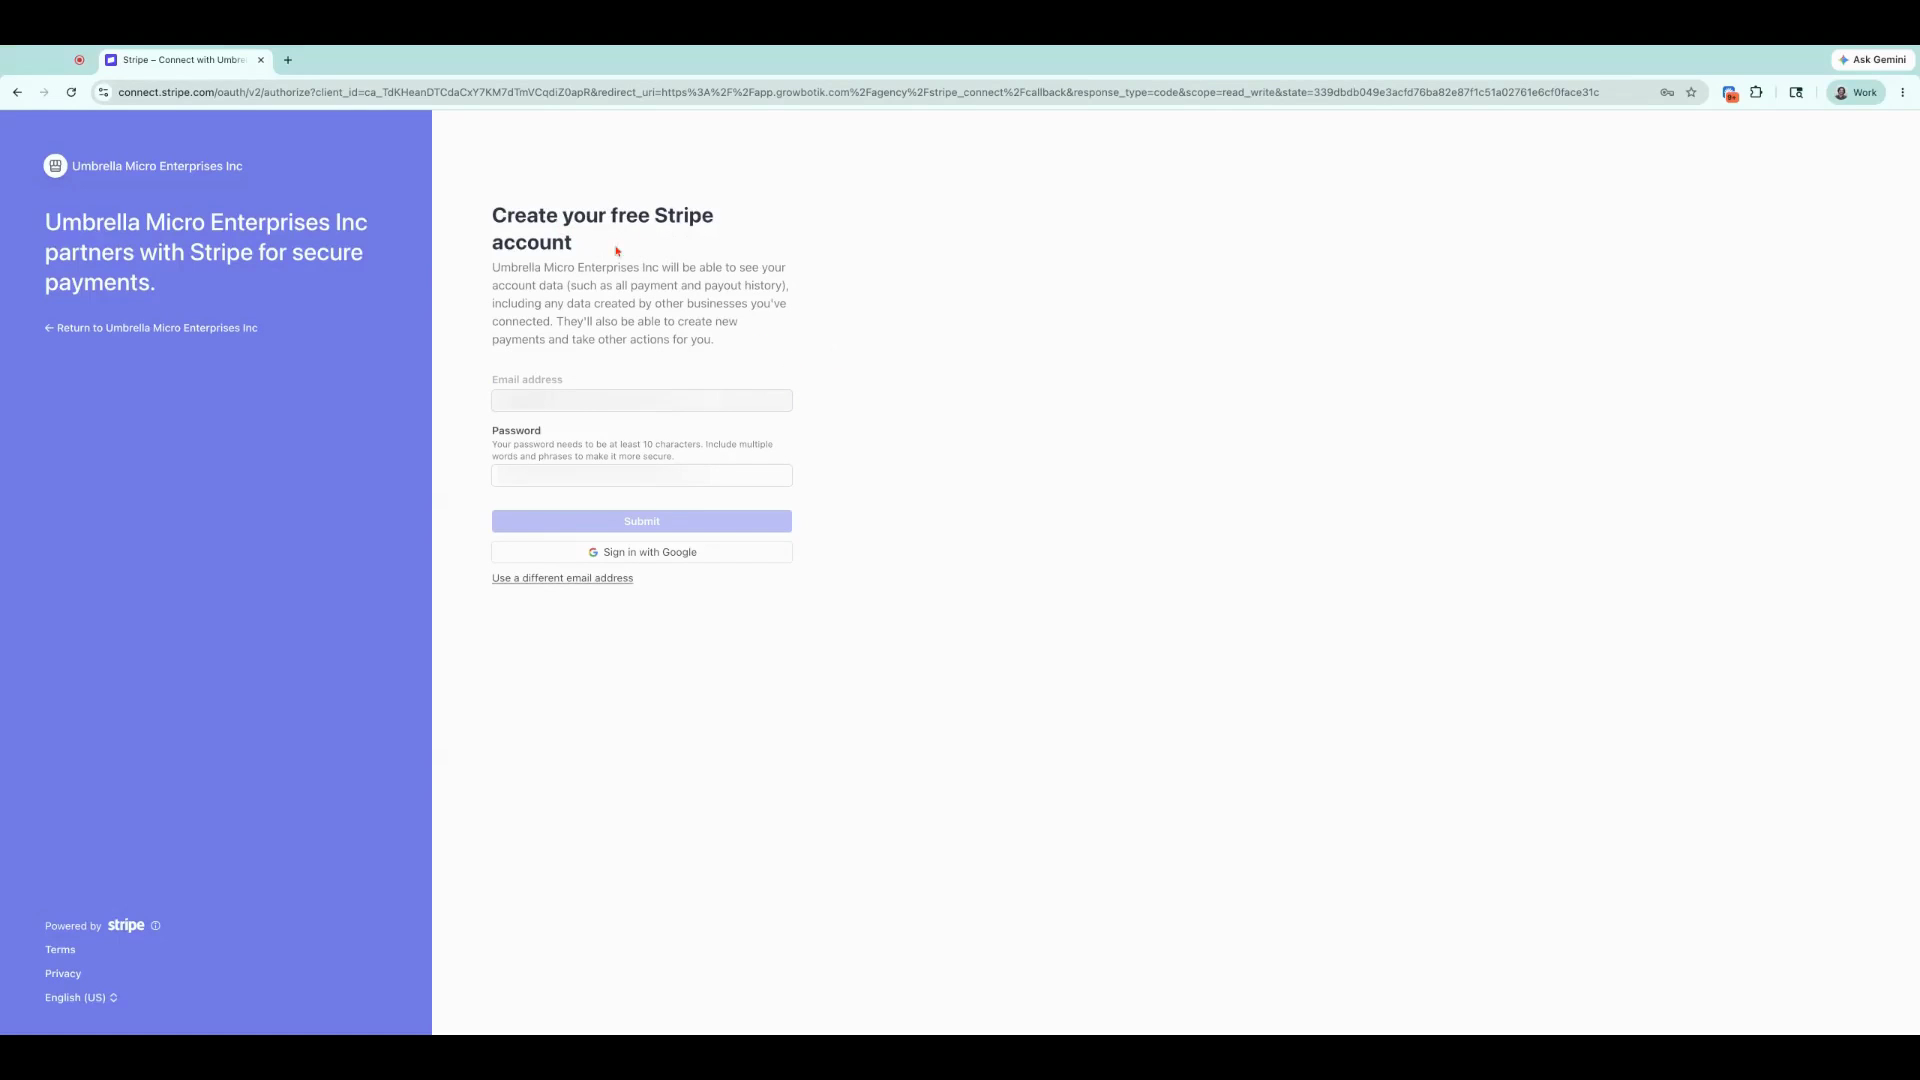
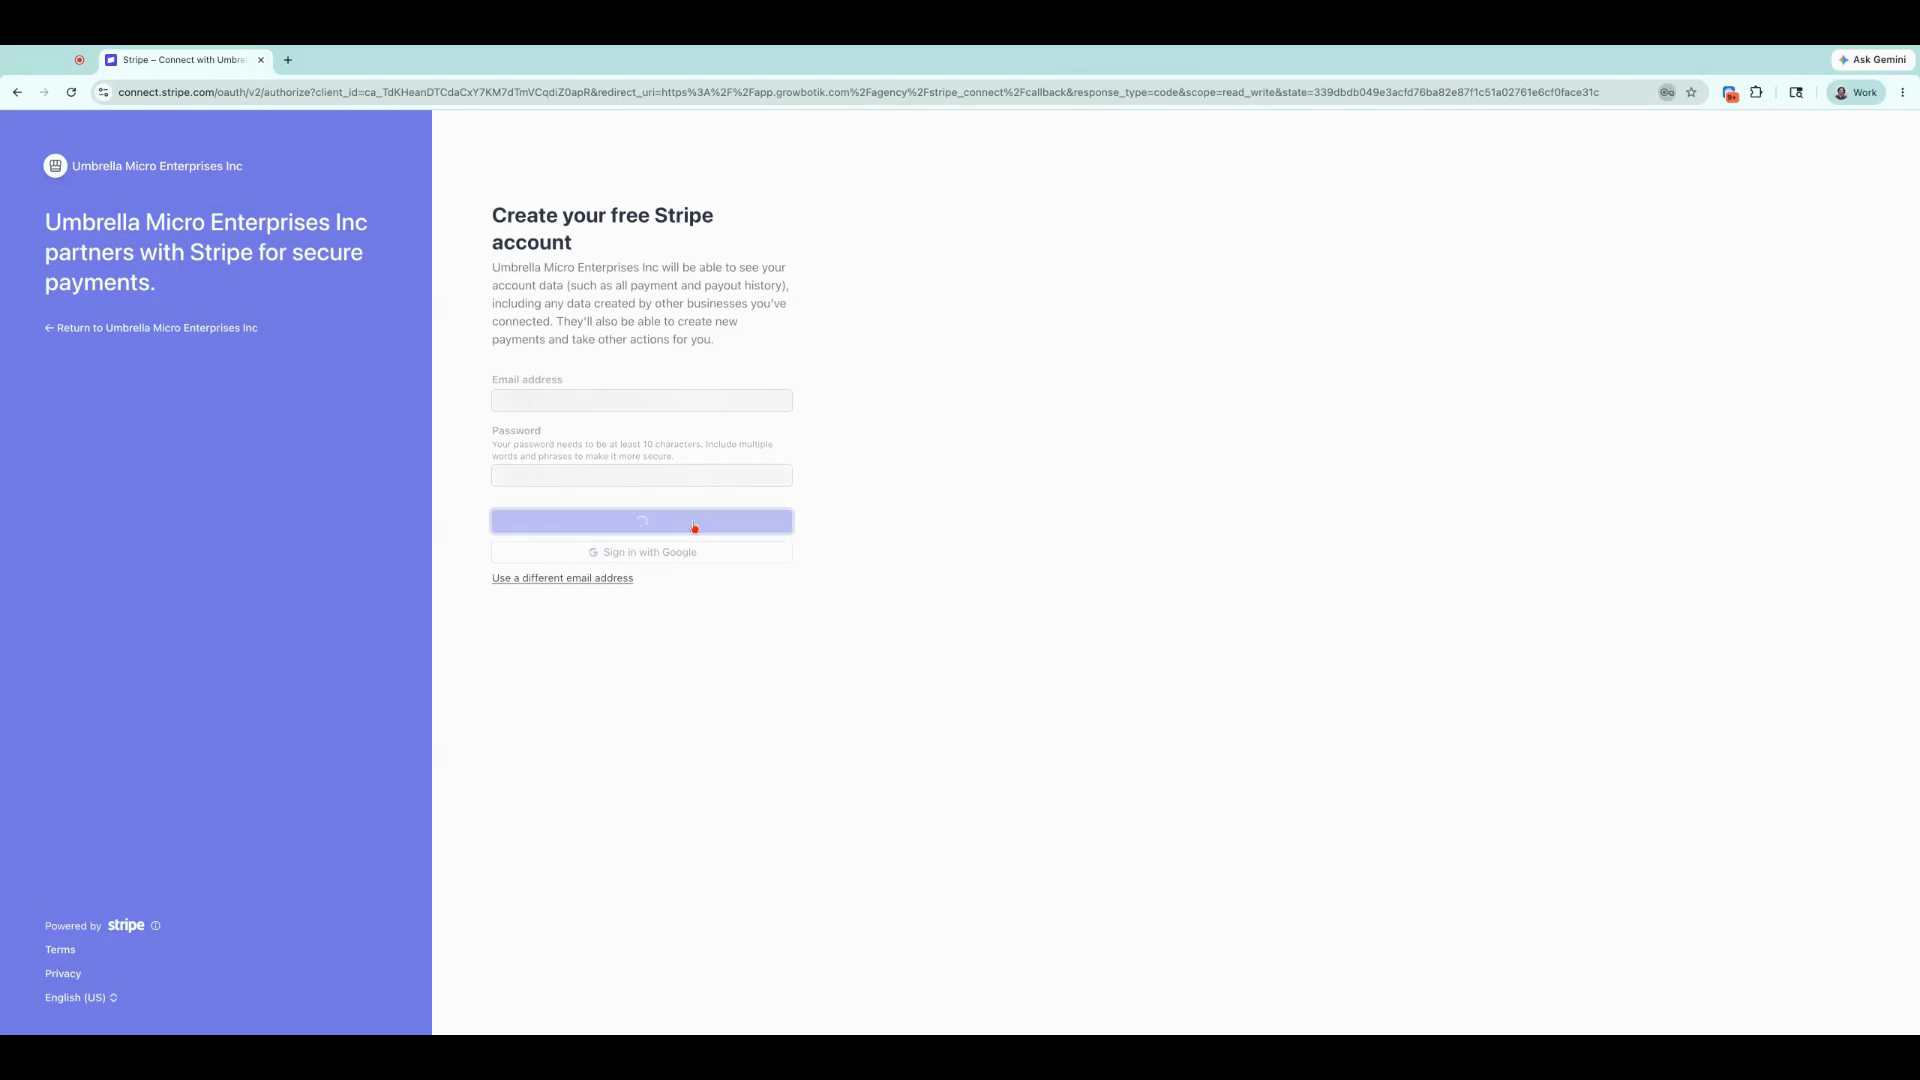
Click Submit.
Set up two-step authentication. You can use an Authenticator app to scan the QR code or enter a phone number for verification.
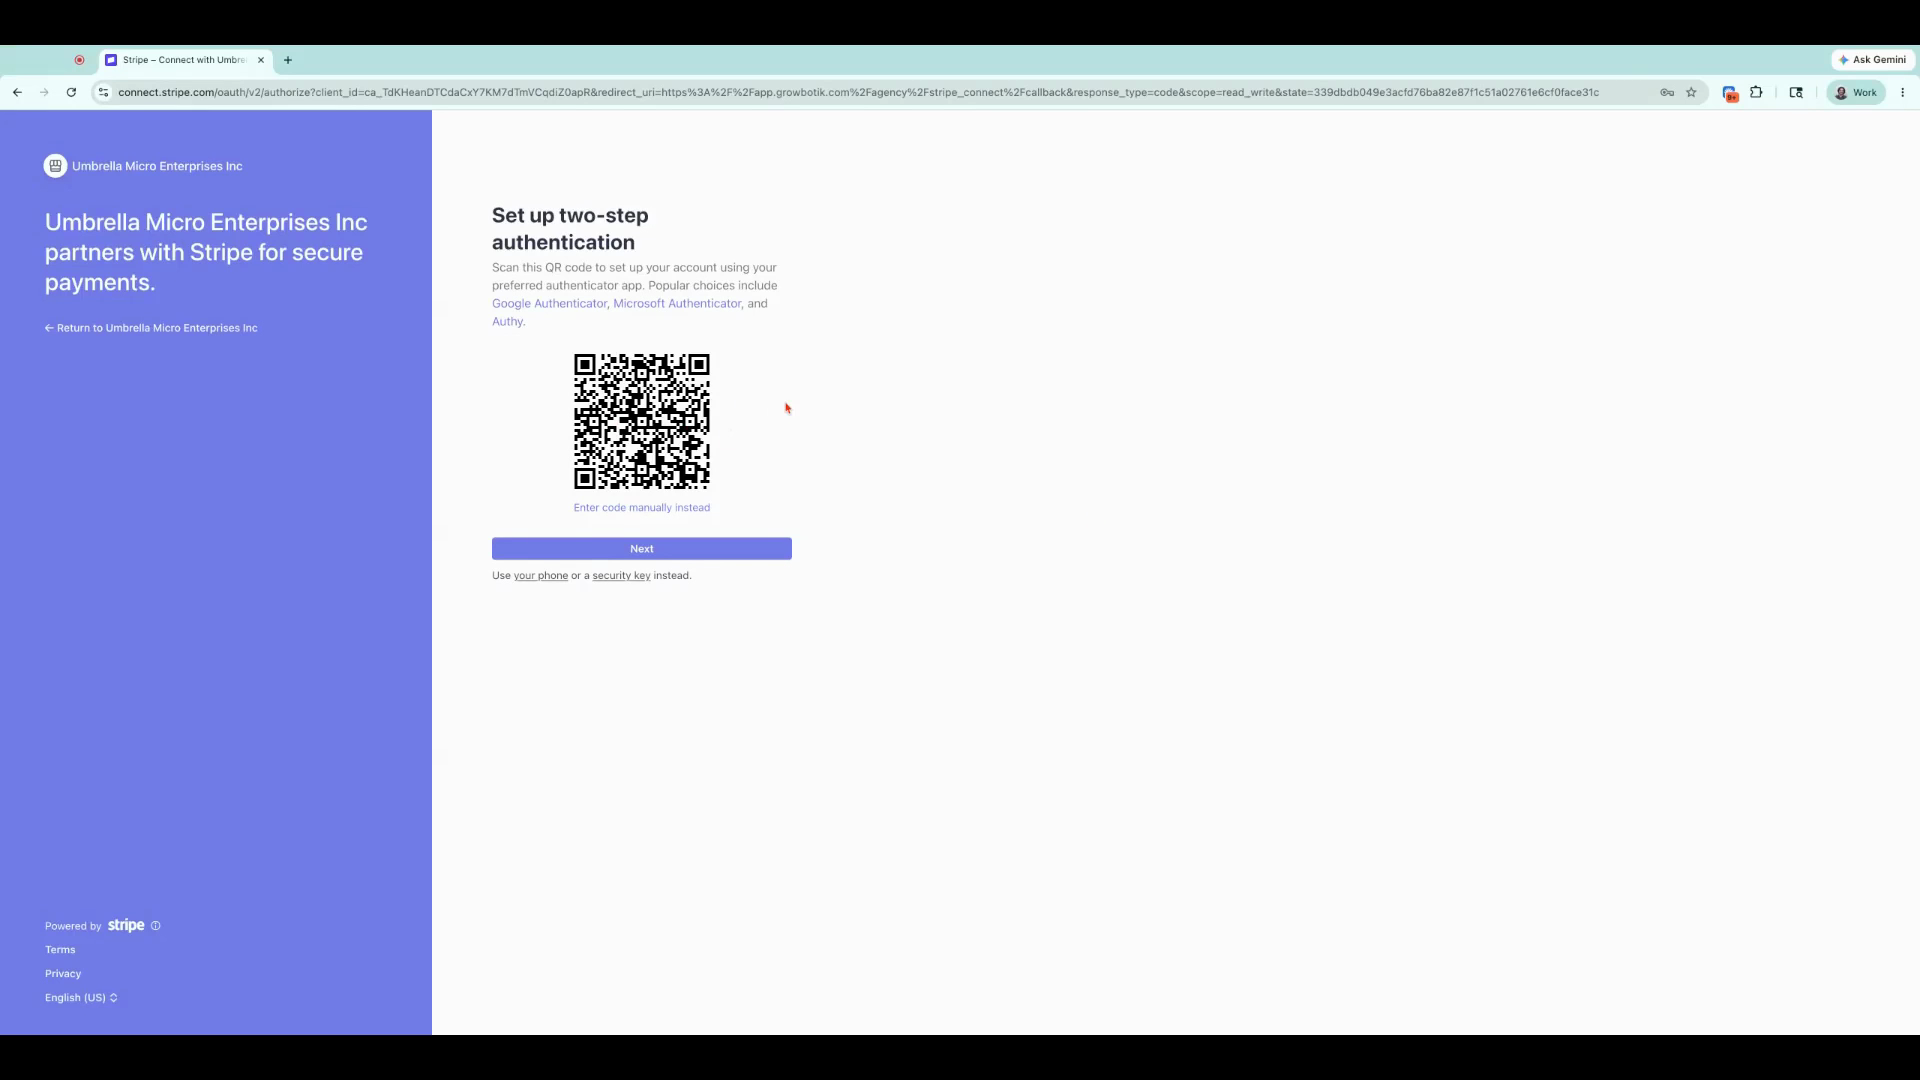
For this example, we'll choose the phone number option.
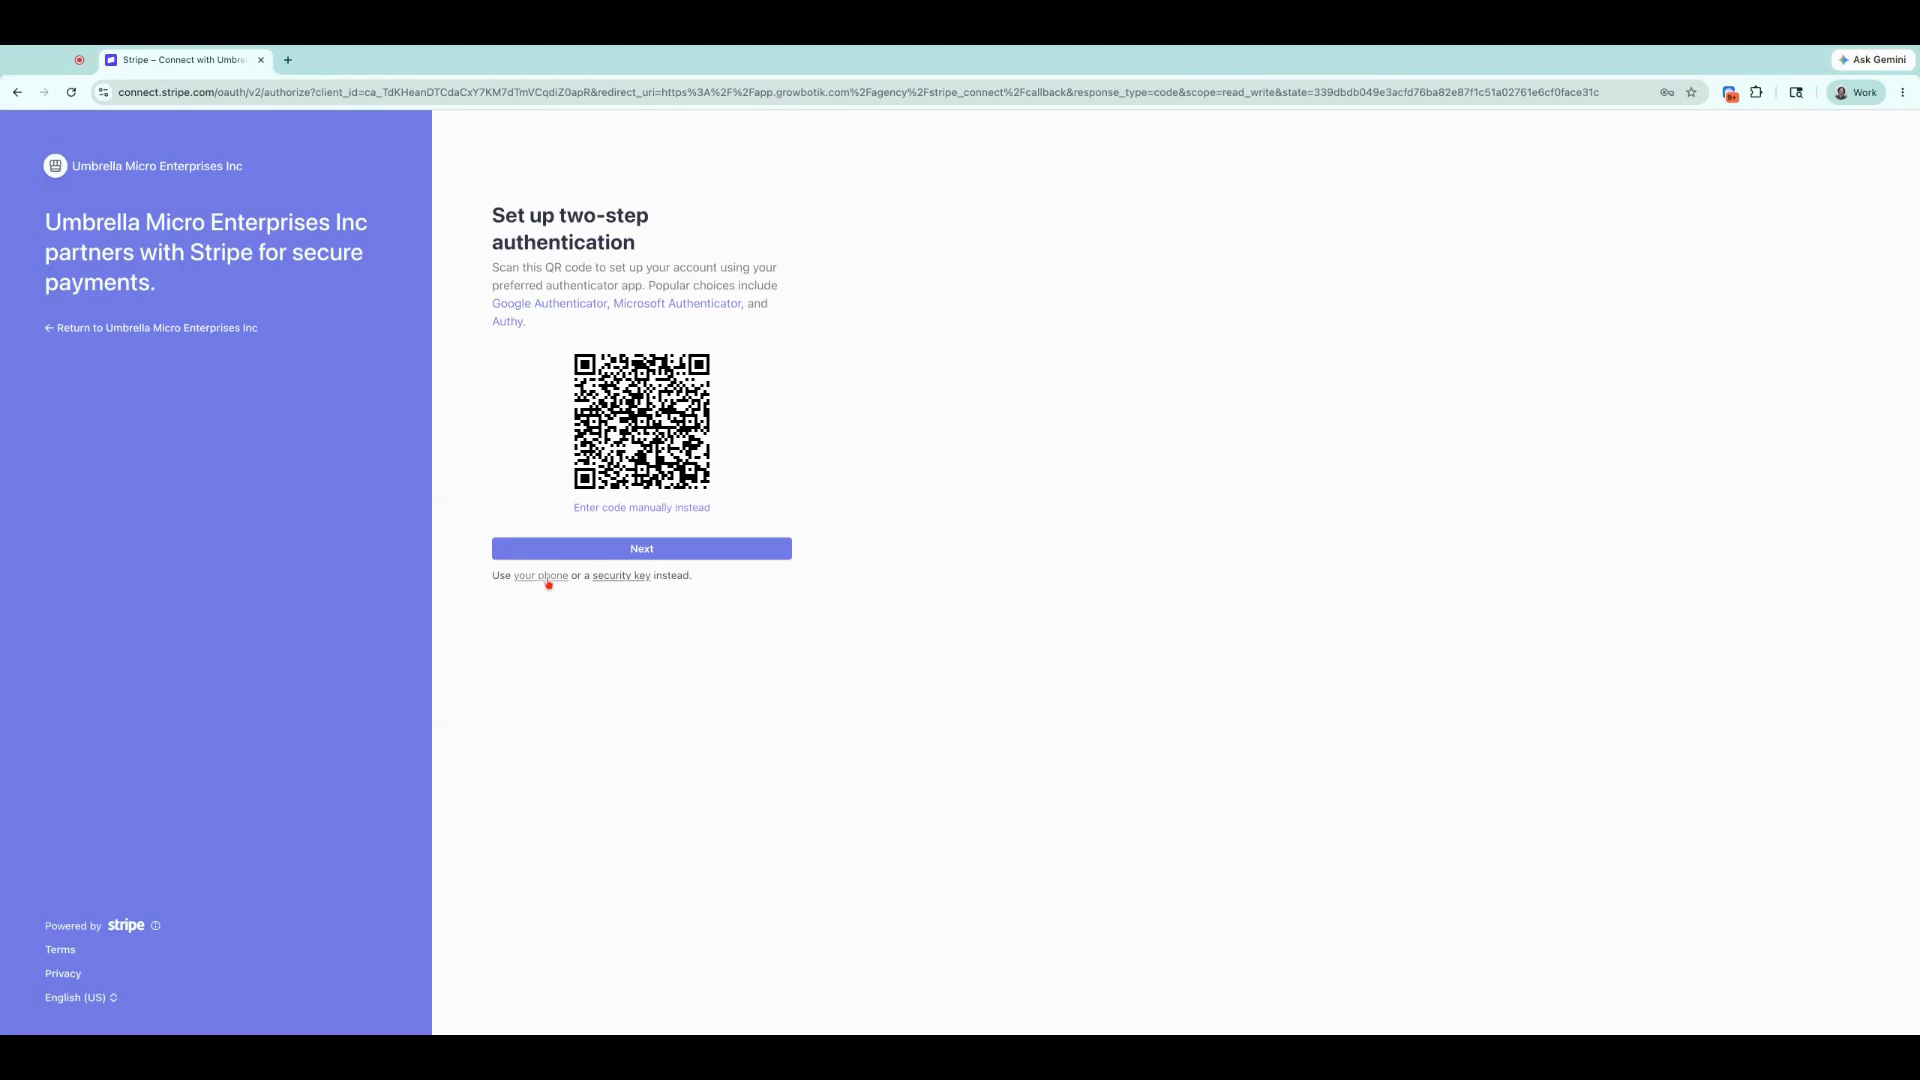
Enter your phone number for two-factor authentication and click Send Text to receive a verification code.
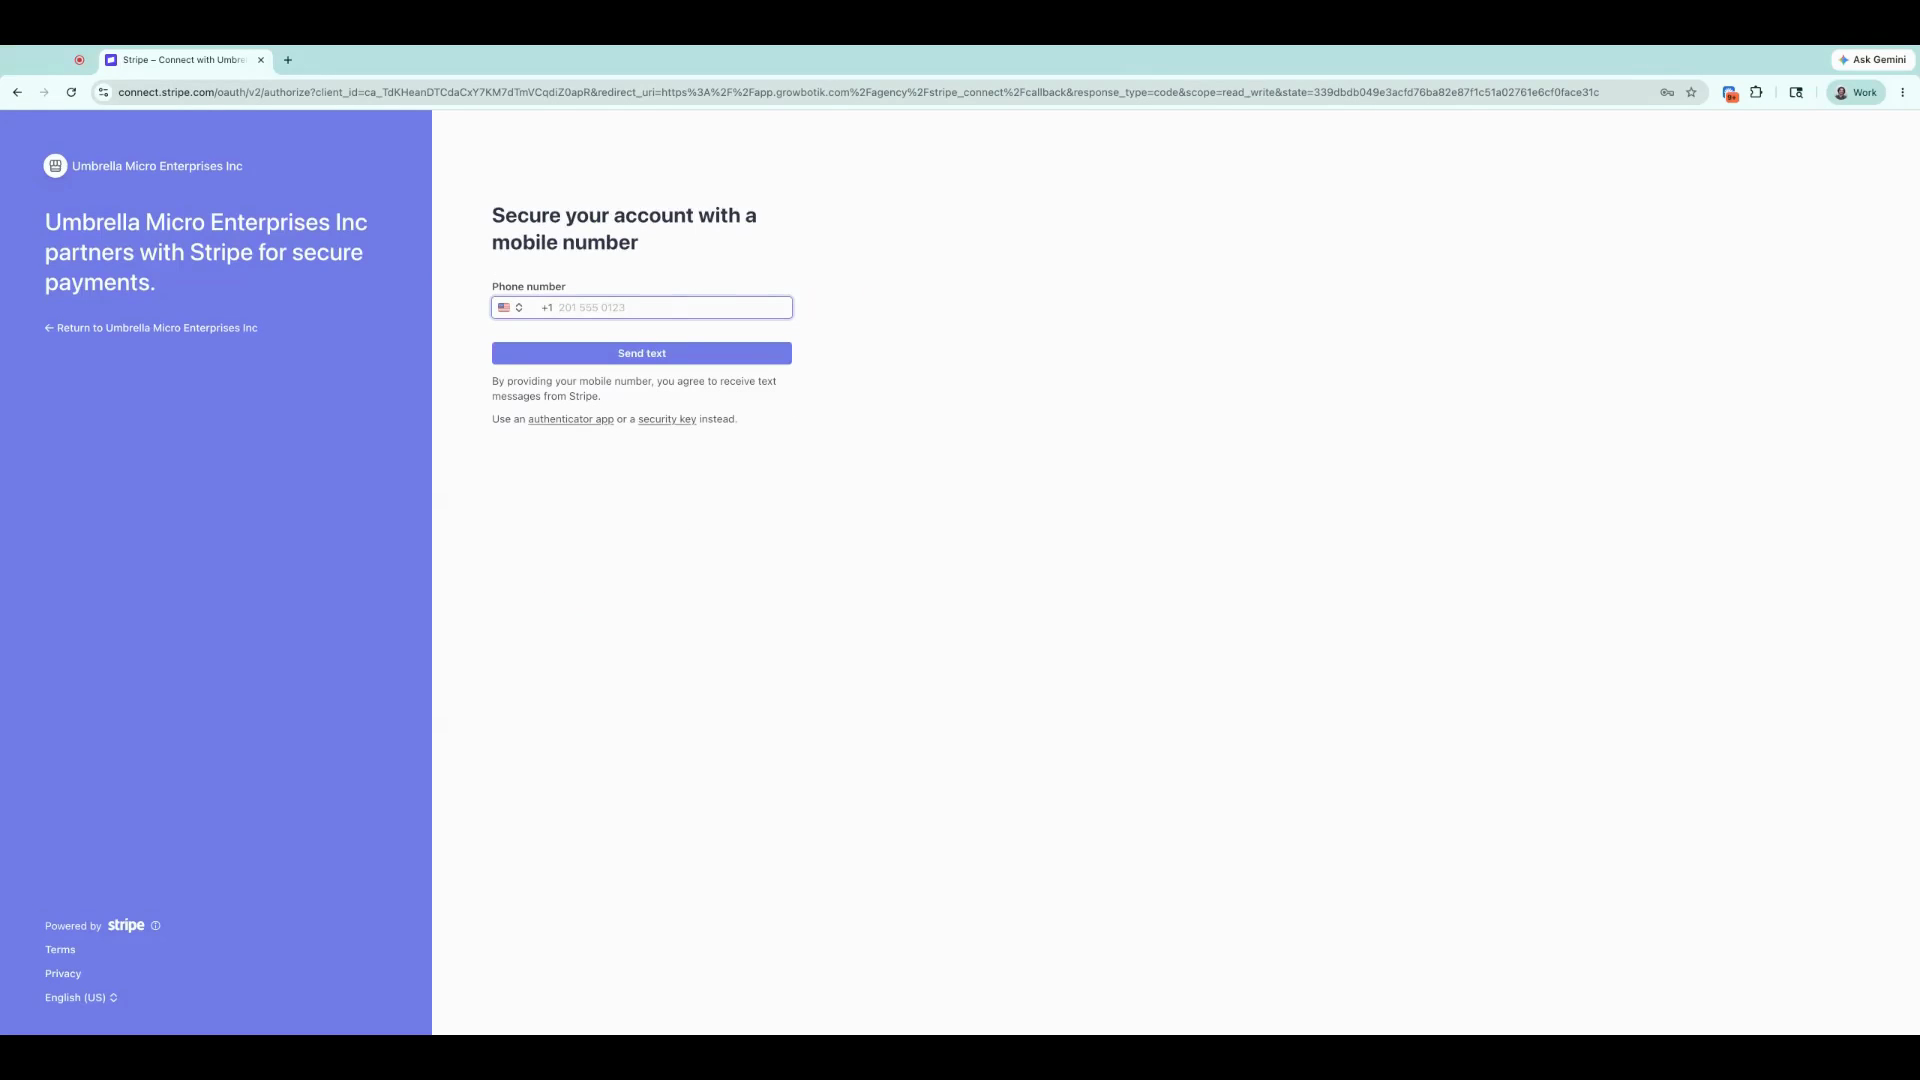
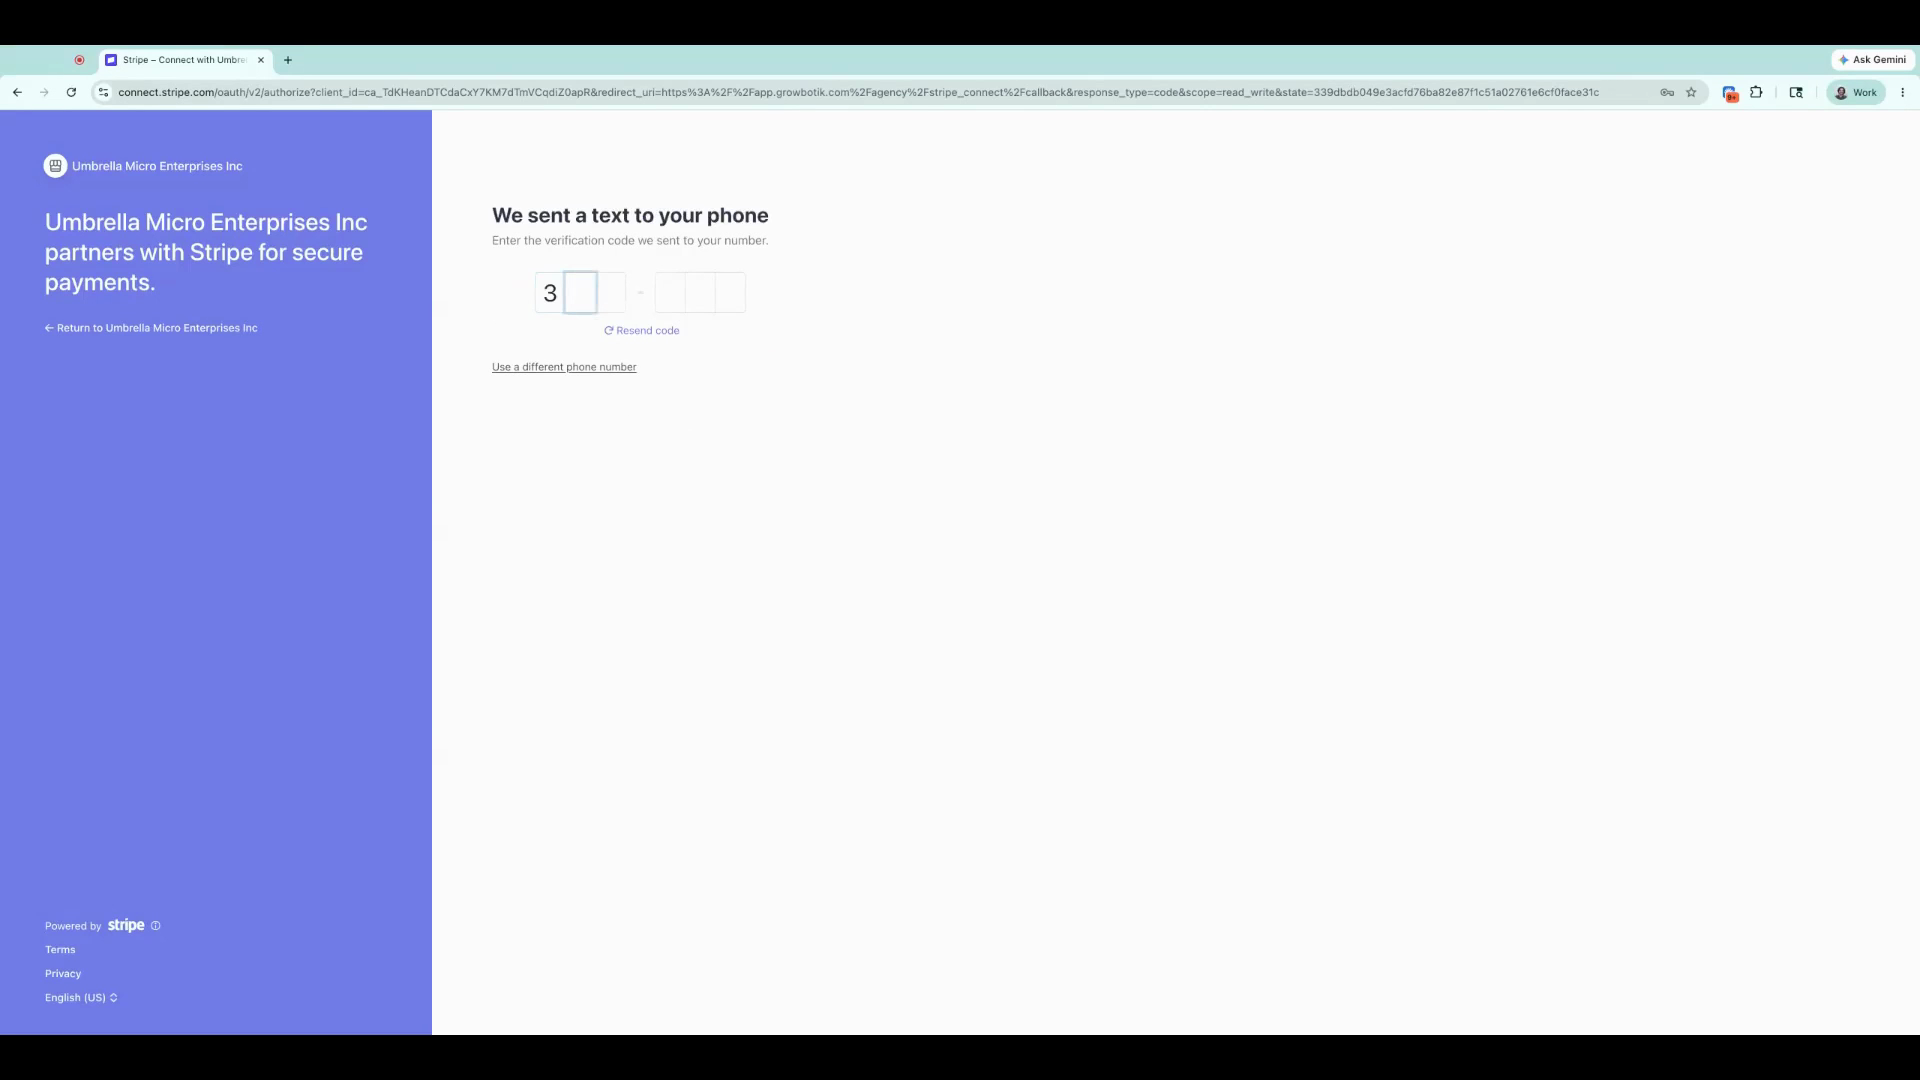
Enter the code received by text message.
Note your emergency backup code in case you lose access to your account. Download or copy the backup code and save it in a secure location. Then click Next to continue.
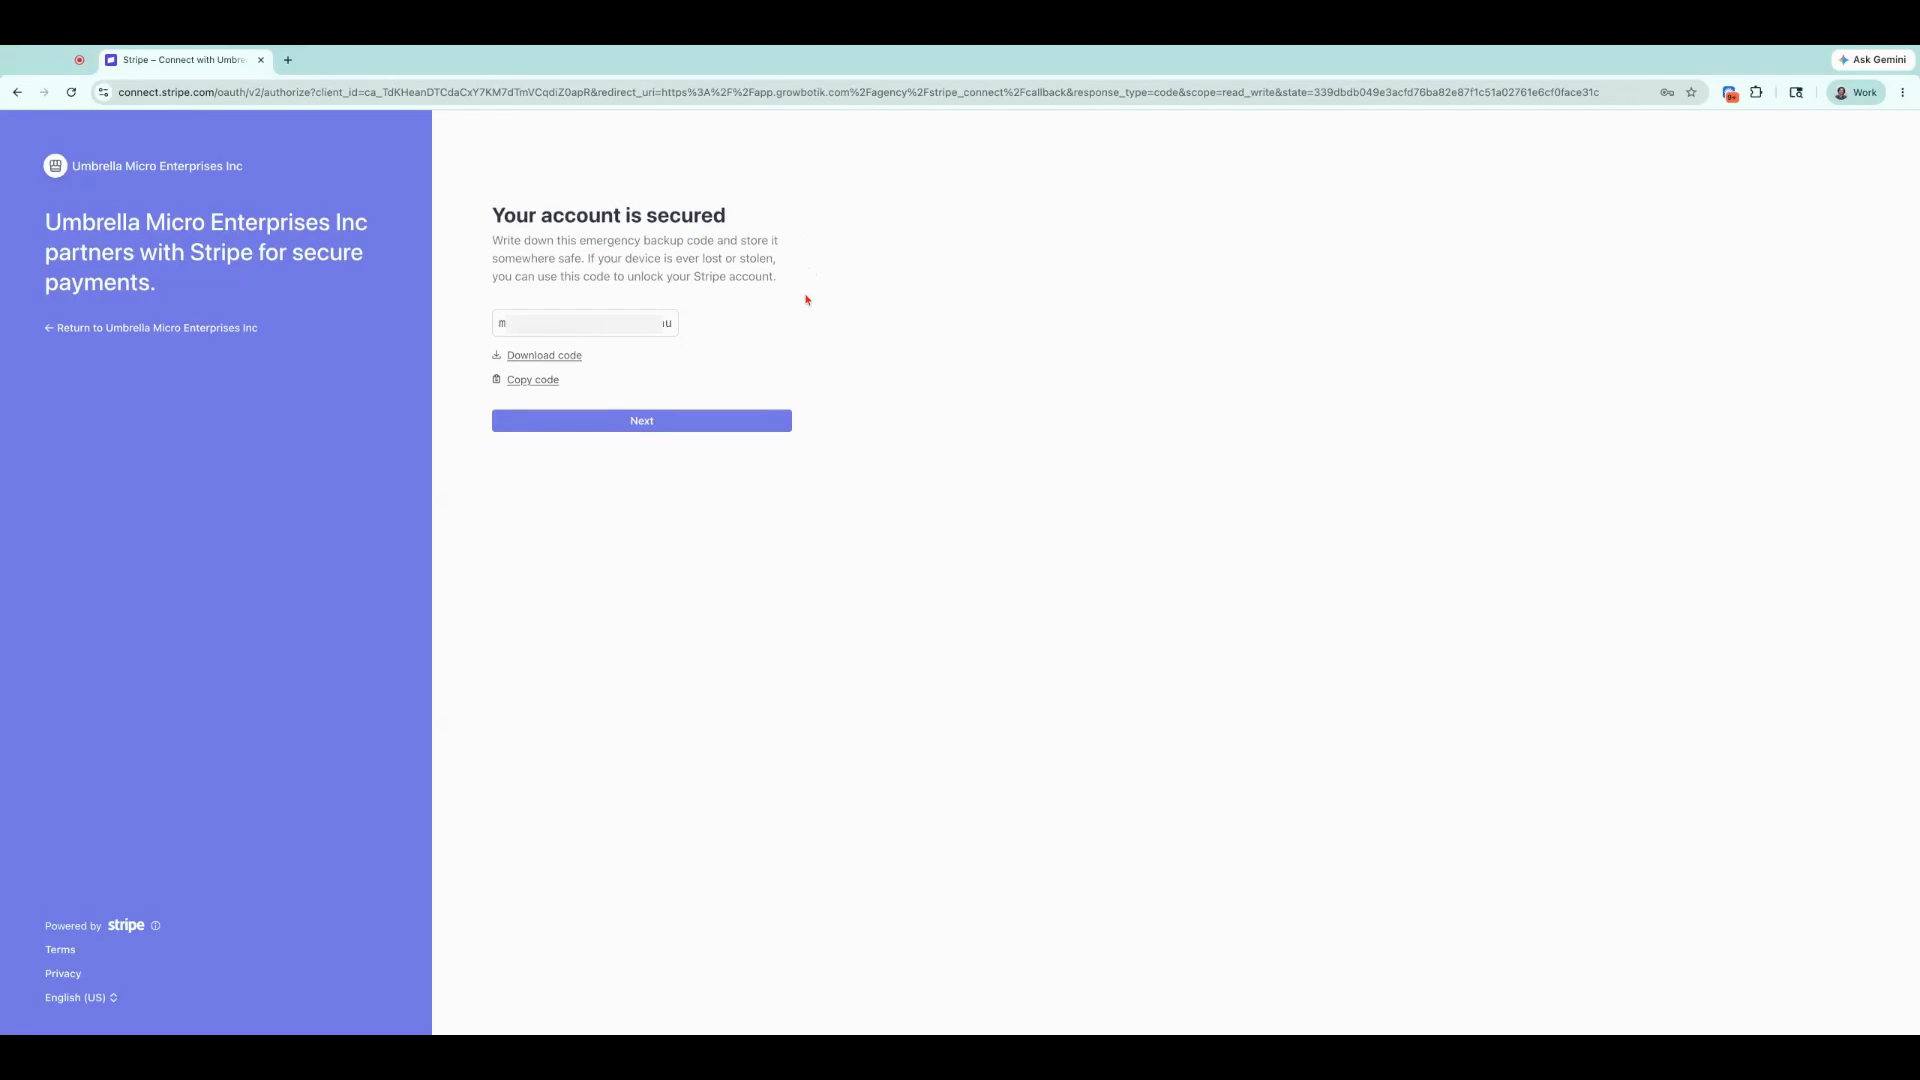
Select your location. The United States is the default for US-based businesses.
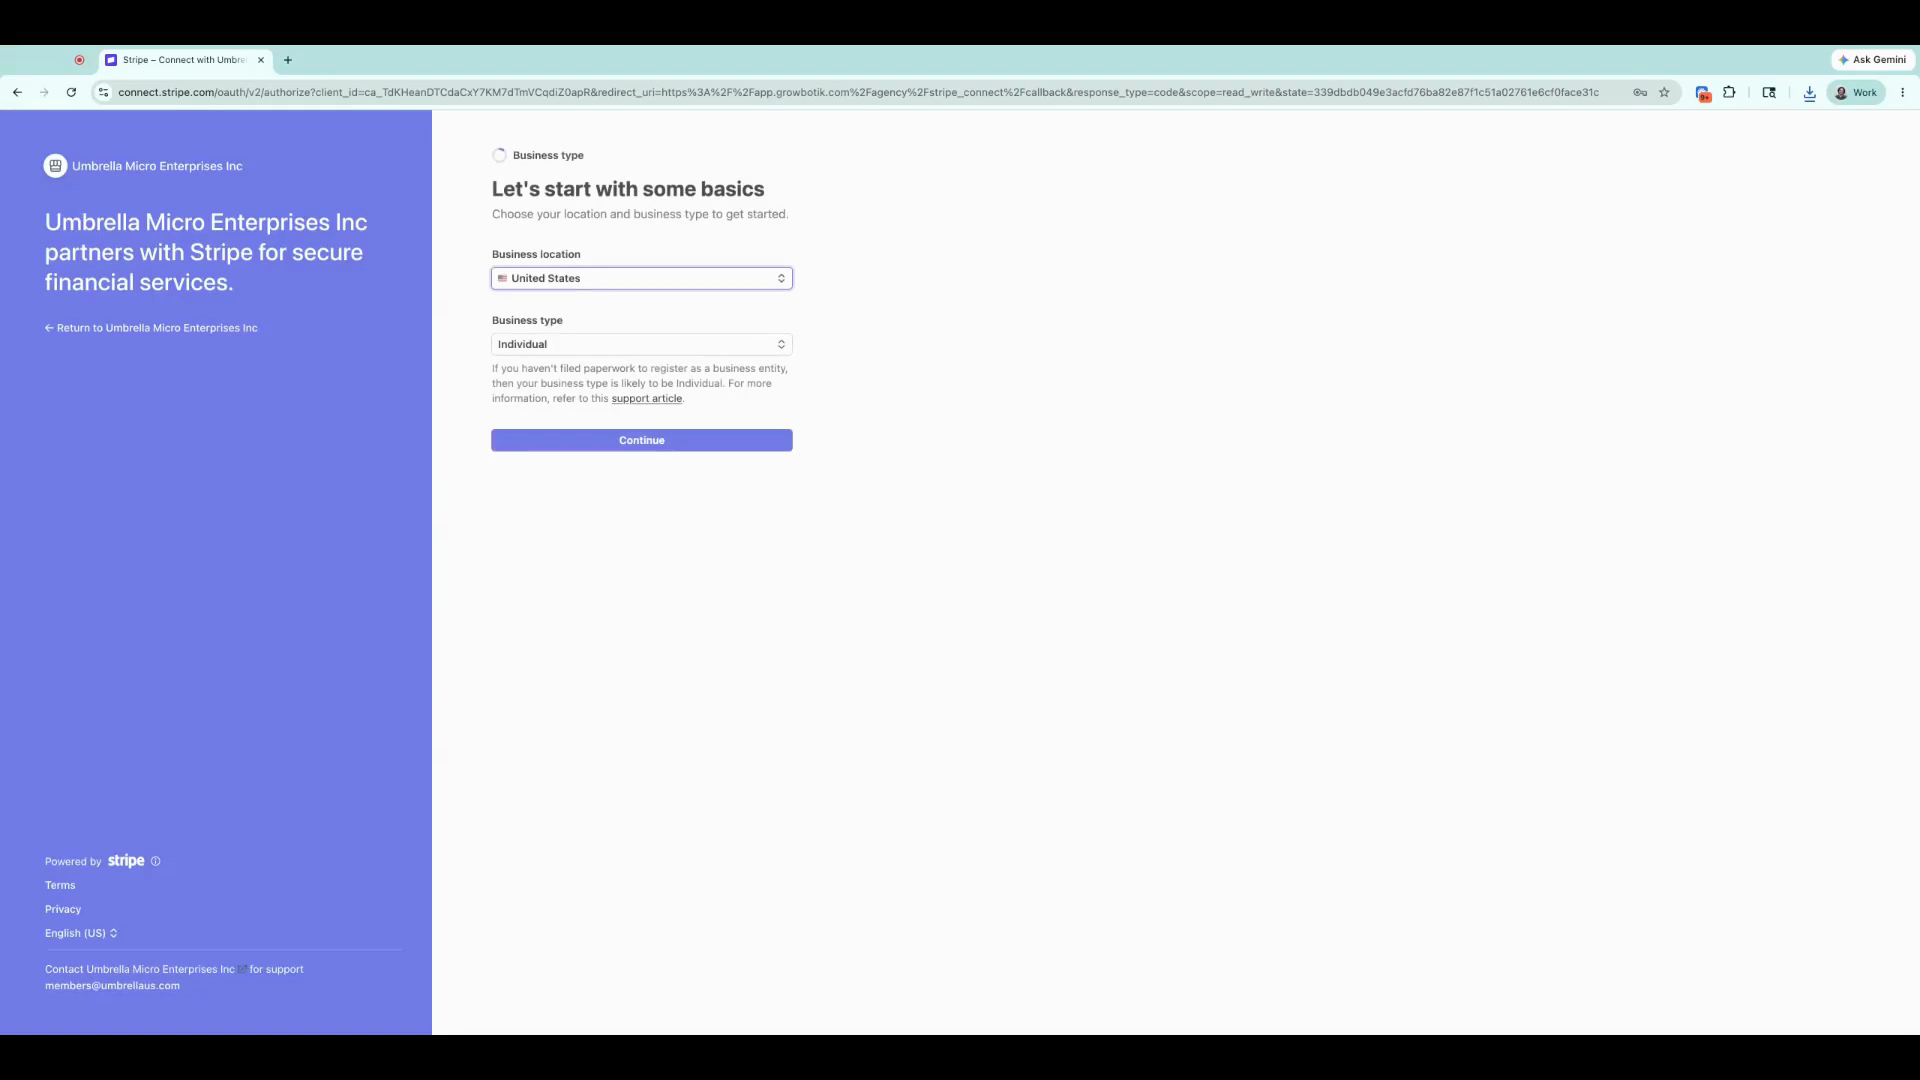
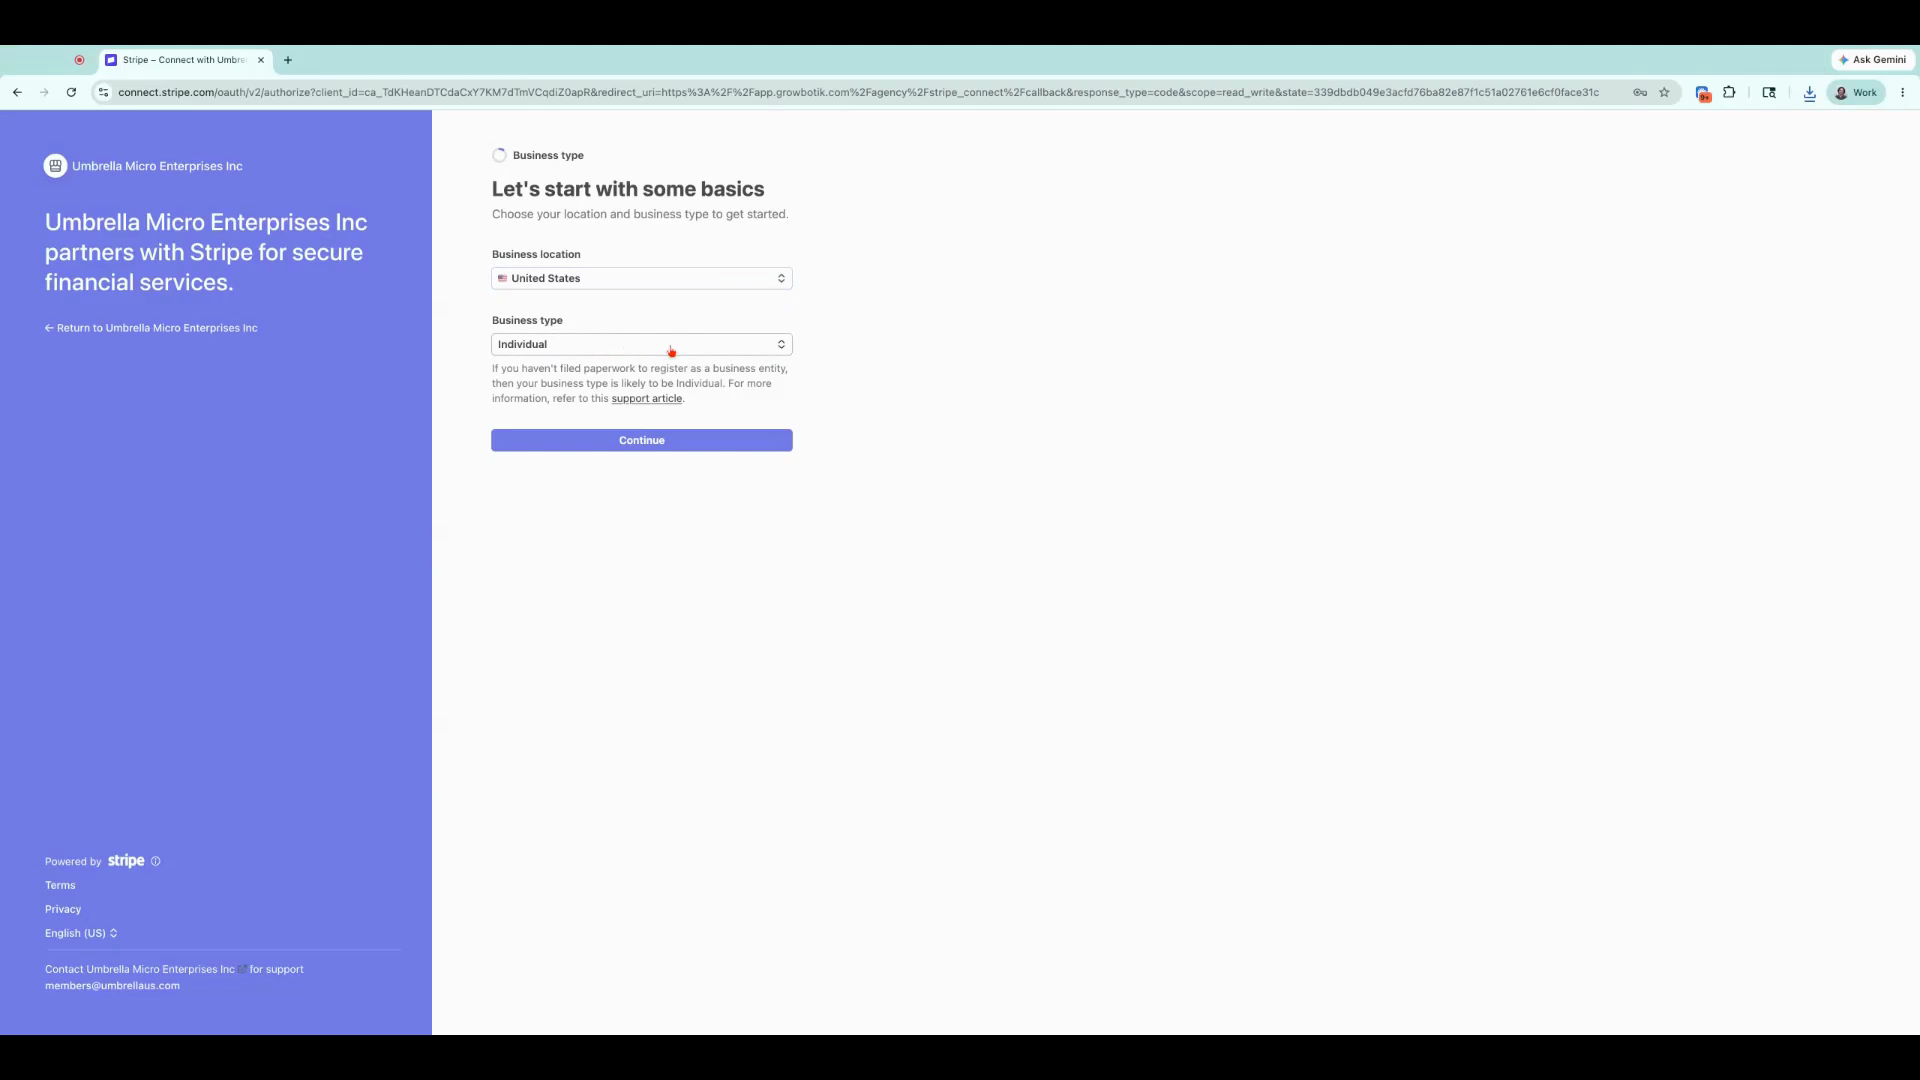
Choose your business type. For most freelancers or sole proprietors, select Individual. Once you have chosen your location and business type, click Continue.
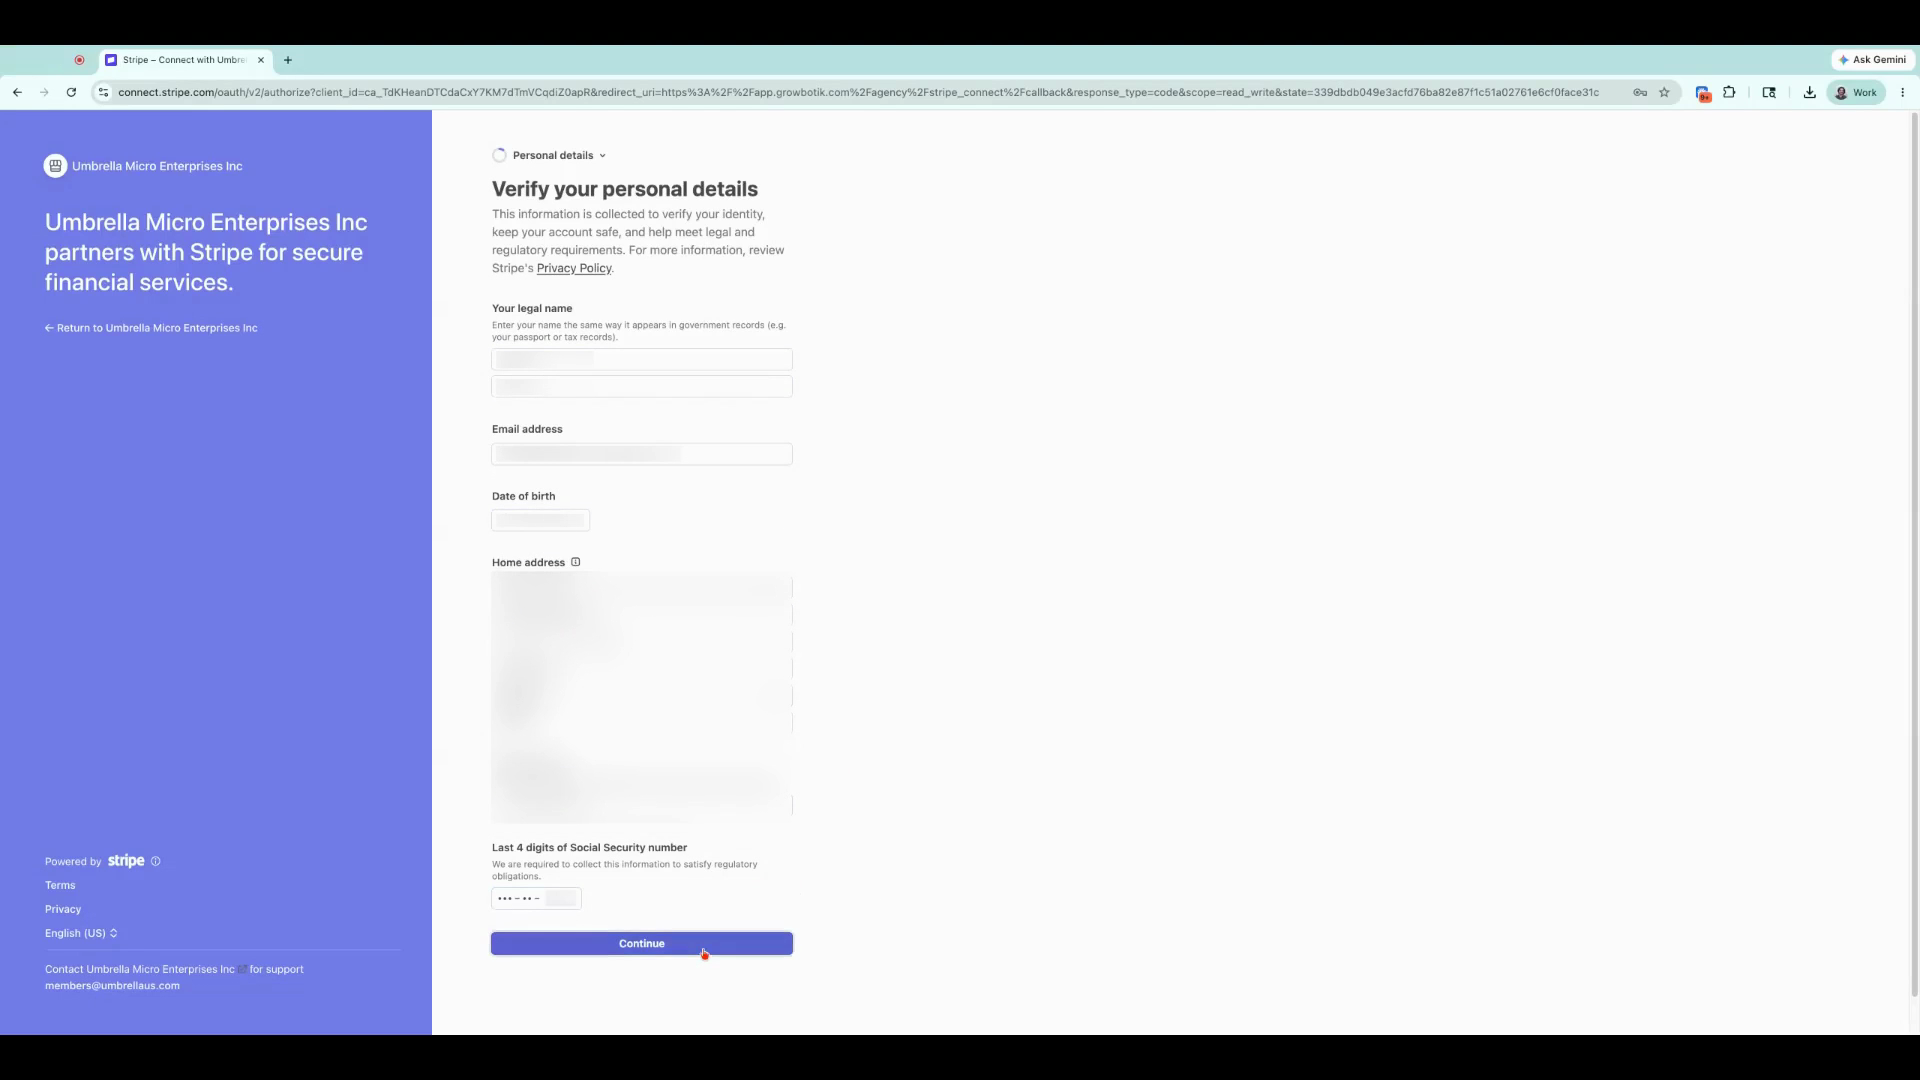
Enter your personal details, including legal name, date of birth, address, phone number, and last four digits of your Social Security number.
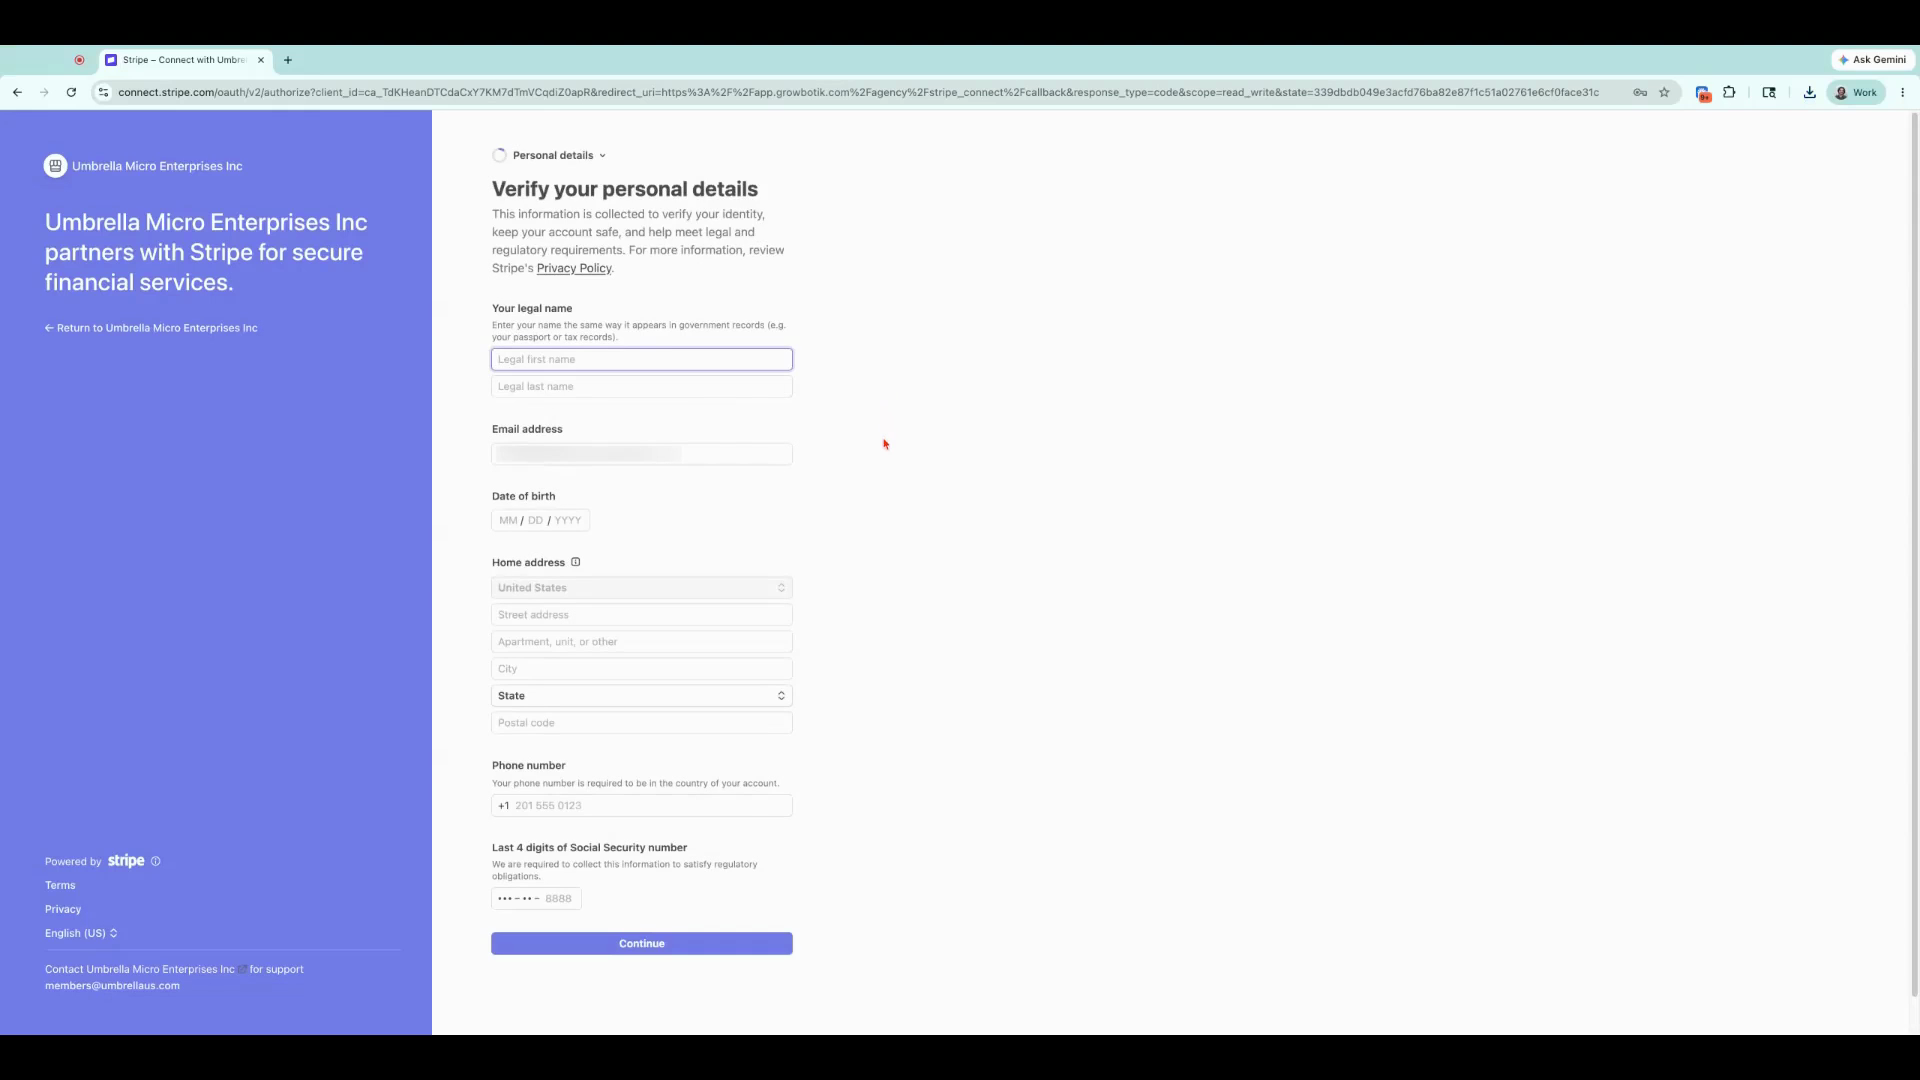
After confirming all information is correct, click Continue
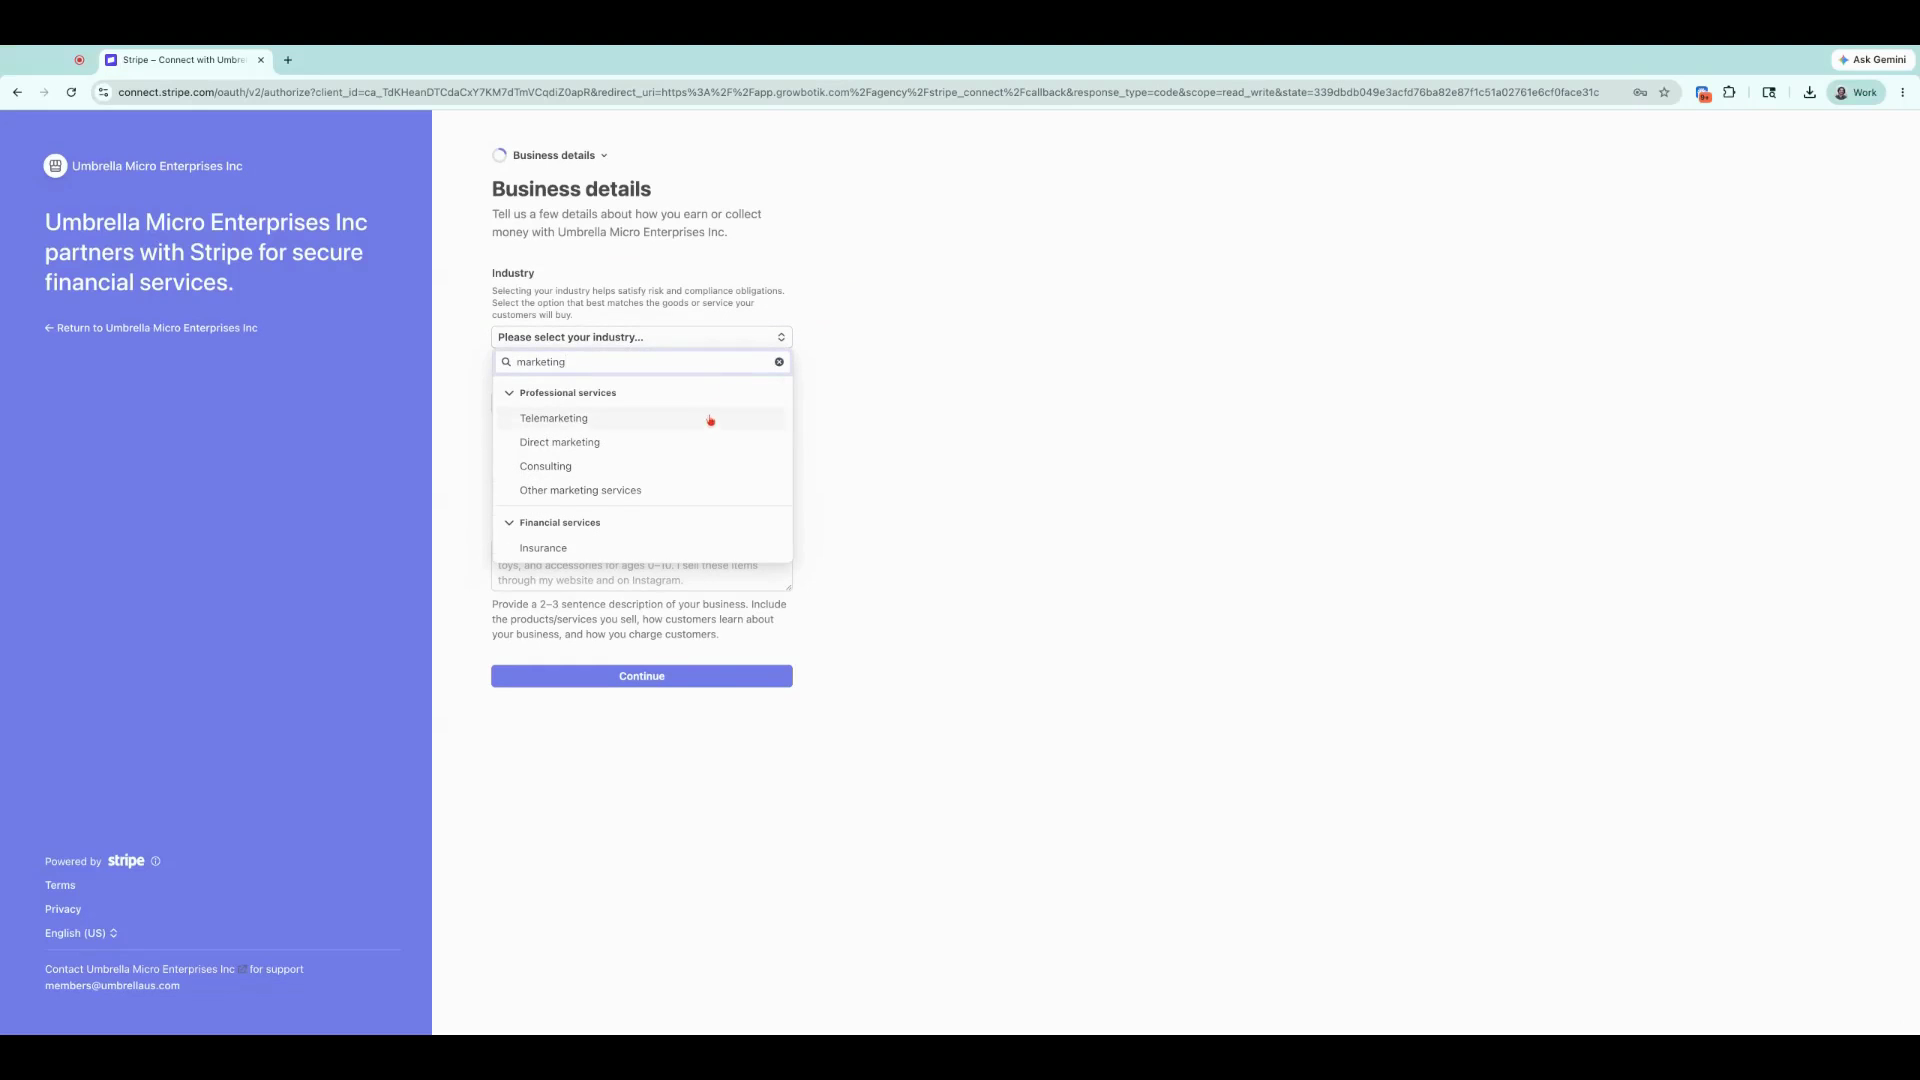
Enter your business details. Select the Industry relevant to your business by typing in "Marketing" and selecting "Other marketing services".
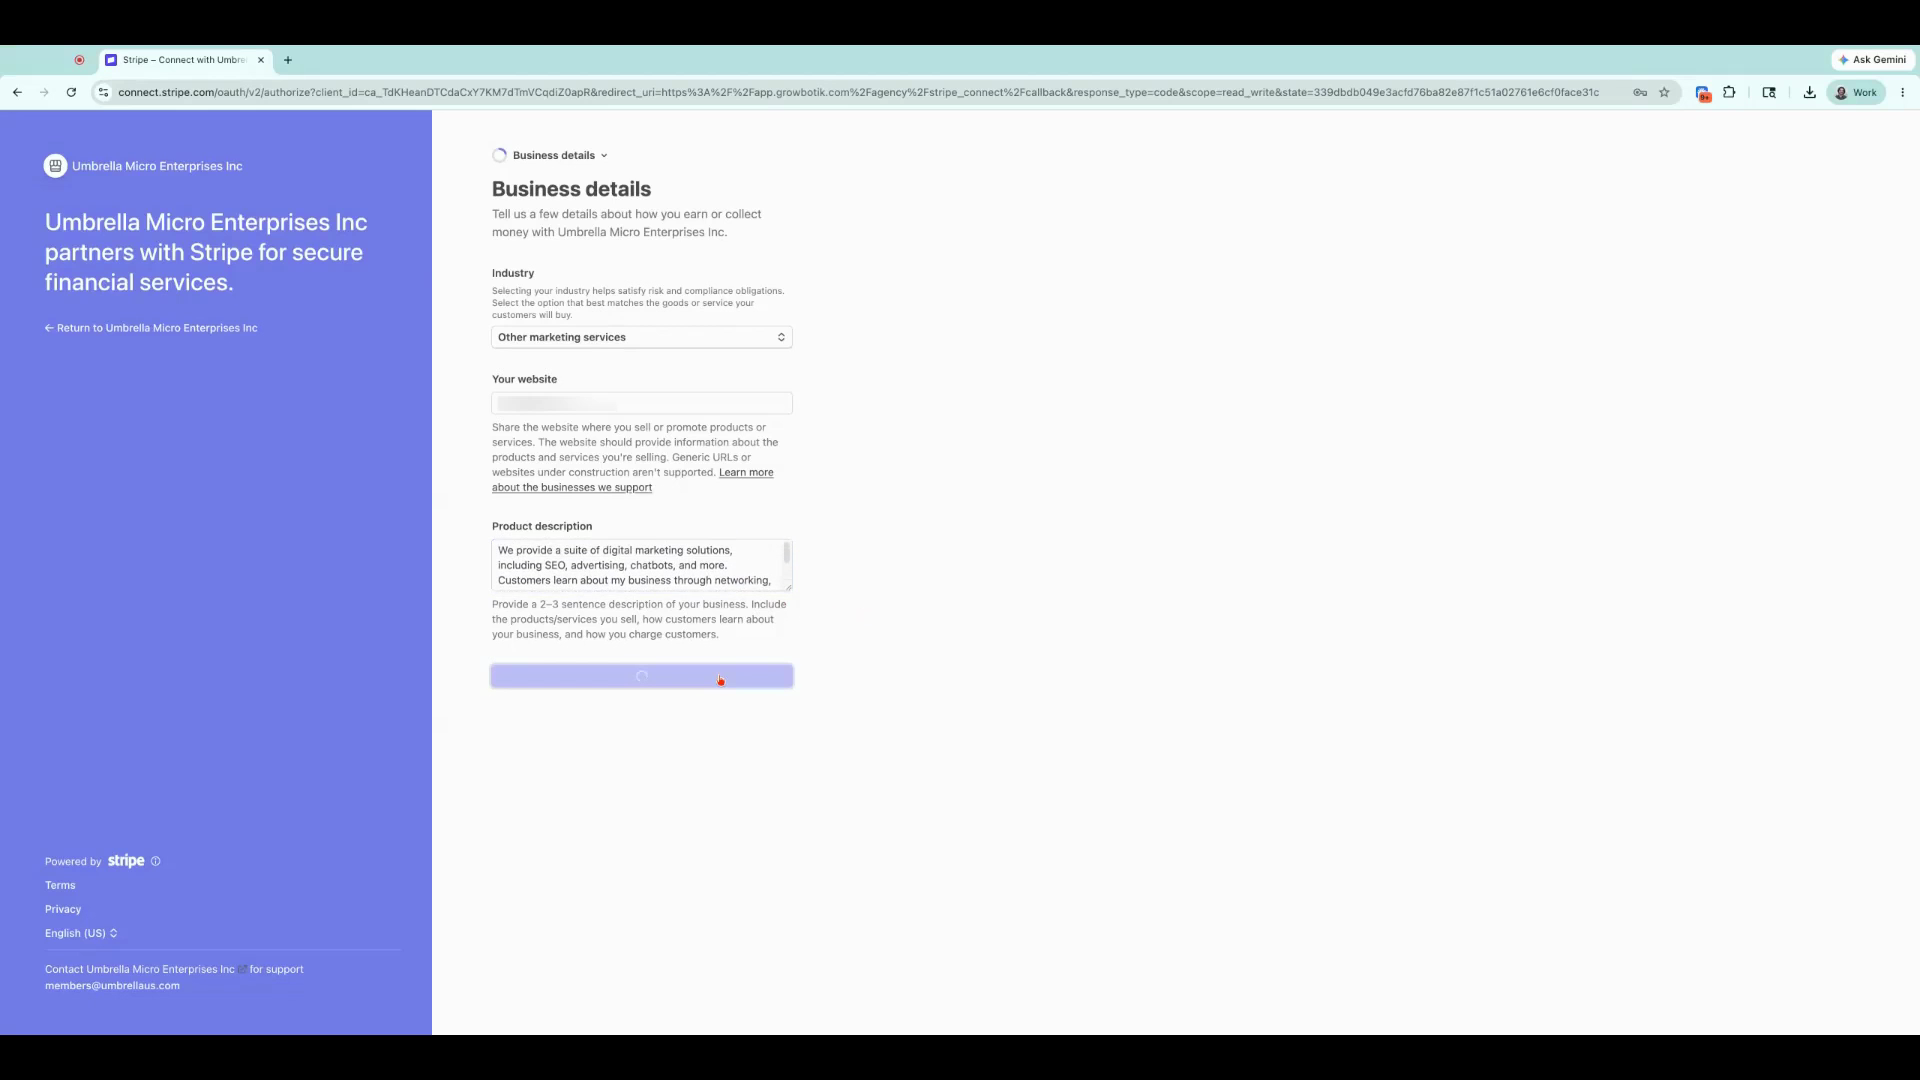
Write a short description of your products, services, and how customers find and pay for your business. Then click Continue.
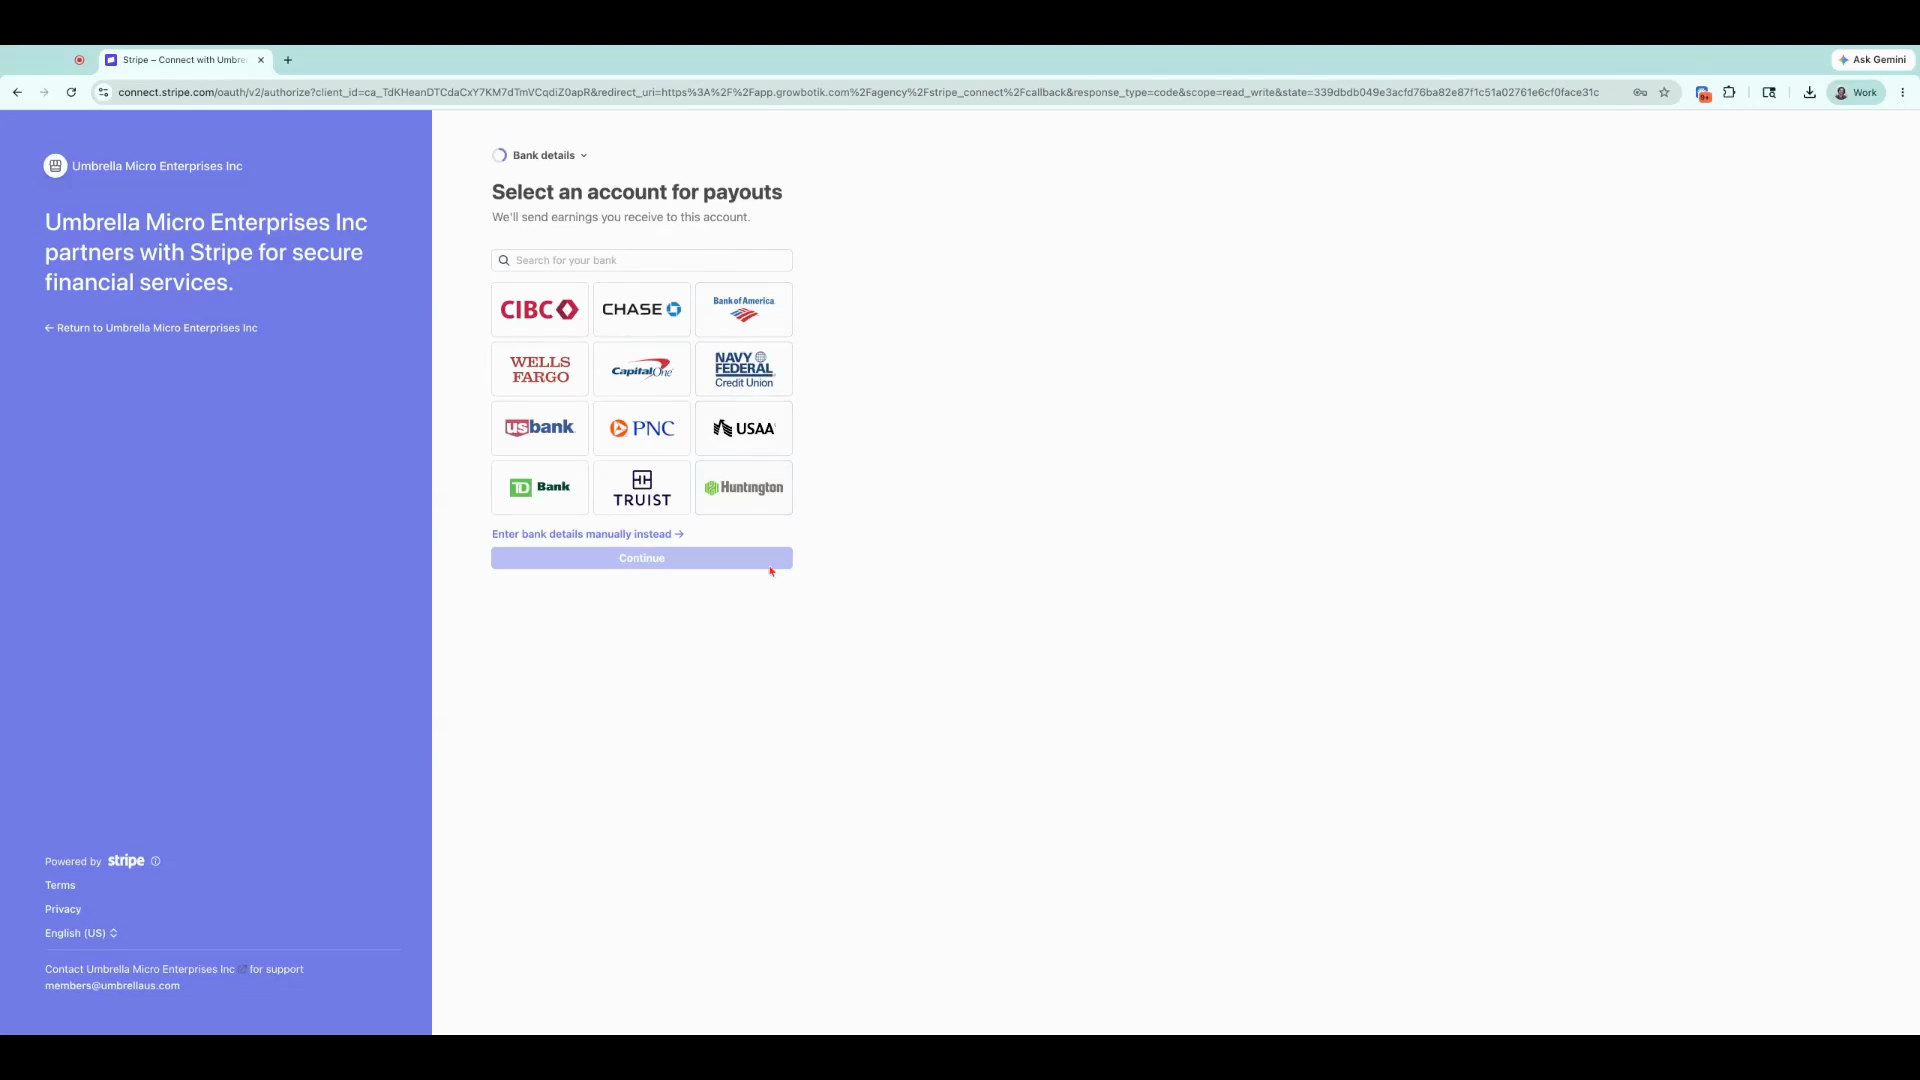
You’ll be asked for bank details. You can either search for your bank, or enter the details manually. For this example, we'll choose to manually enter your bank details.
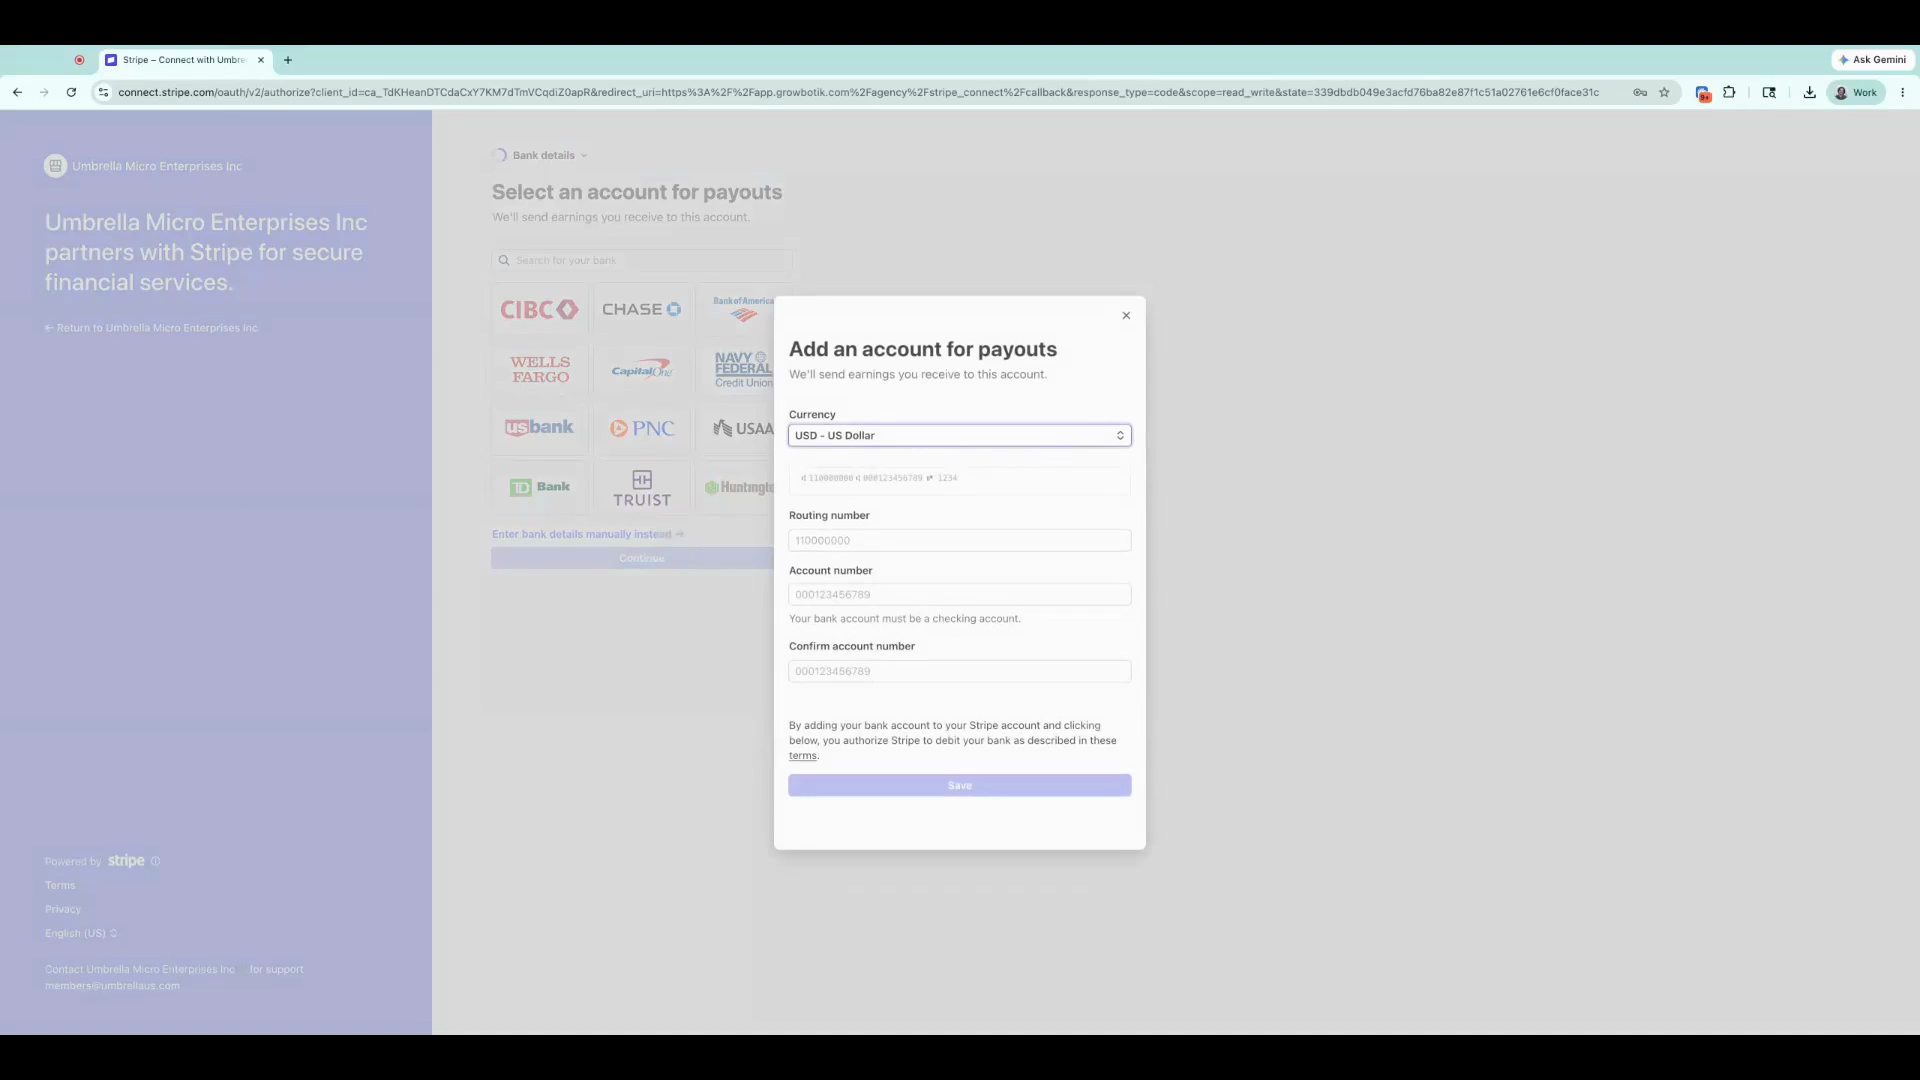
Add your routing and account numbers and confirm them. Save the details.
Verify that your account information is correct and selected.
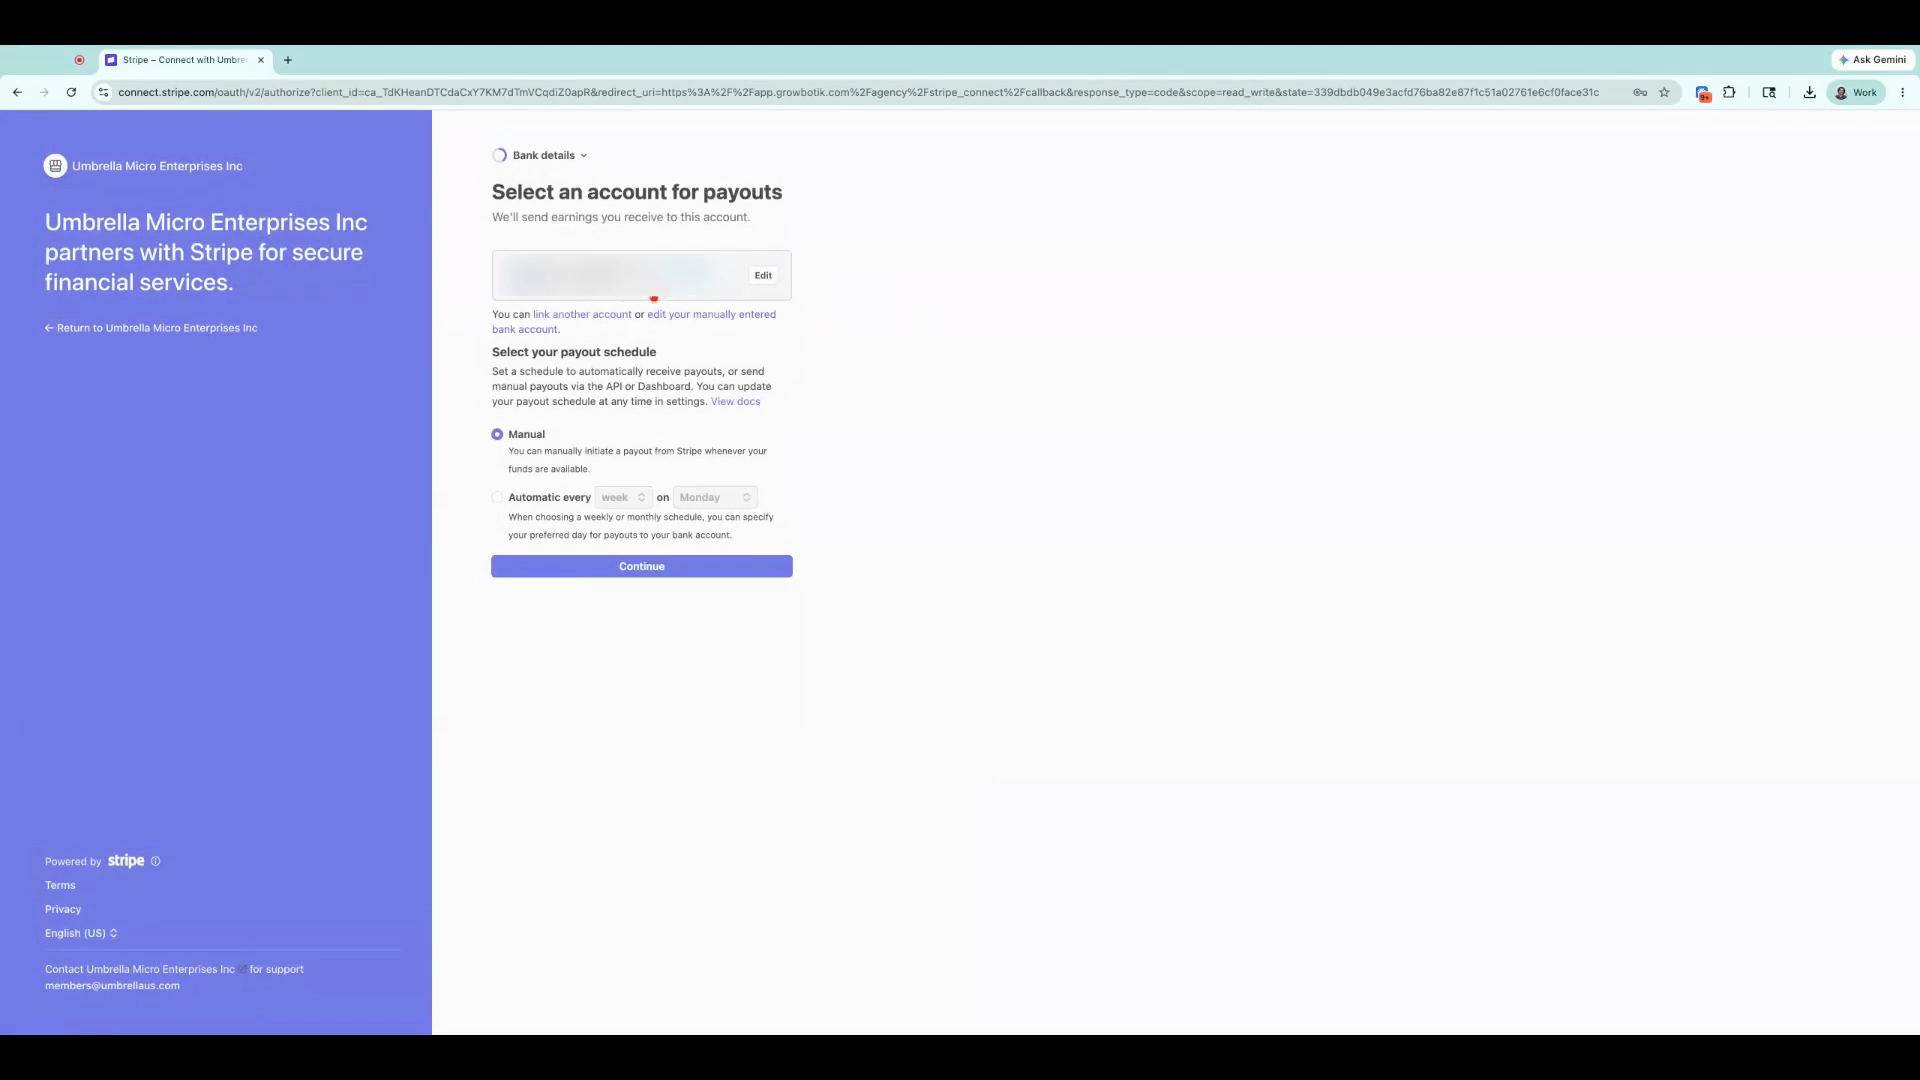
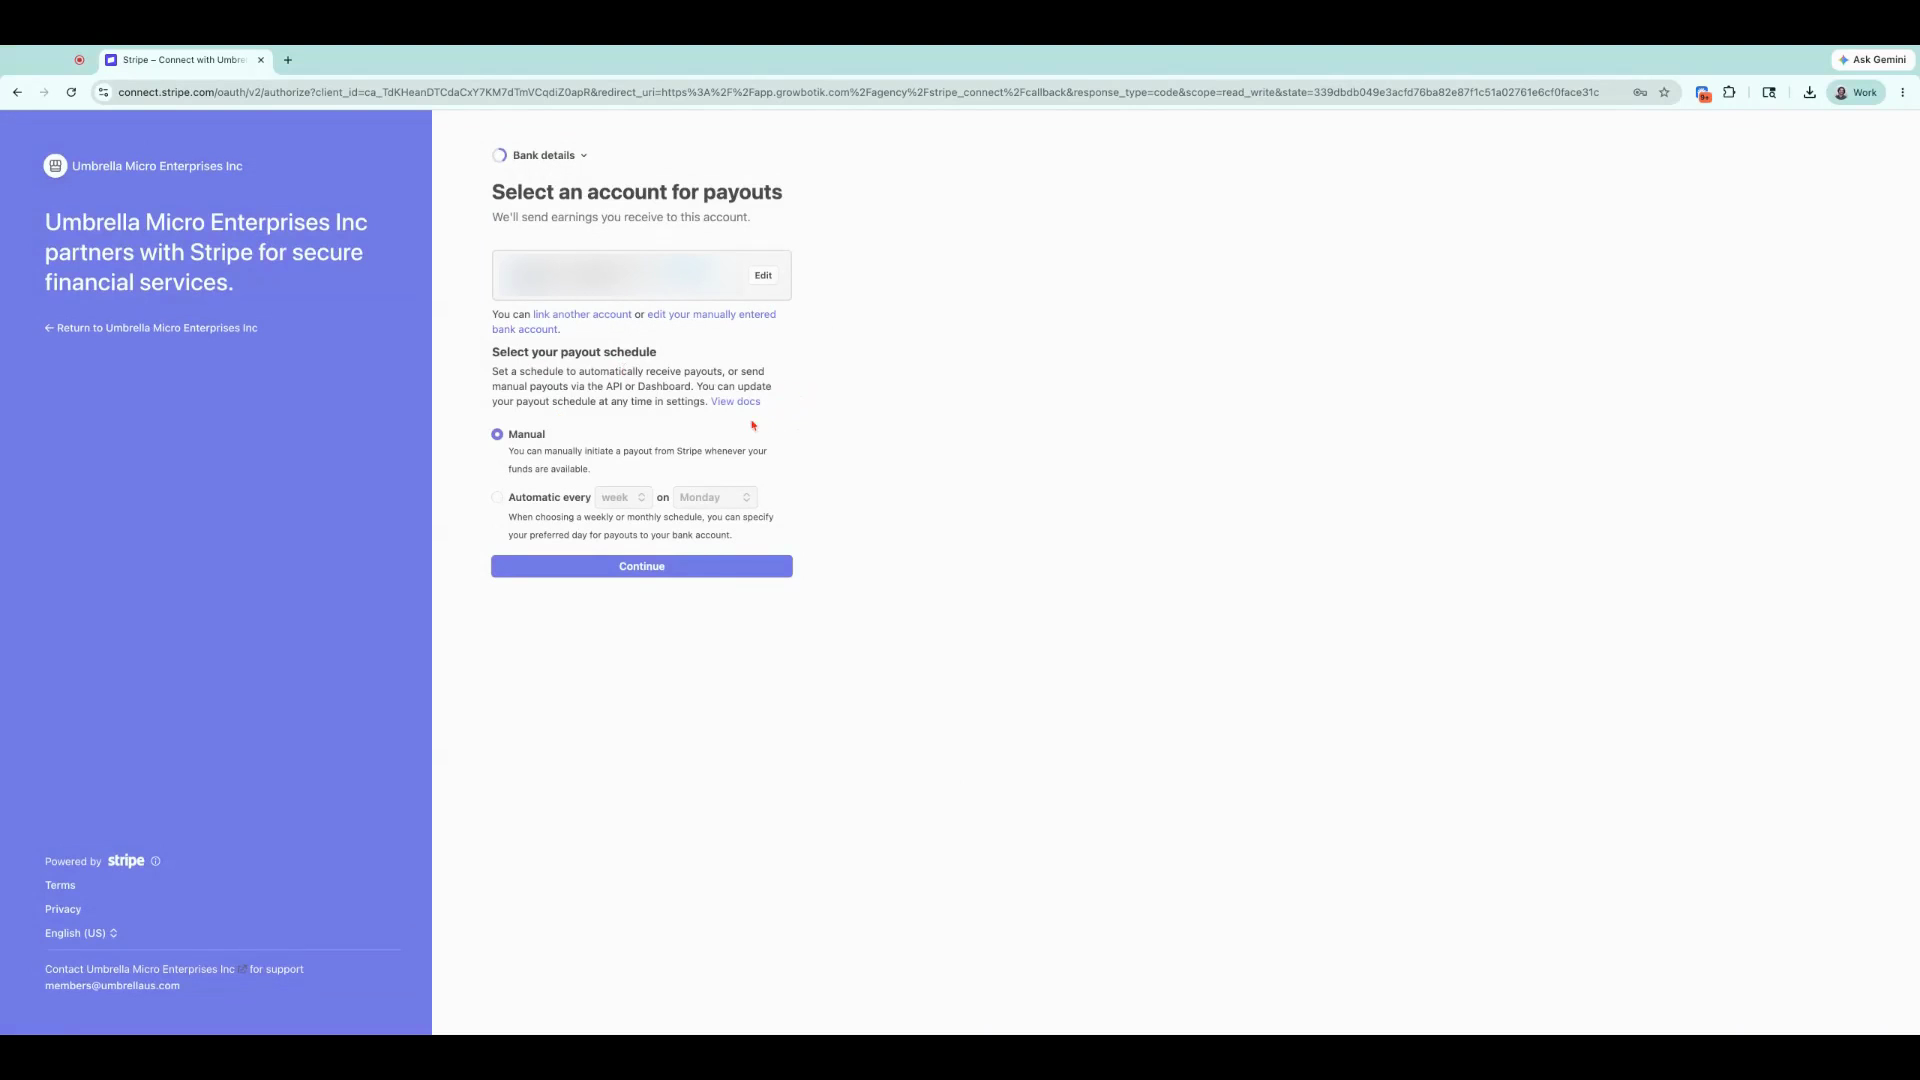
Choose your payout schedule: manual payouts or automatic payouts at intervals. For this example, we'll leave payouts as manual. Once finished, click Continue.
Enter a statement descriptor (business name or URL) for how your business appears on customer statements.
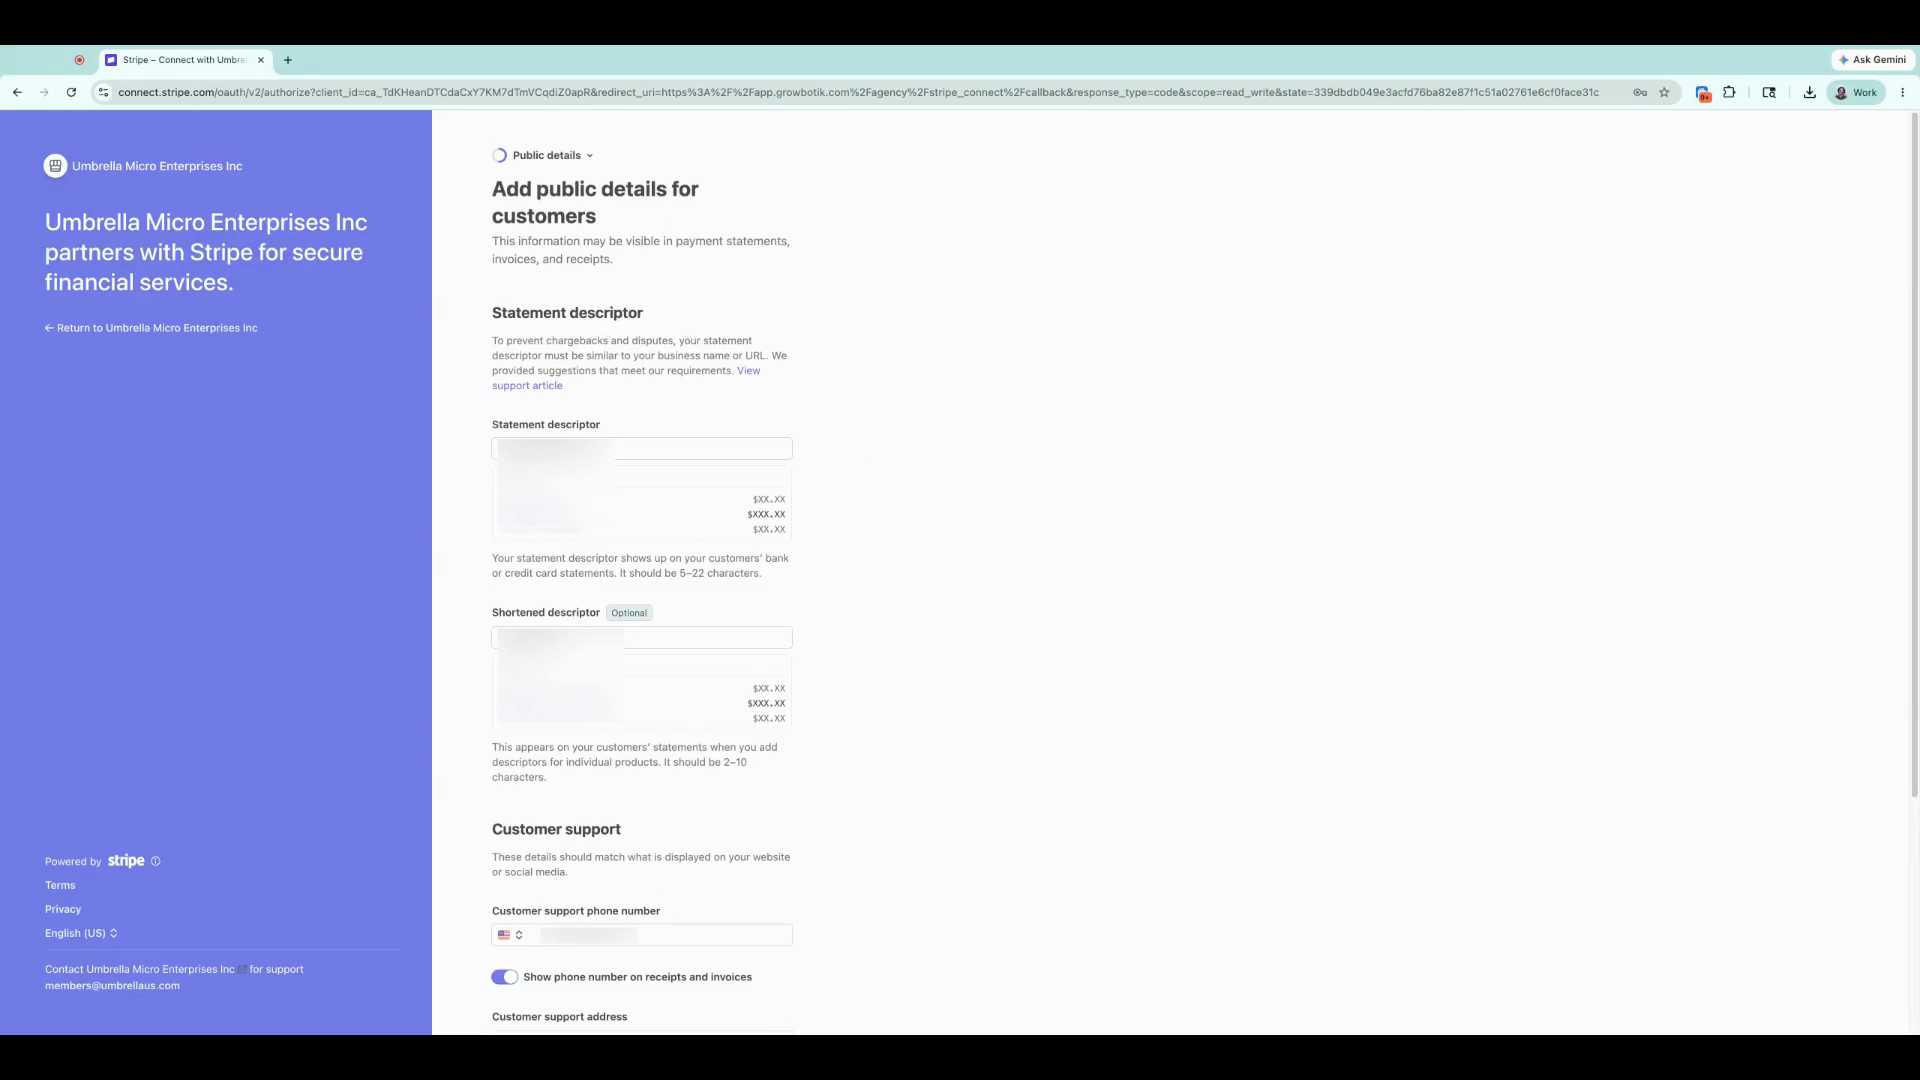
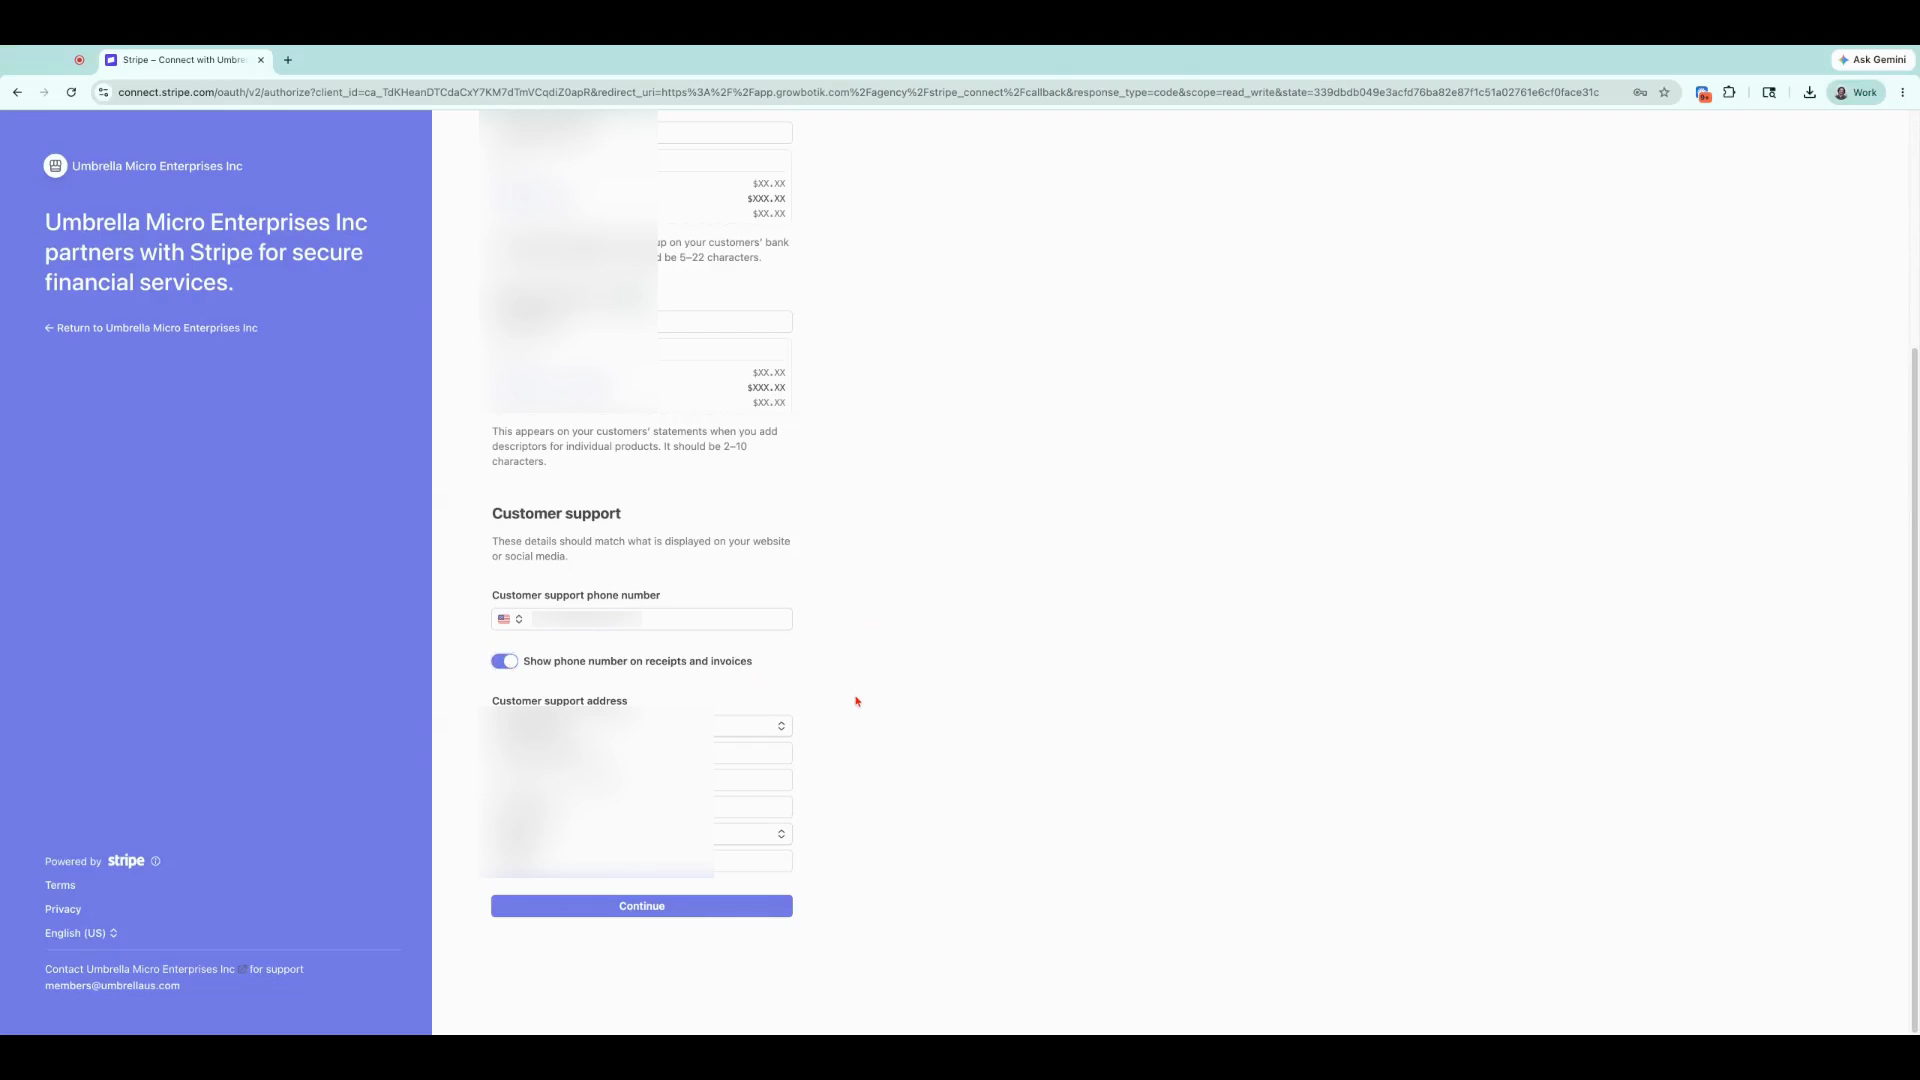
Add a shortened descriptor (2–10 characters) as well as your customer support phone number. Decide whether to display the support number on receipts and invoices. Enable as needed.
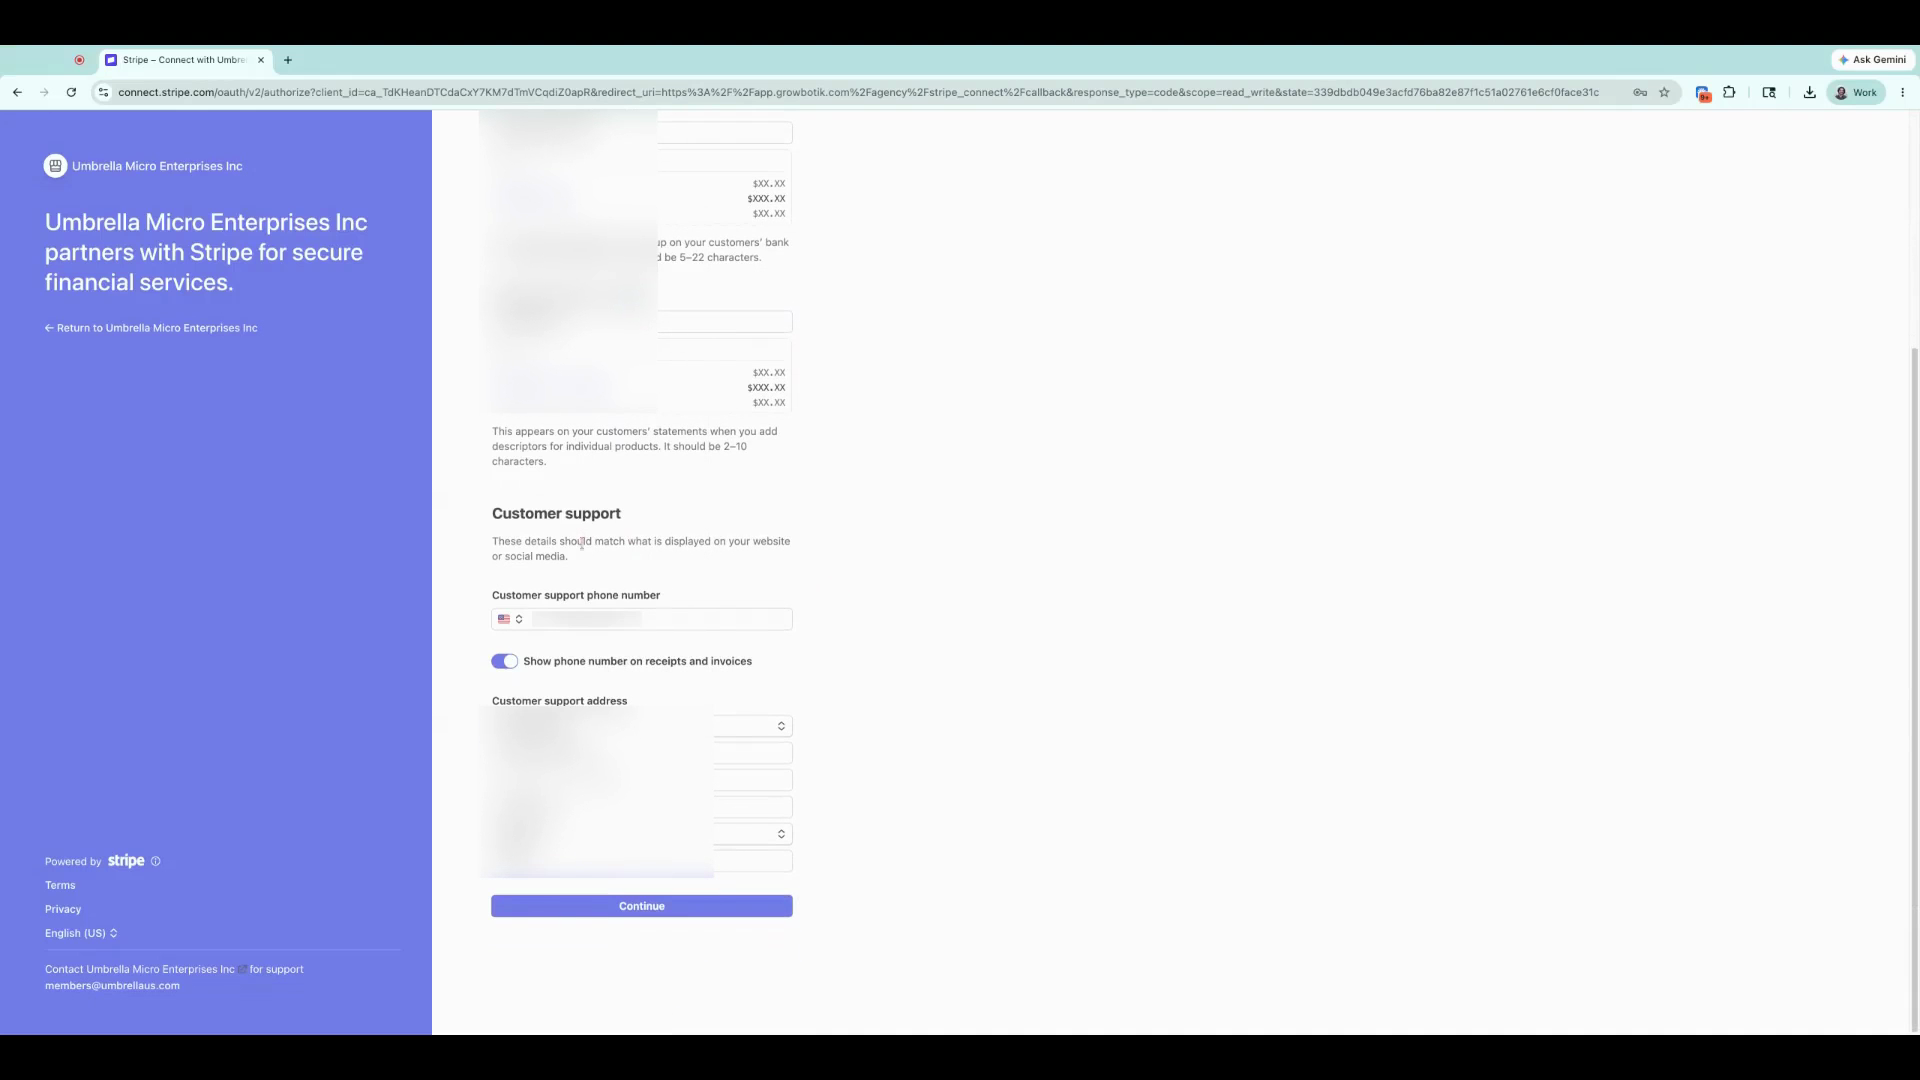
Decide whether to display the support number on receipts and invoices. Enable as needed.
Also enter your customer support address. When done, click Continue.
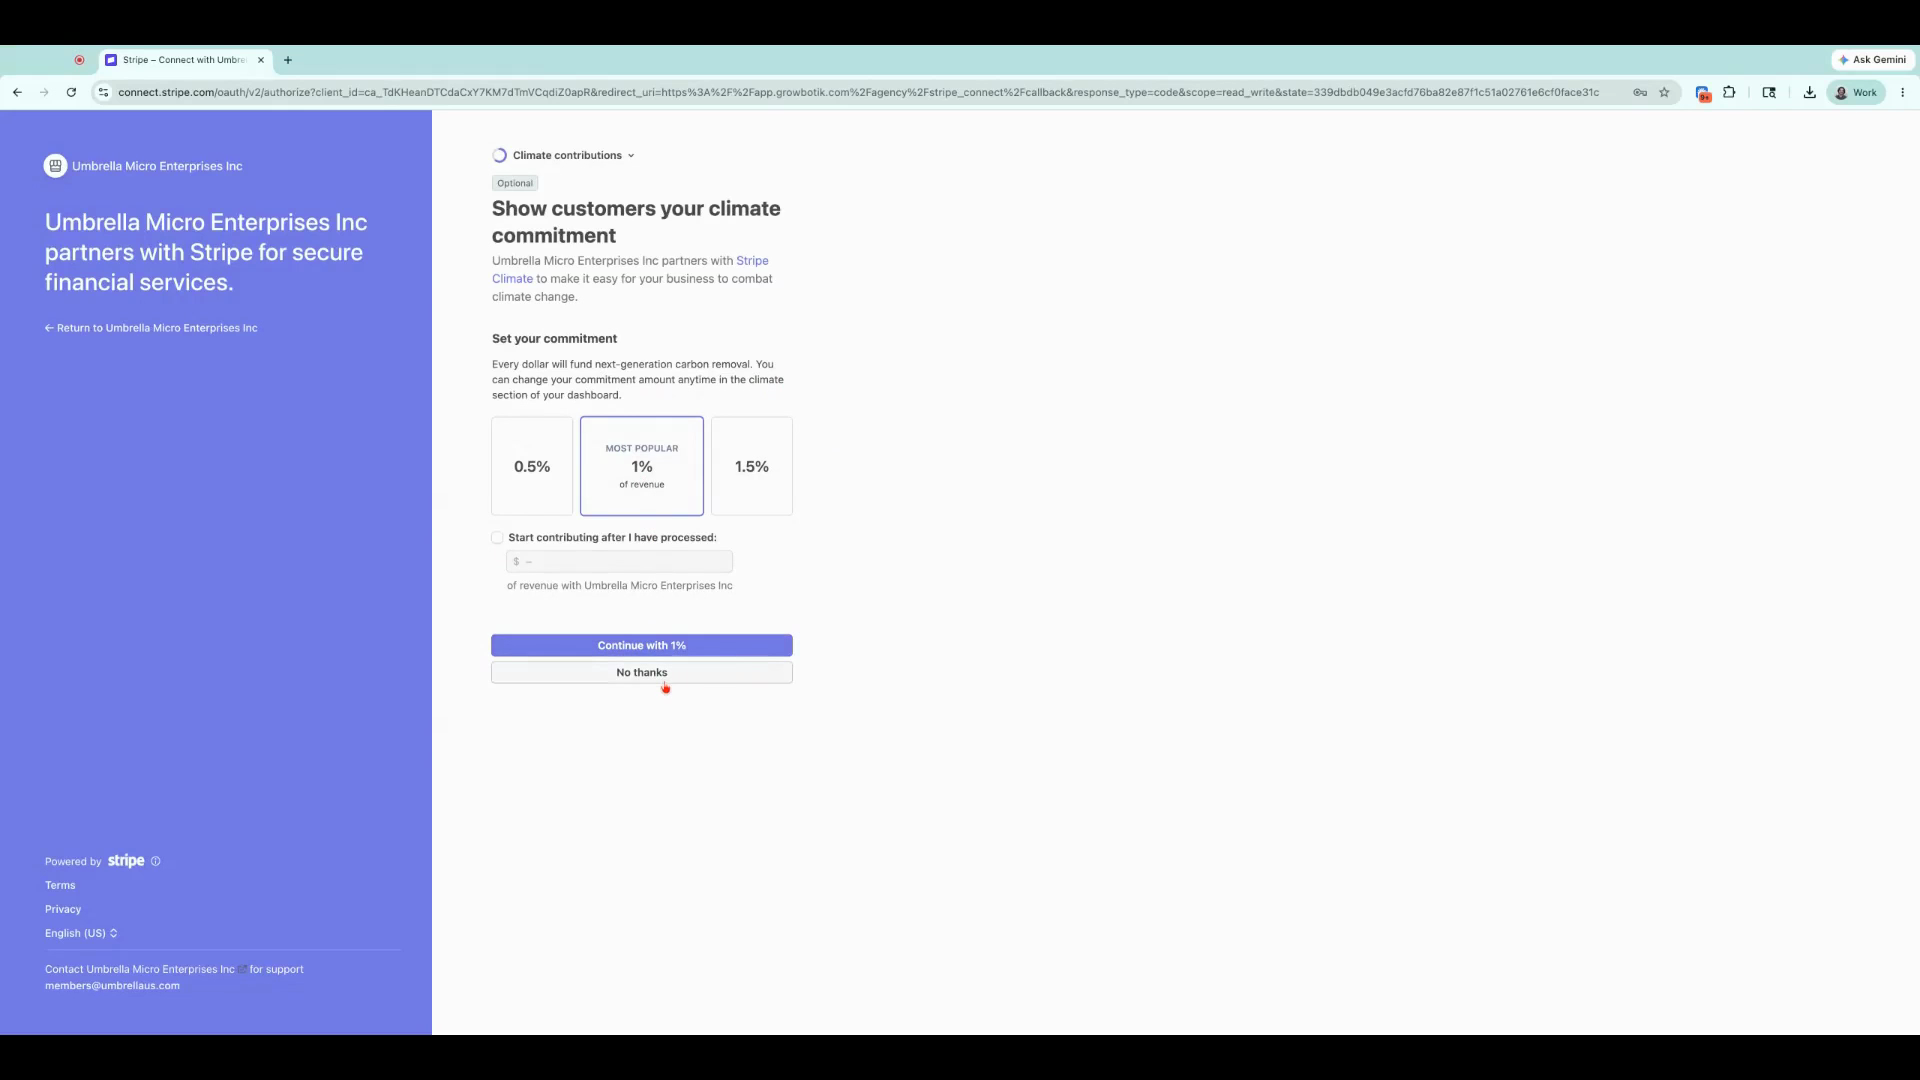
Stripe offers an optional climate commitment badge. Choose an amount to donate or select No thanks to skip.
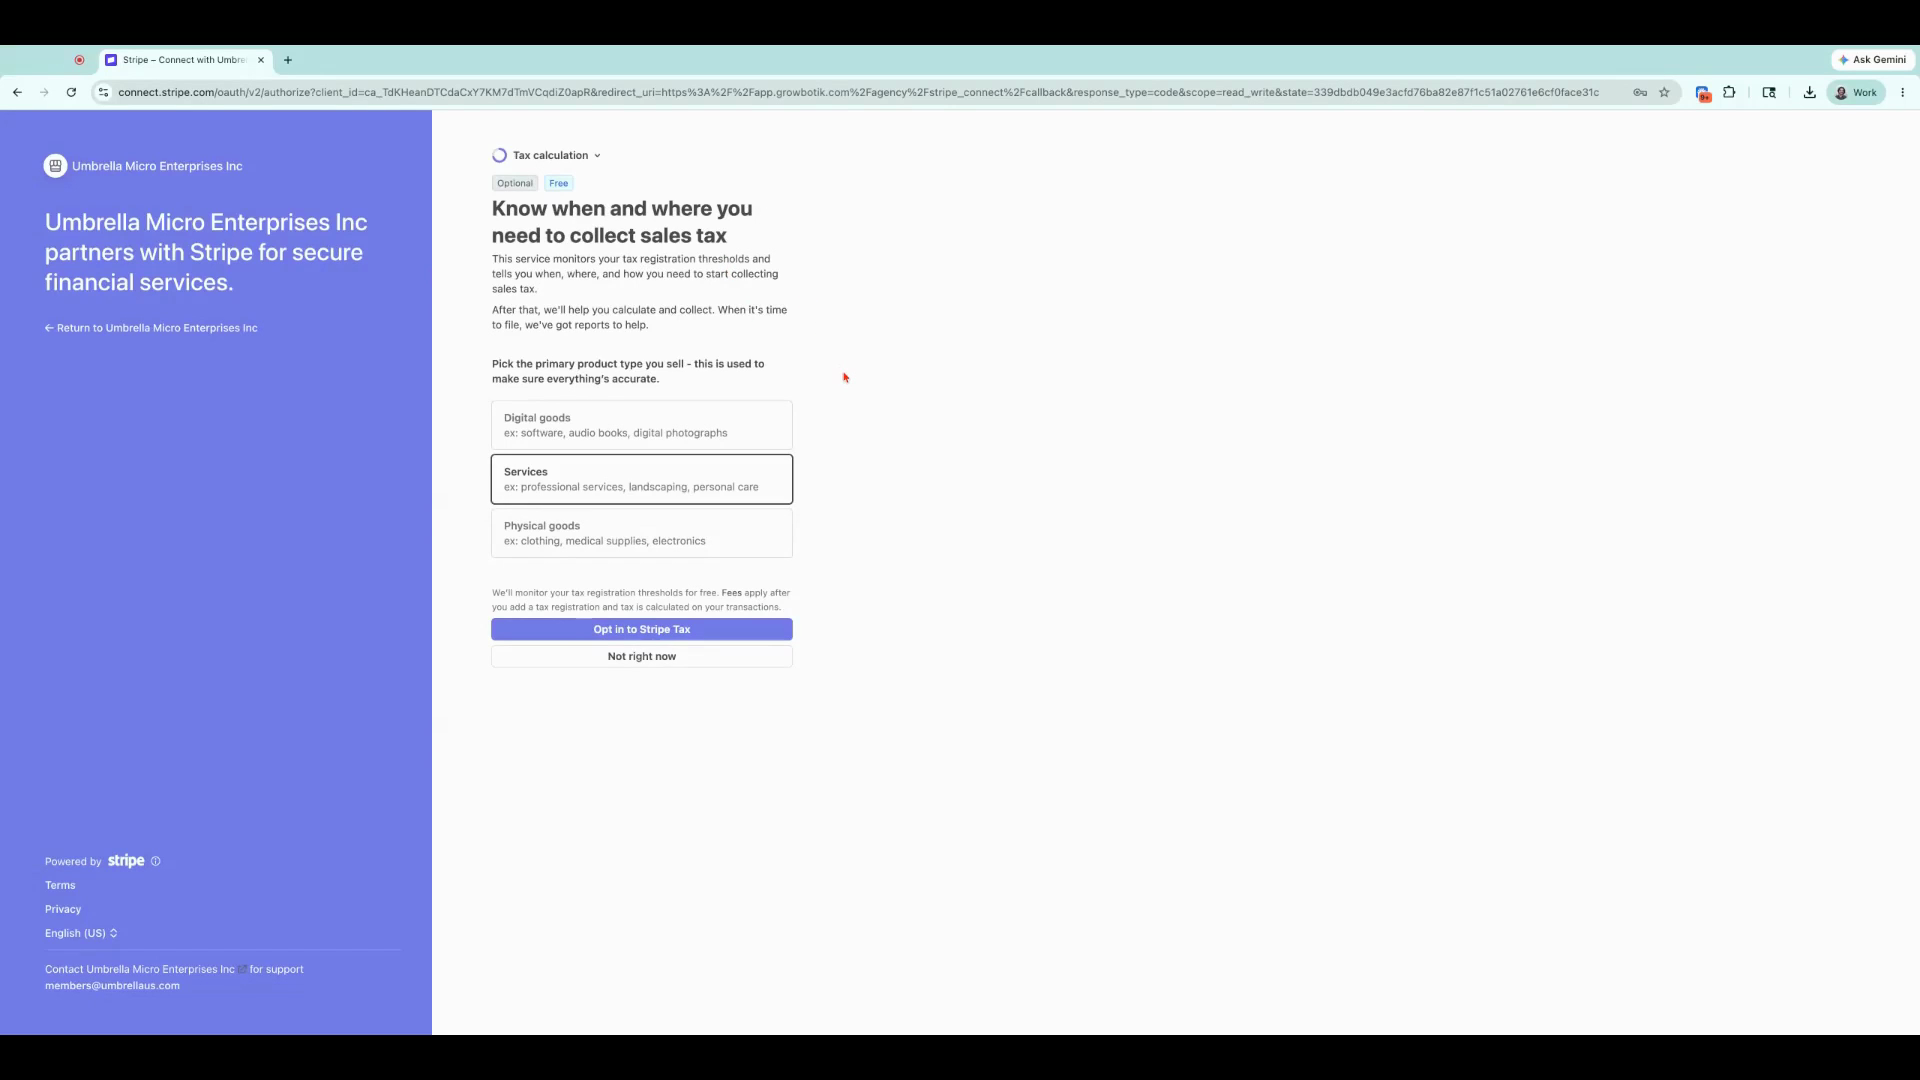
Review the Stripe Tax service offer. Select Not right now if you aren’t ready to opt in.
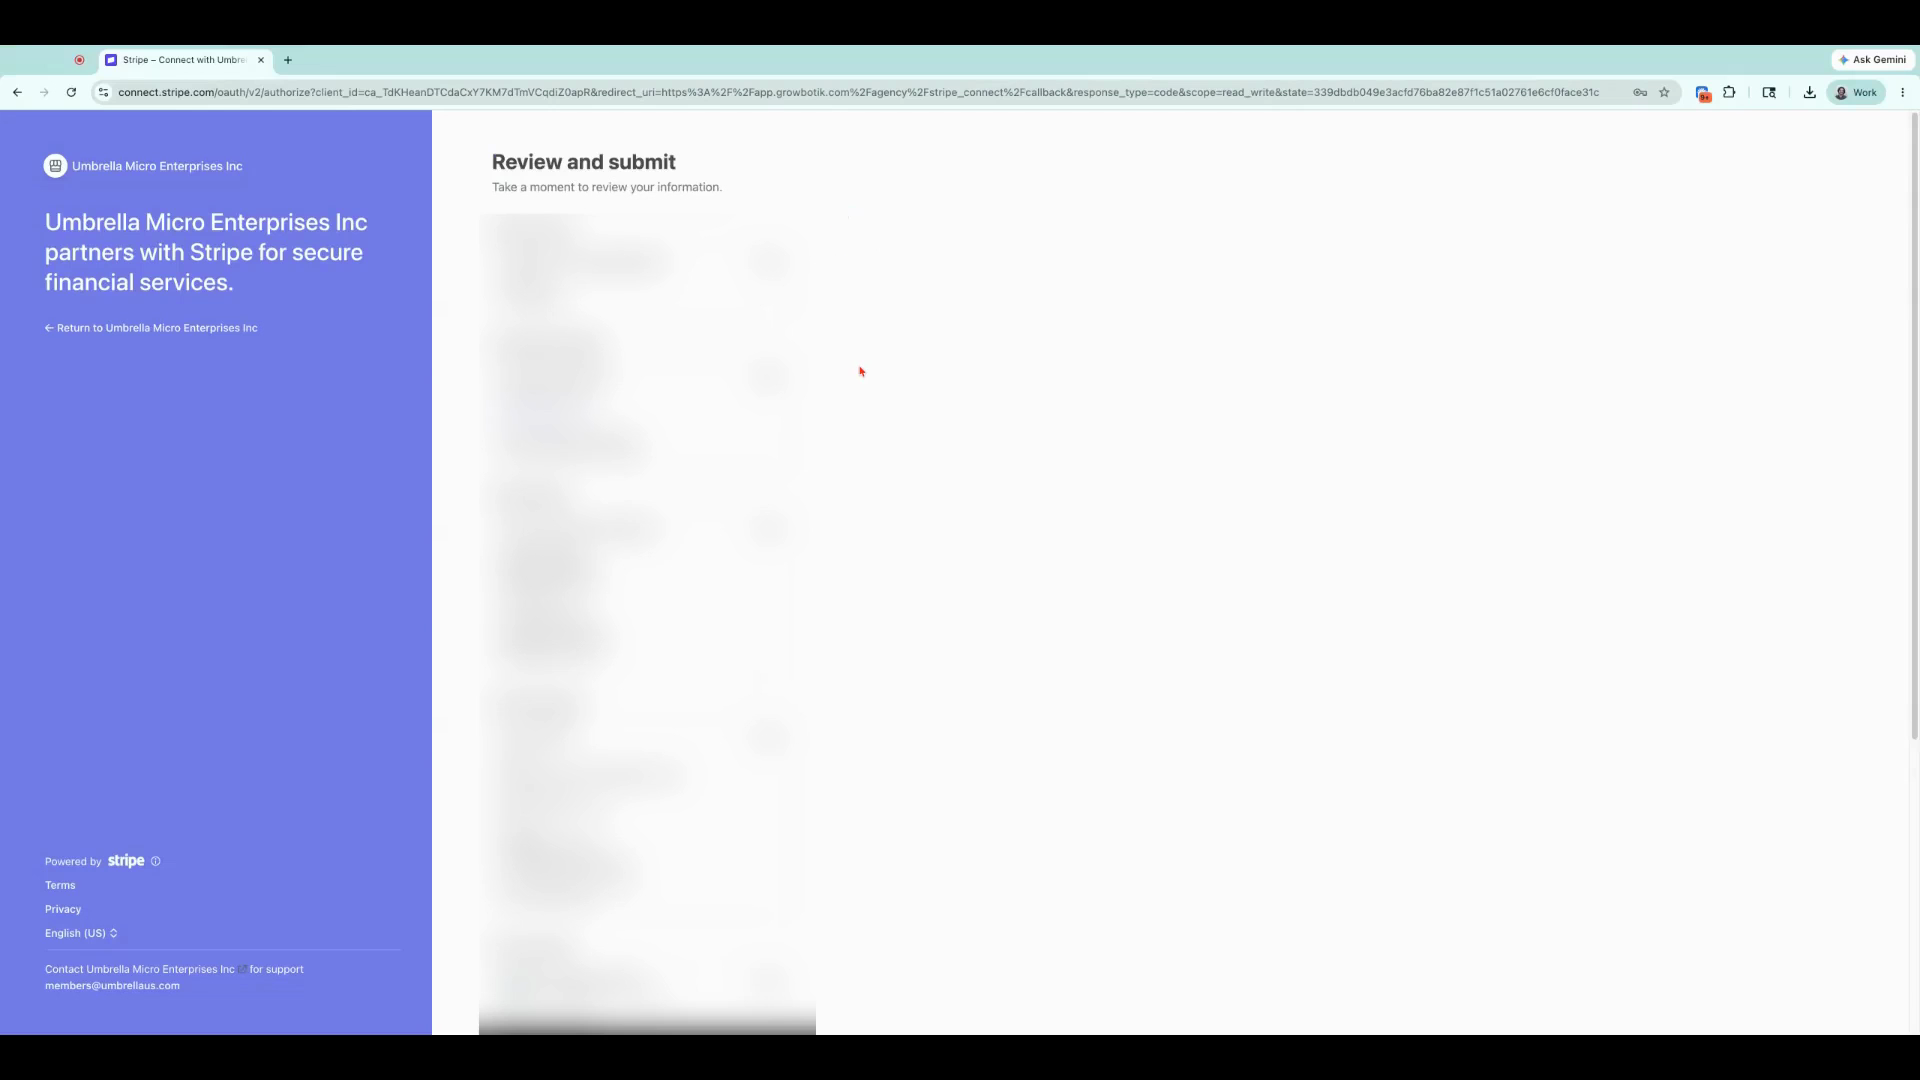
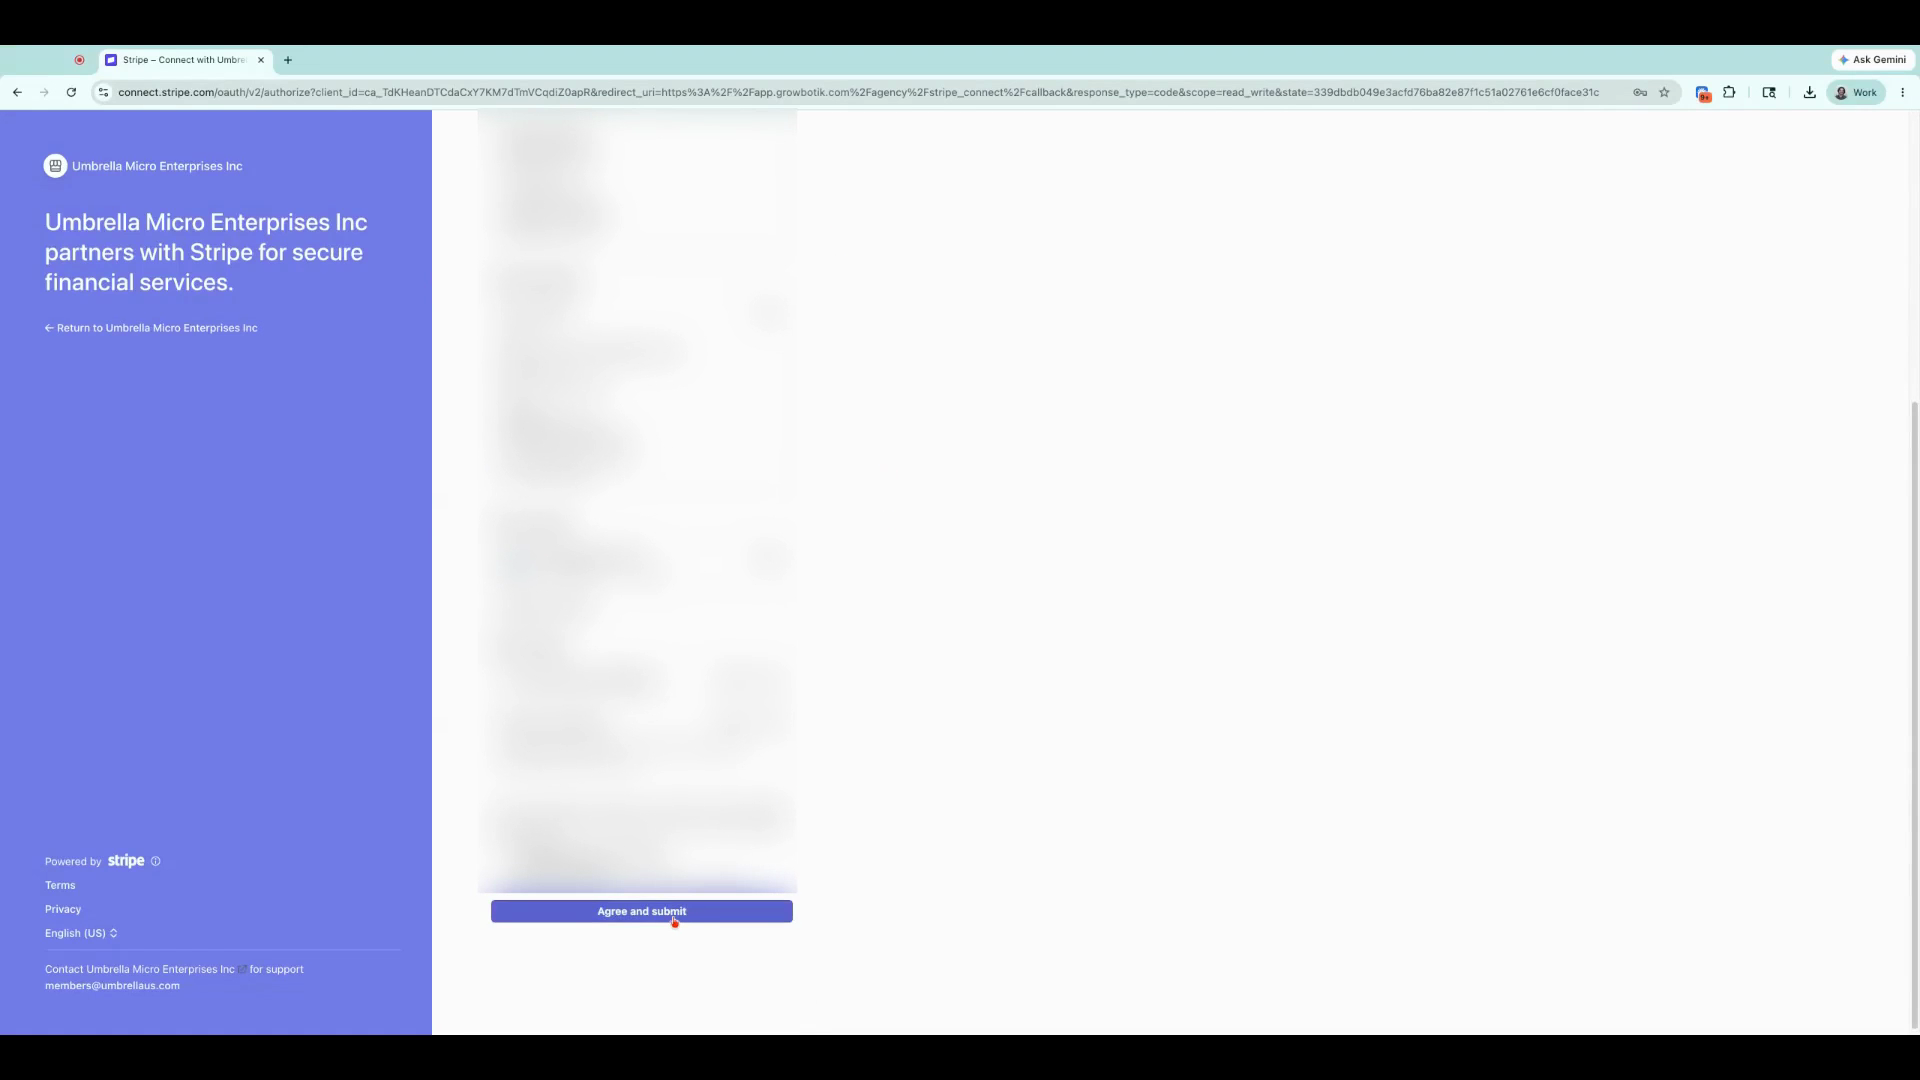
Review all information for accuracy. When ready, scroll down and click Agree and Submit.
After submission, a confirmation message appears. You’ll return to your Growbotik Dashboard where Stripe is now connected.
You can now log in to your Stripe account at stripe.com using your new credentials to manage settings and transactions as needed.
Your Stripe account is now fully connected and ready for use in Growbotik.