Getting your agency website live is straightforward and takes only a few minutes. Follow the steps below to claim your subdomain, customize your site, add your branding, and connect your call-to-action buttons — so prospects can start signing up right away.
The Growbotik marketing website is included for members who joined during the initial launch. If a marketing website was not included in your package and you would like one, reach out to us via the support chat — it is available for $95 per year.
Part 1: Create Your Website
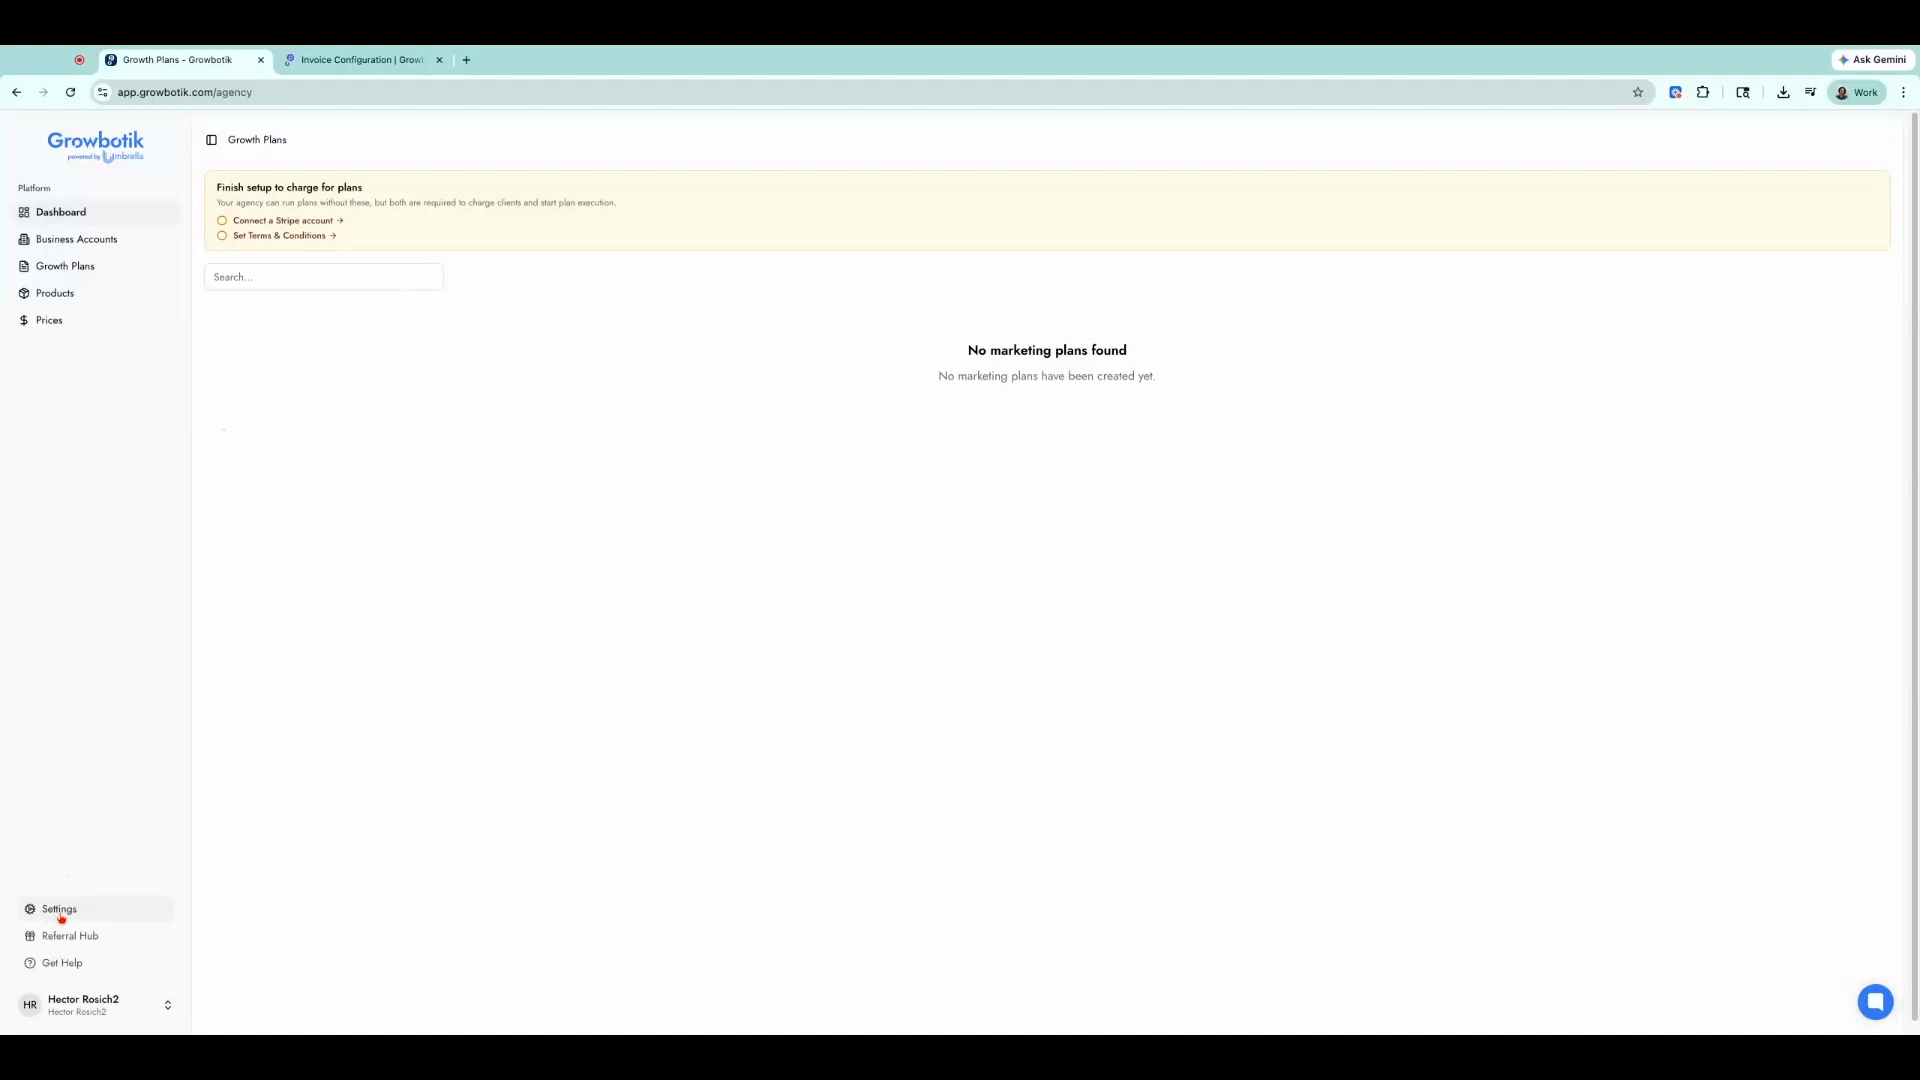
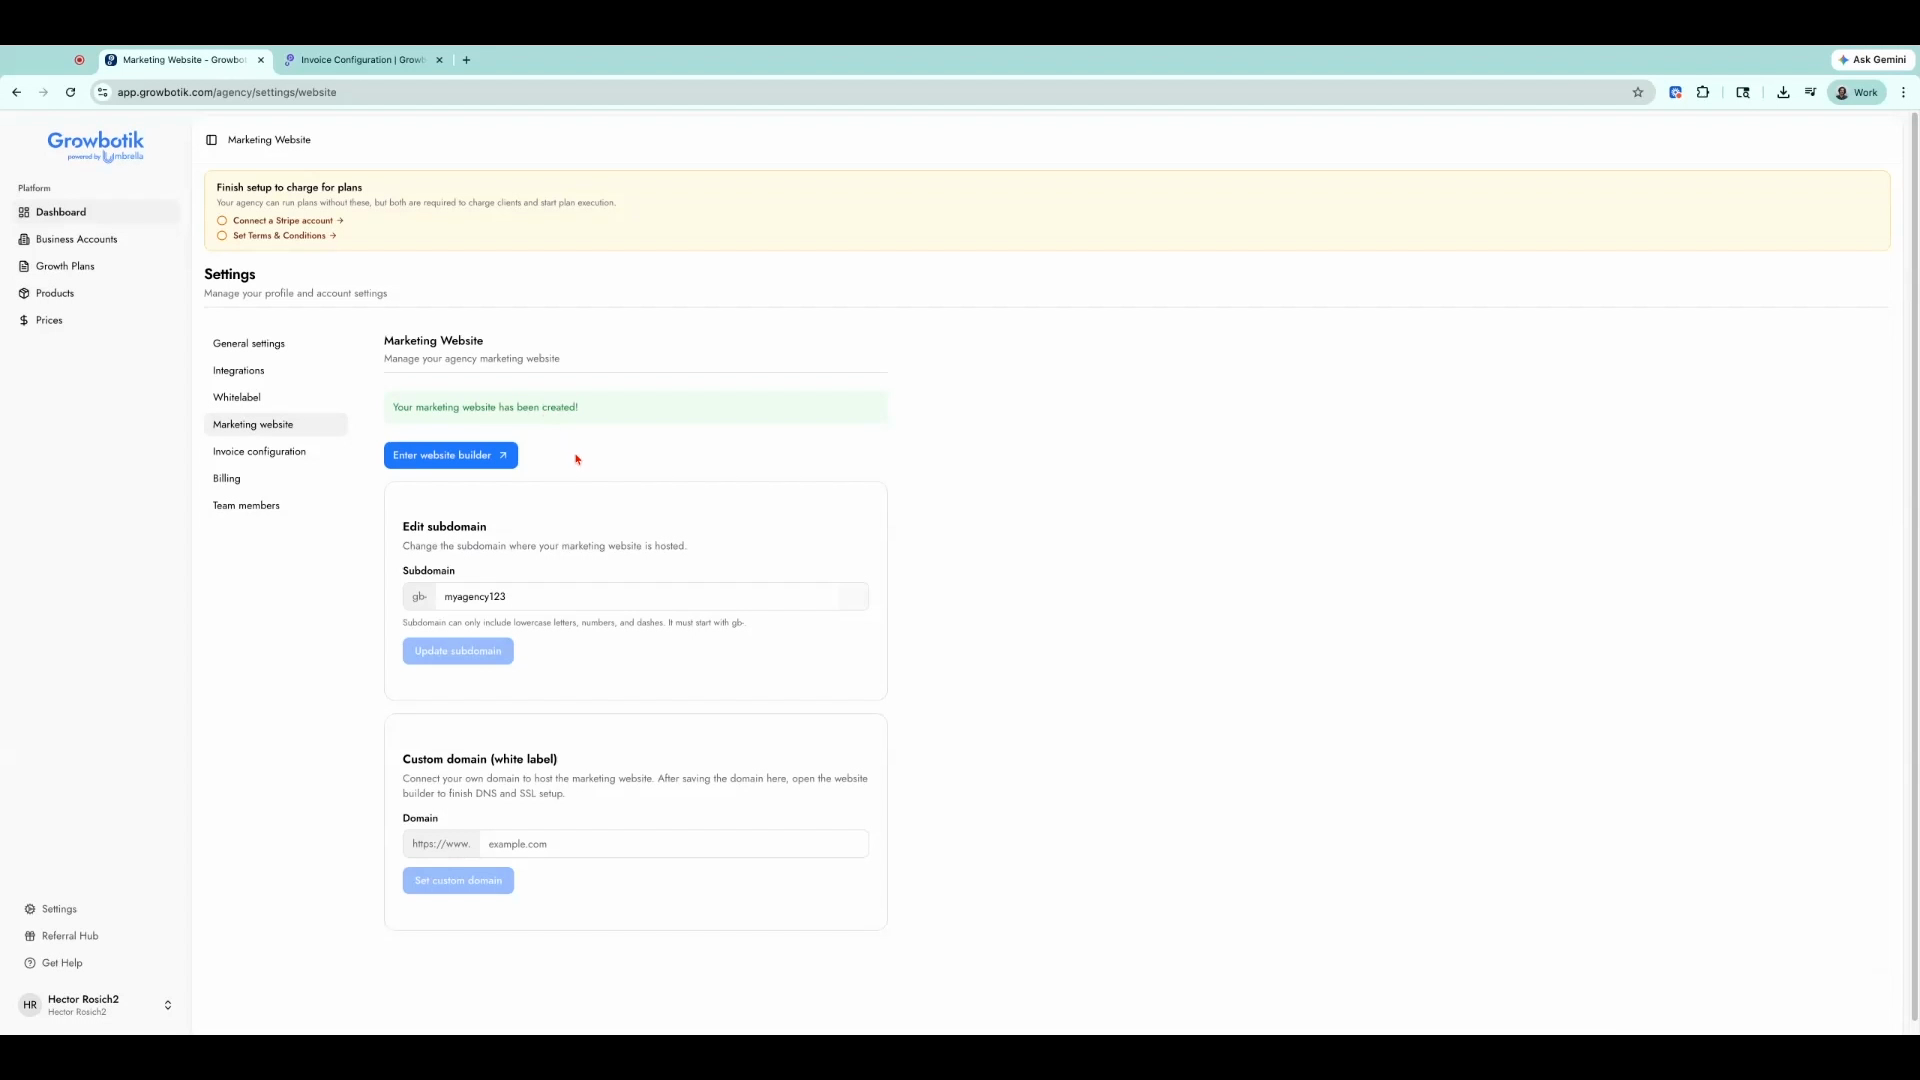
Step 1: From your dashboard, click Settings.
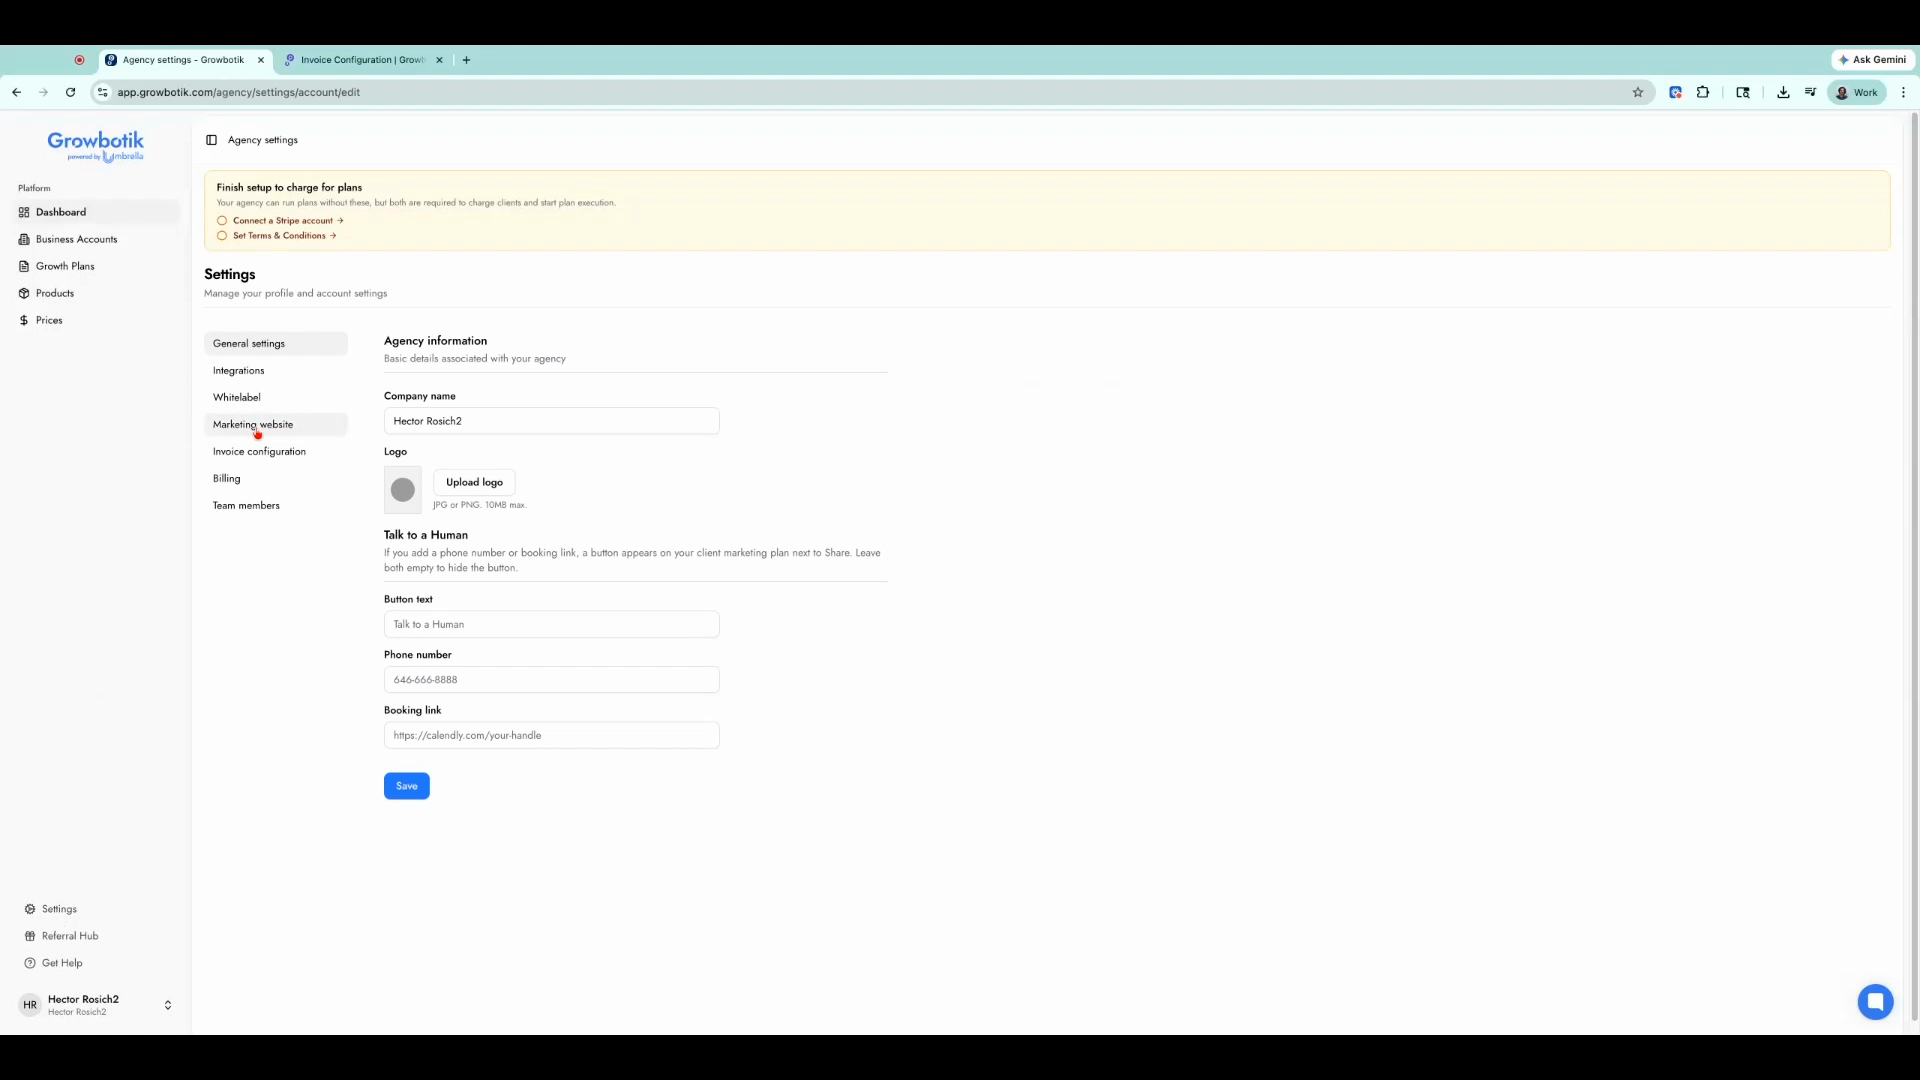
Step 2: Select Marketing Website.
Step 3: In the subdomain field, type your agency name. This becomes the web address for your site.
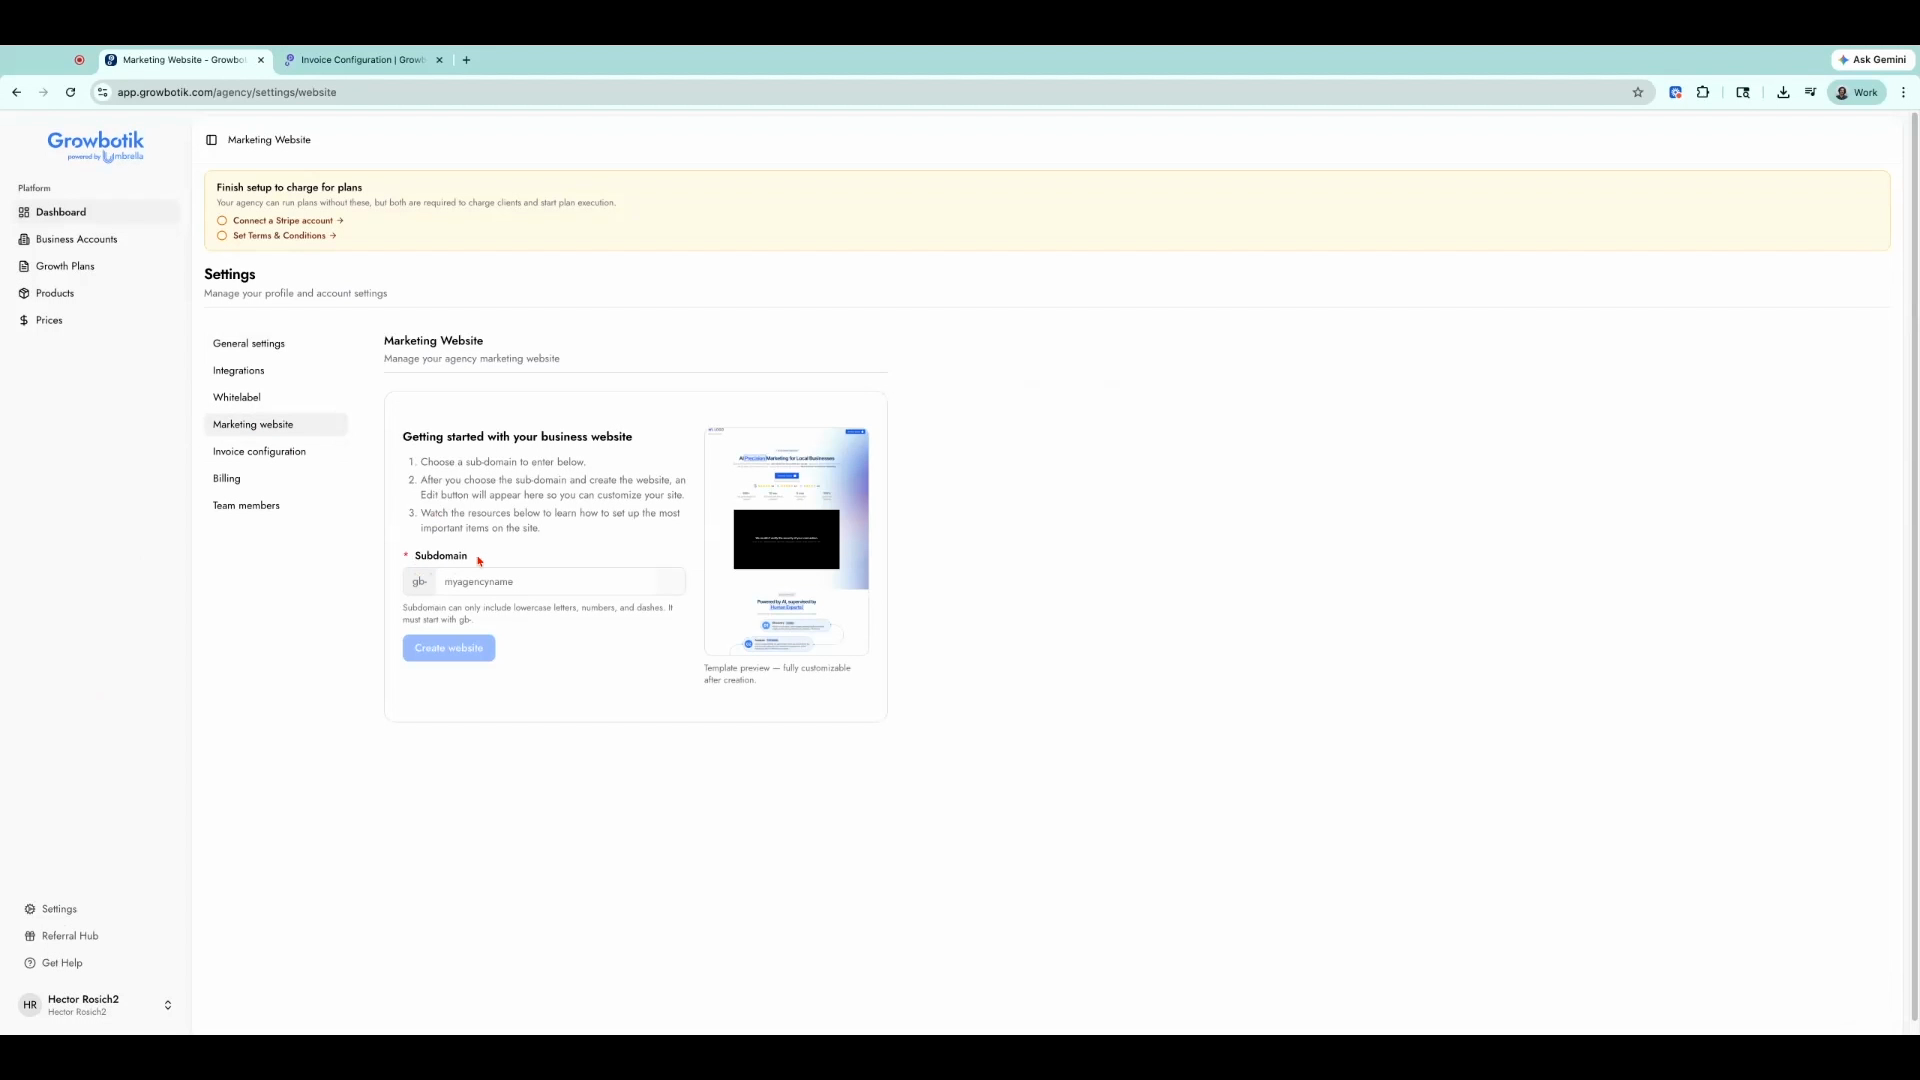
Step 4: Click Create Website.
Step 5: After creation, you’ll see a confirmation that your marketing website is ready.
Part 2: Enter the Site Editor
Step 6: Click the blue button to open the website builder.
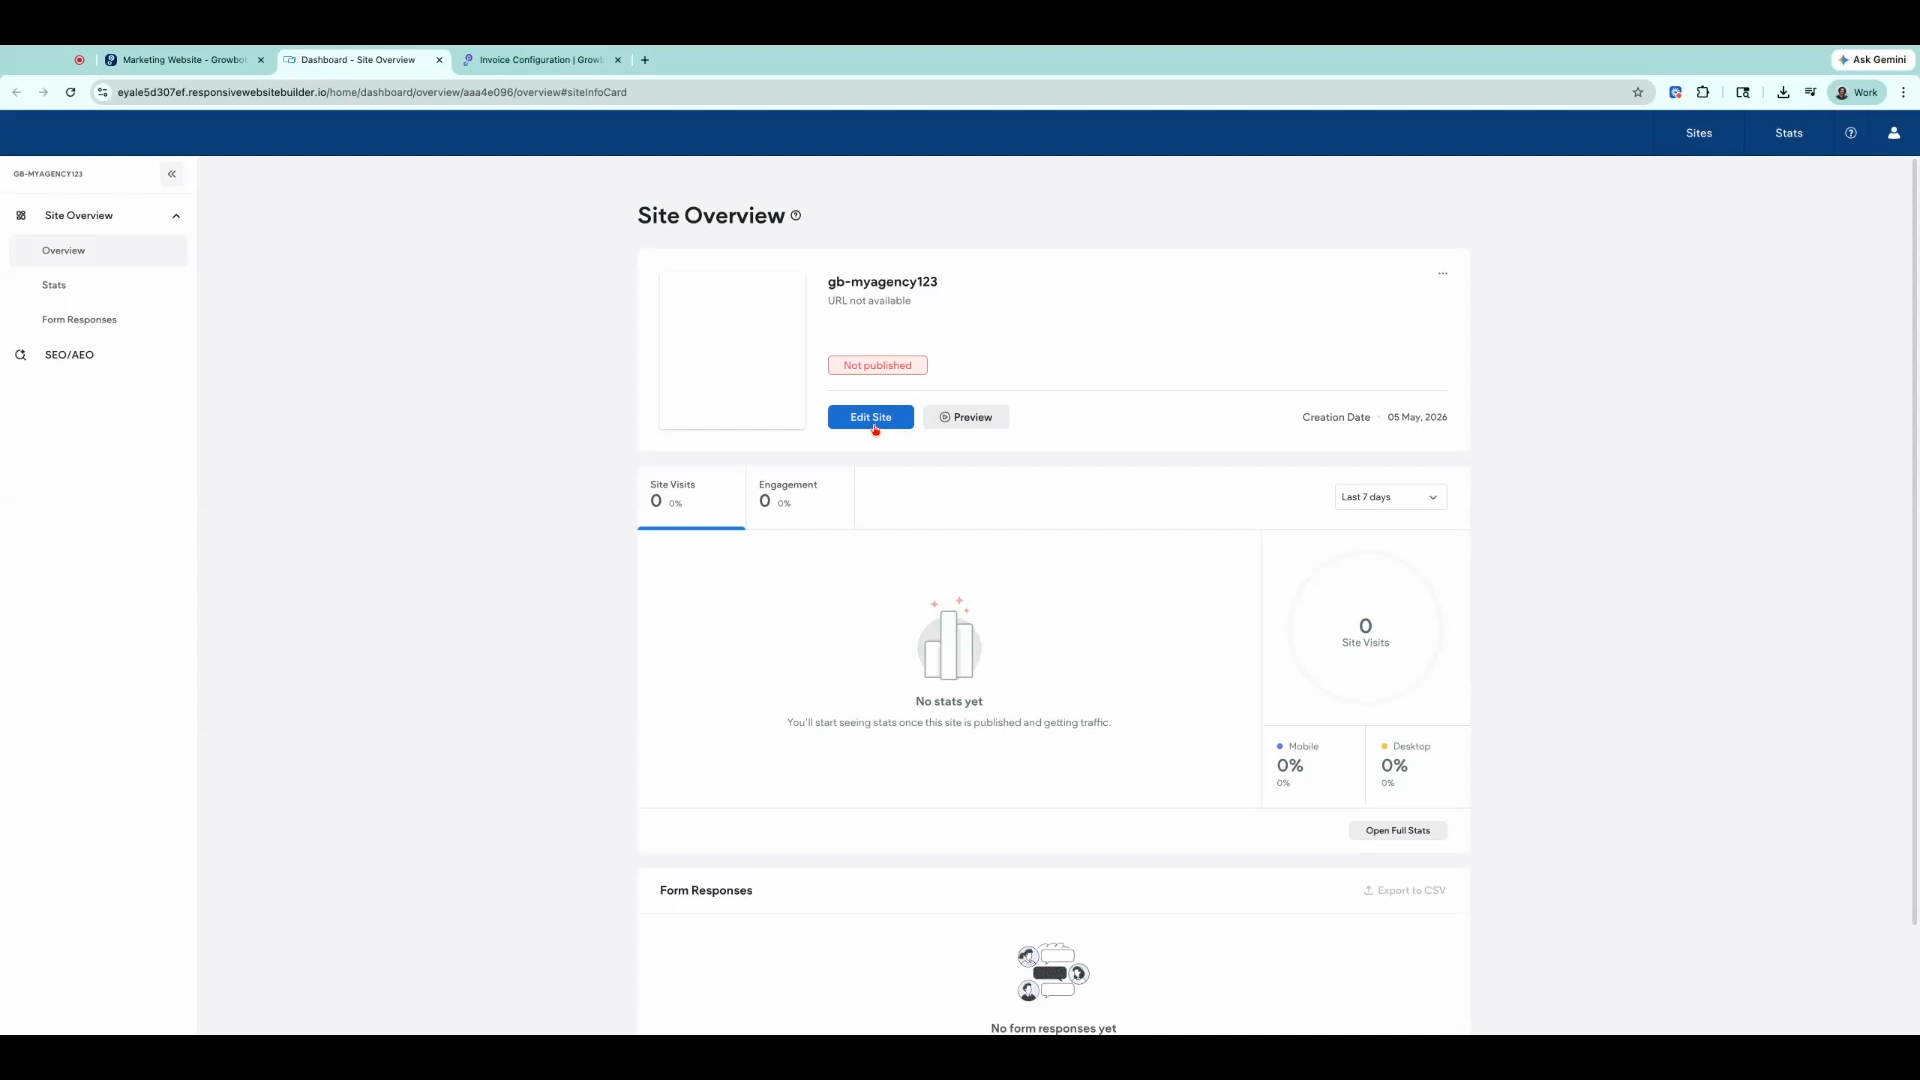
Step 7: The builder opens to your site overview. Click the blue Edit Site button to enter the editor.
Part 3: Add Your Logo
Step 8: Click on the default logo image to select it.
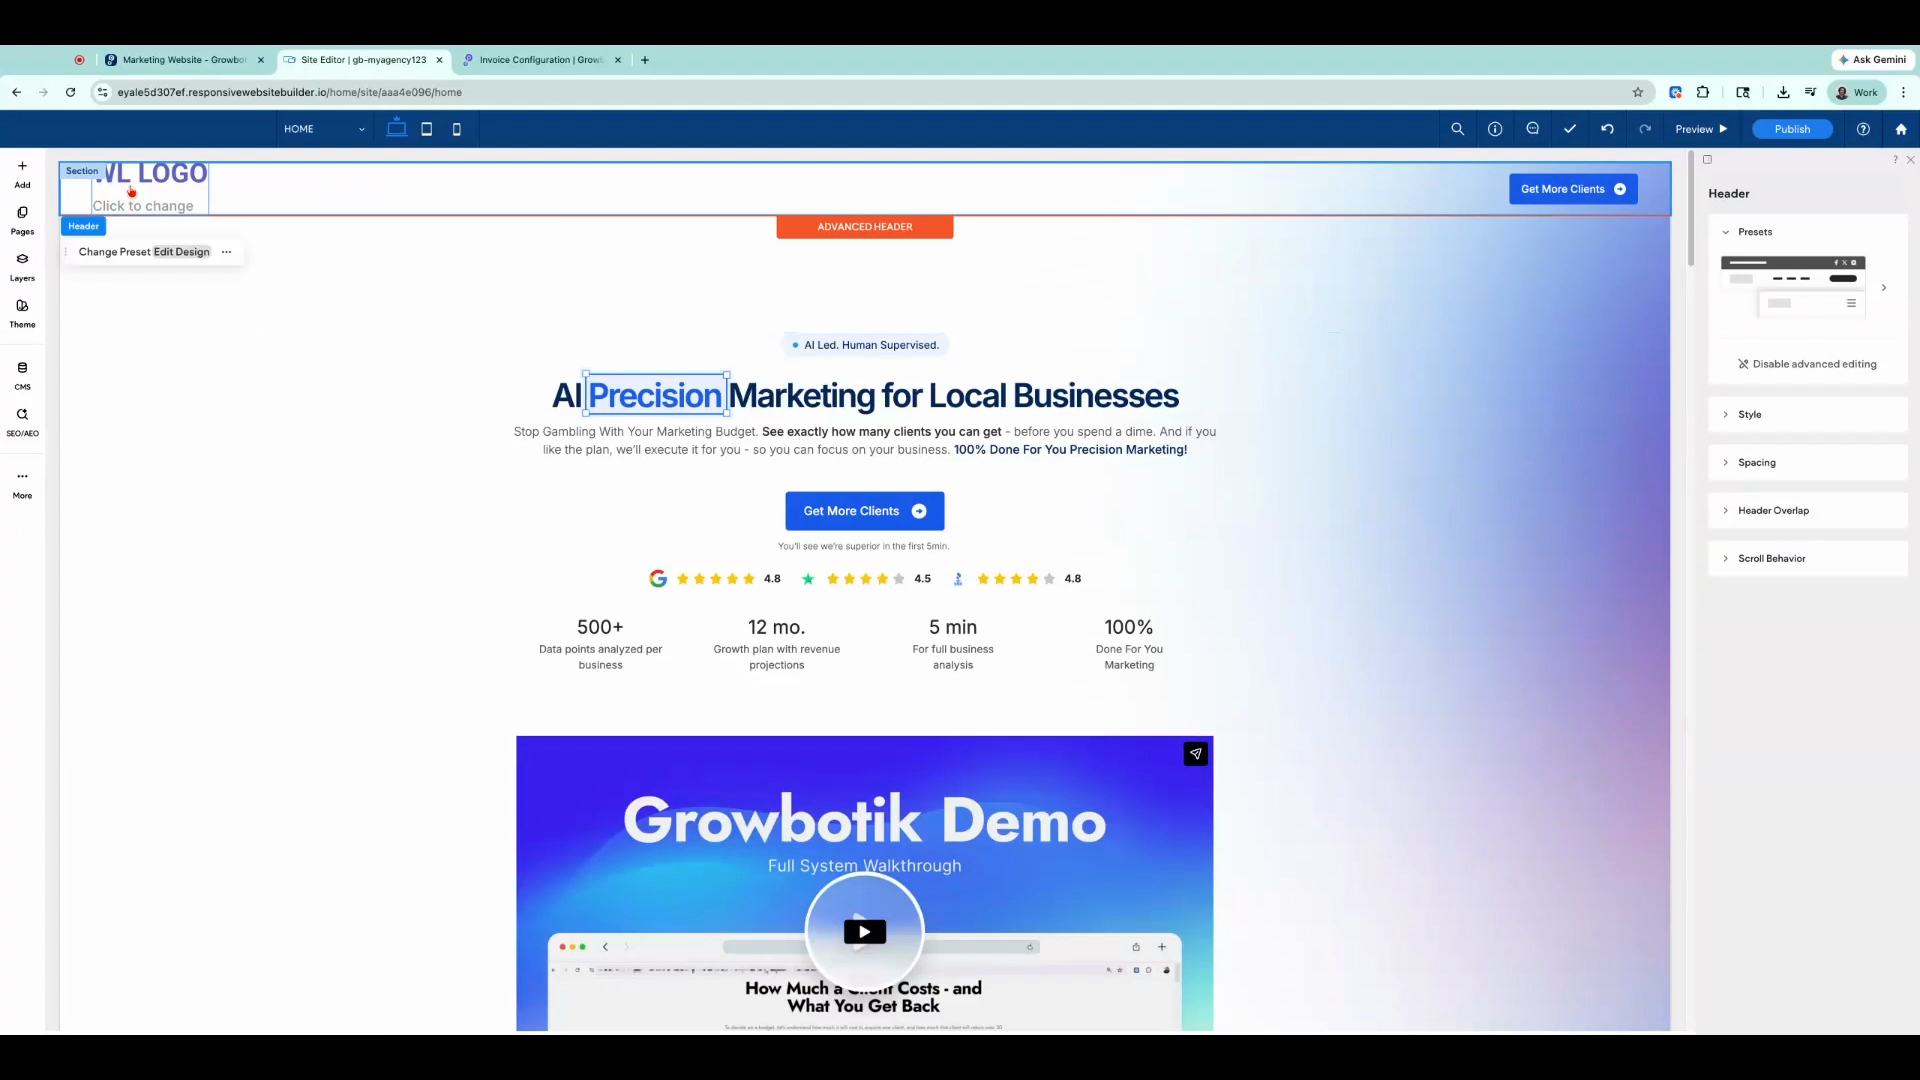
Step 9: Click Manage Image. A window appears on the right.
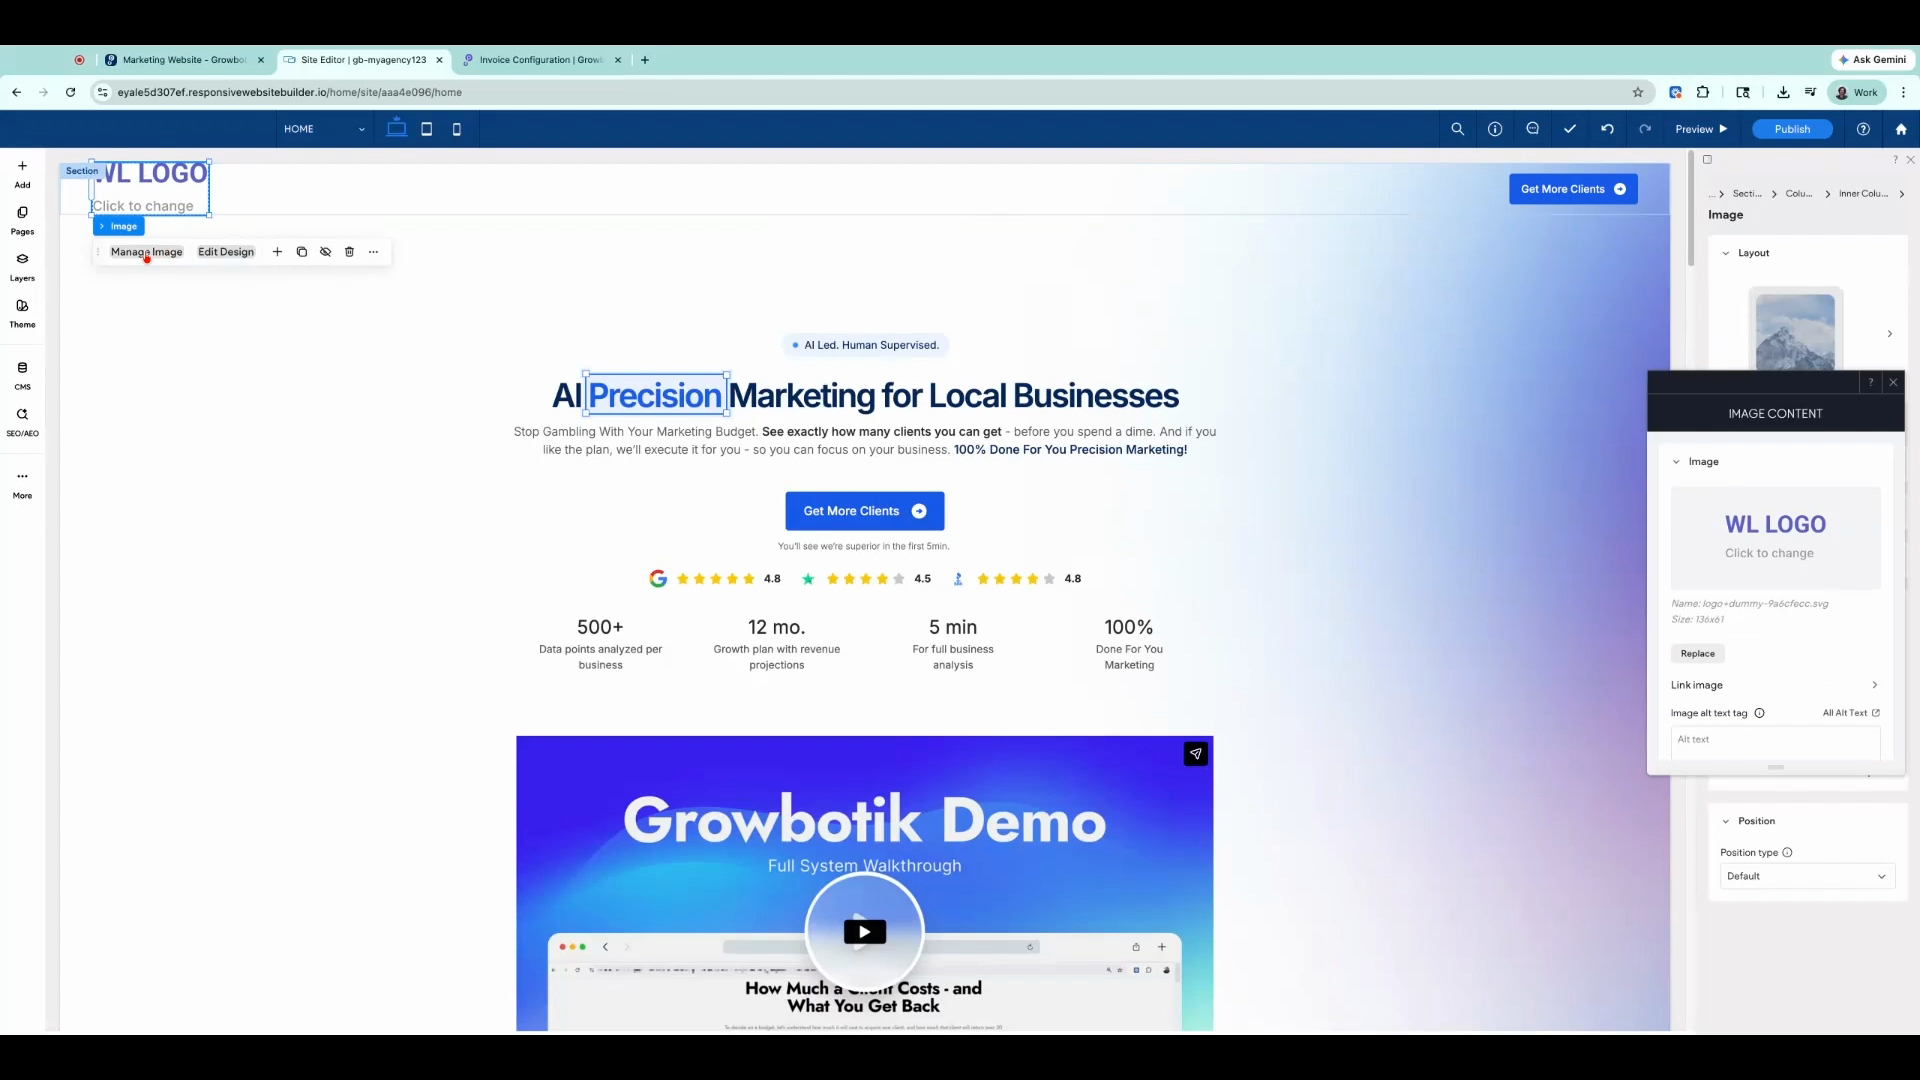
Step 10: Select Replace to swap the existing image.
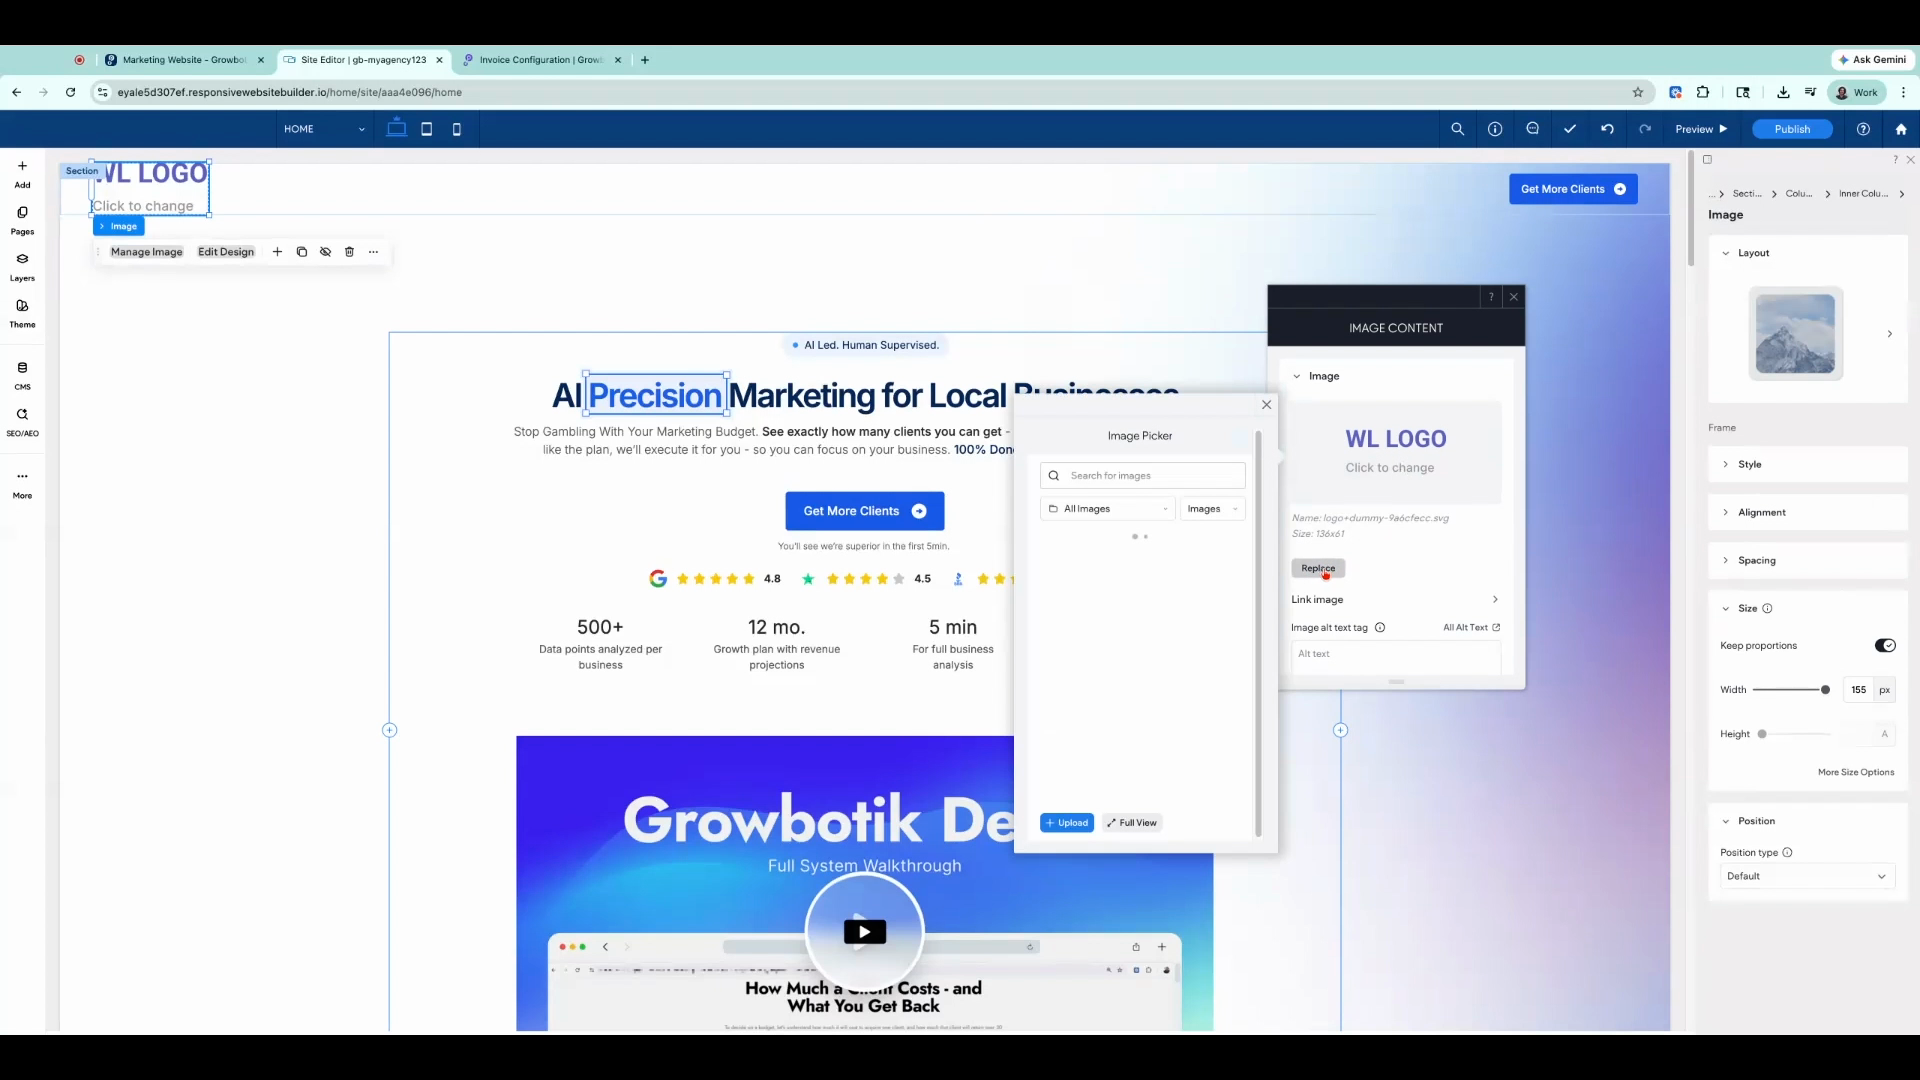
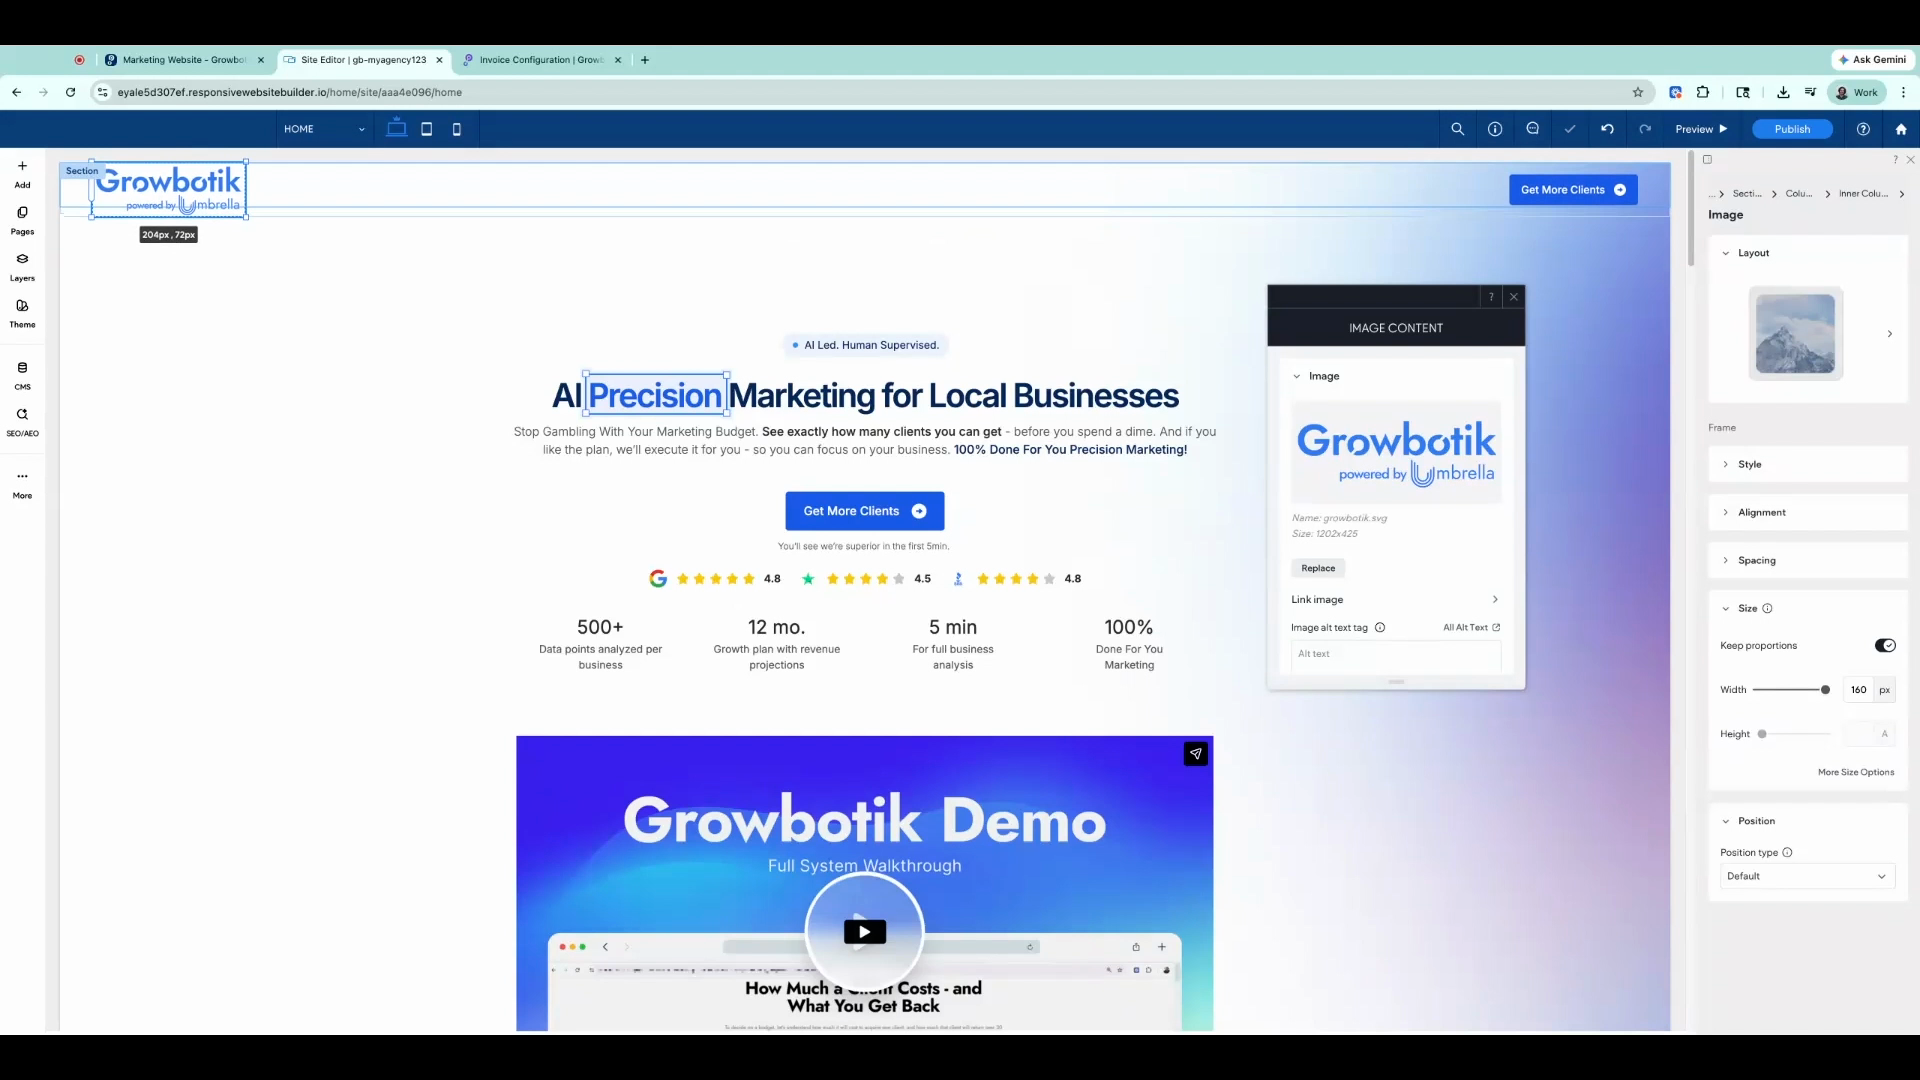
Step 11: Click Upload to add your own agency logo.
Step 12: Adjust the logo size by clicking and dragging the corners.
Part 4: Edit Your Content
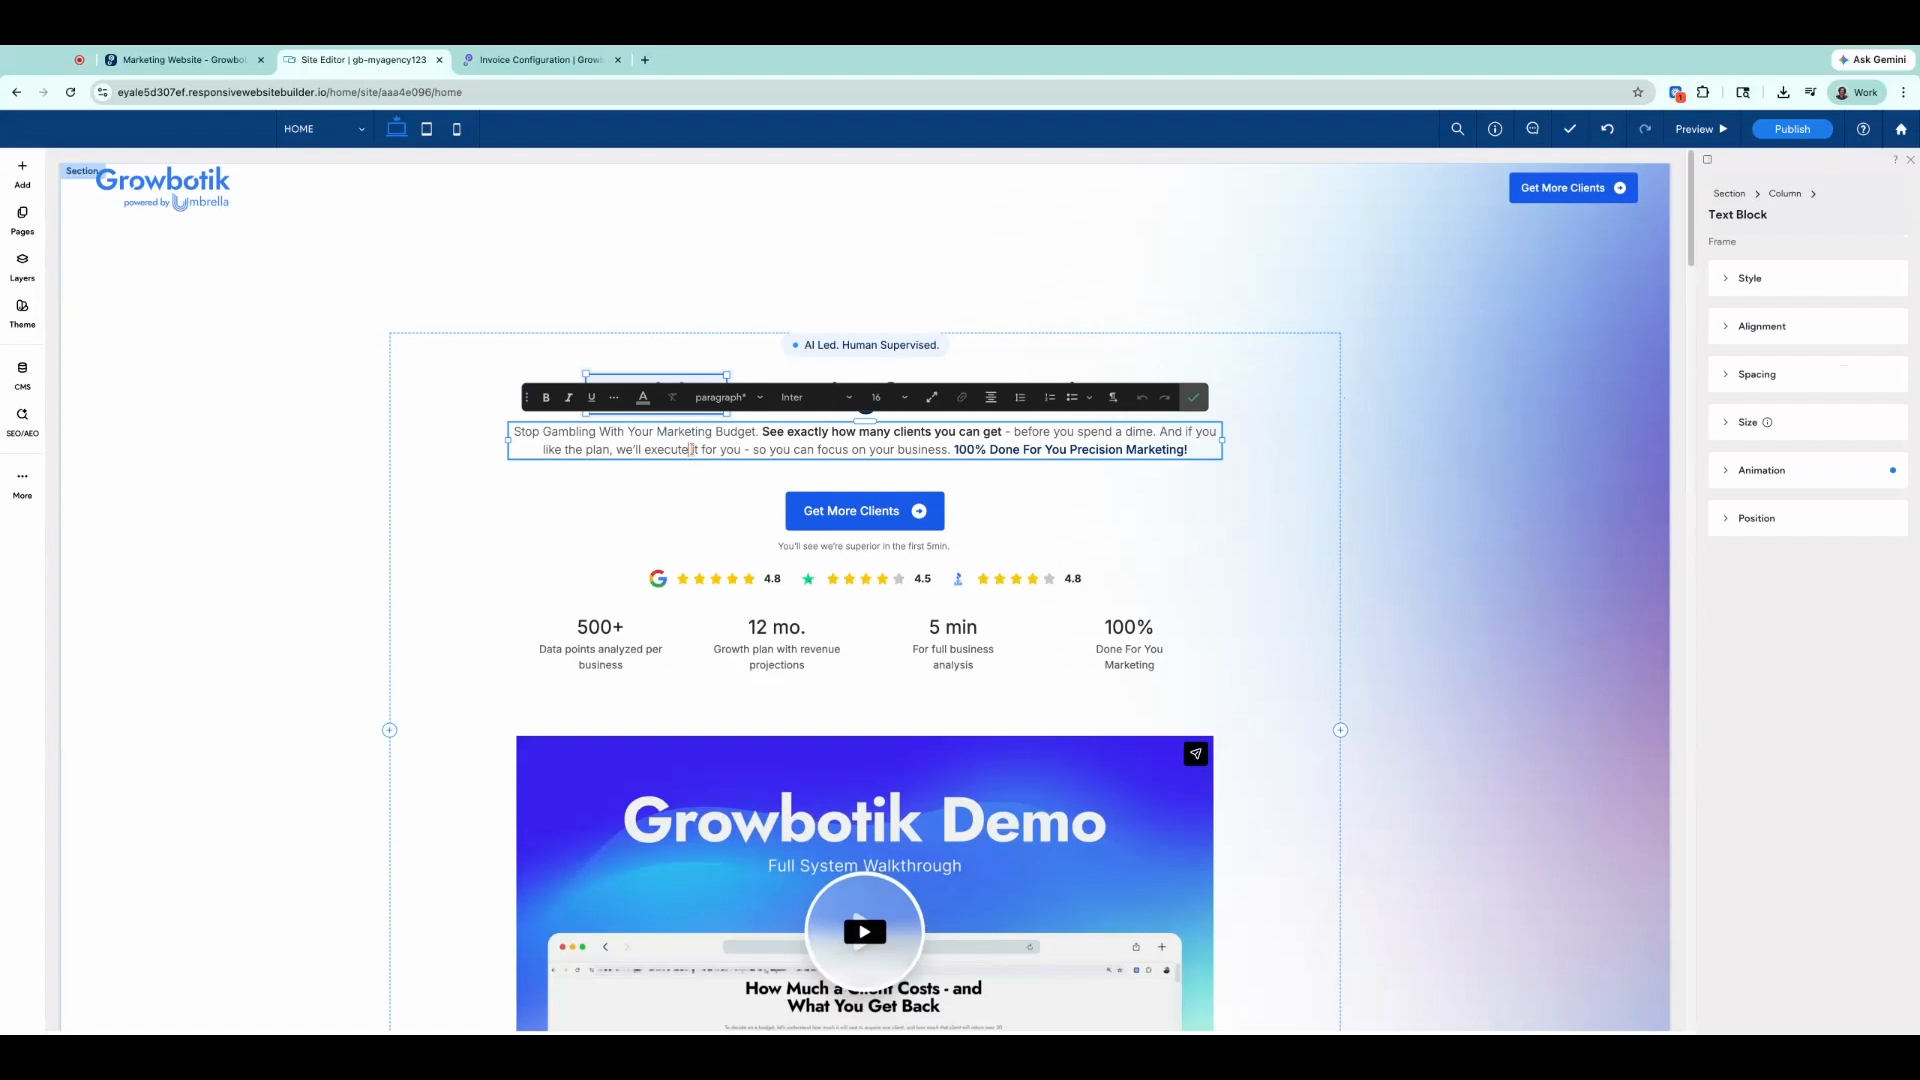
Step 13: To edit text, double-click on any text area. Highlight and type to update.
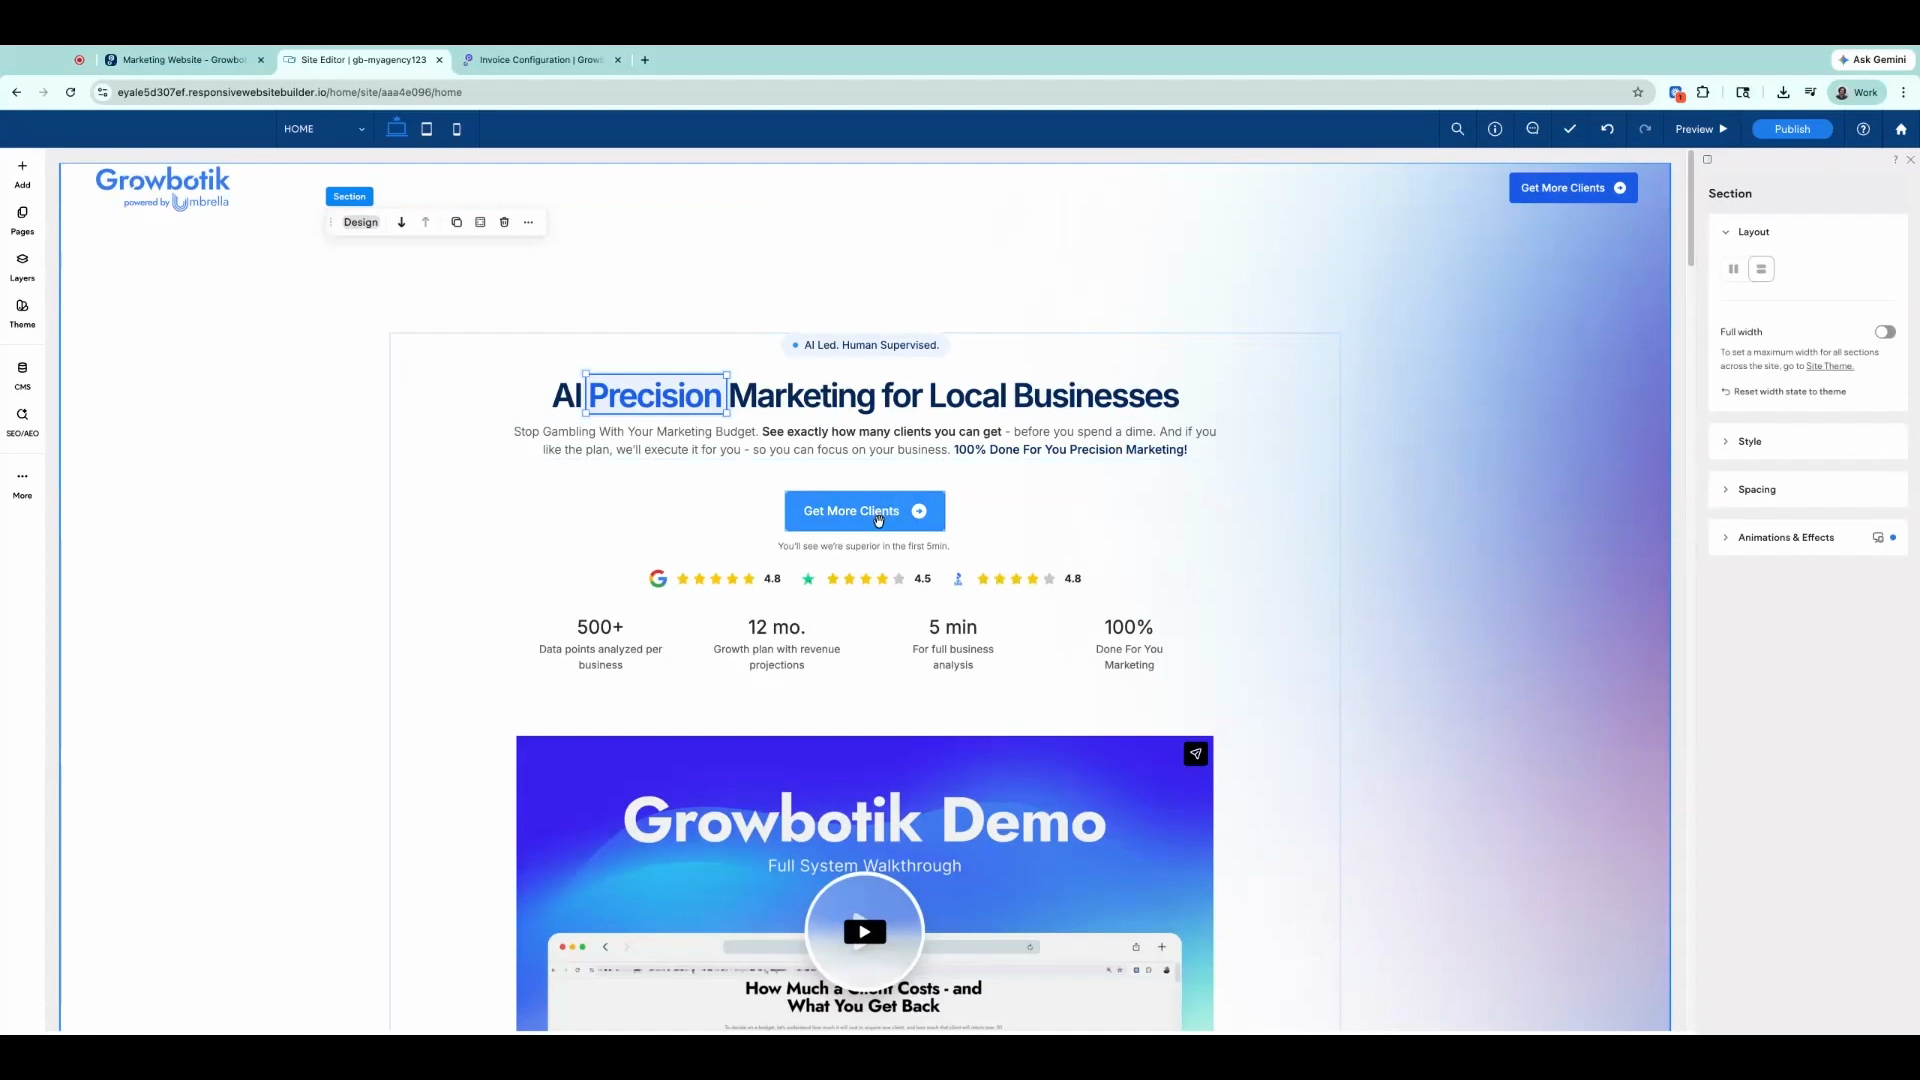
Step 14: To update your call-to-action buttons, click on any Get More Clients button and select Manage Button.
Part 5: Connect Your Plan Links
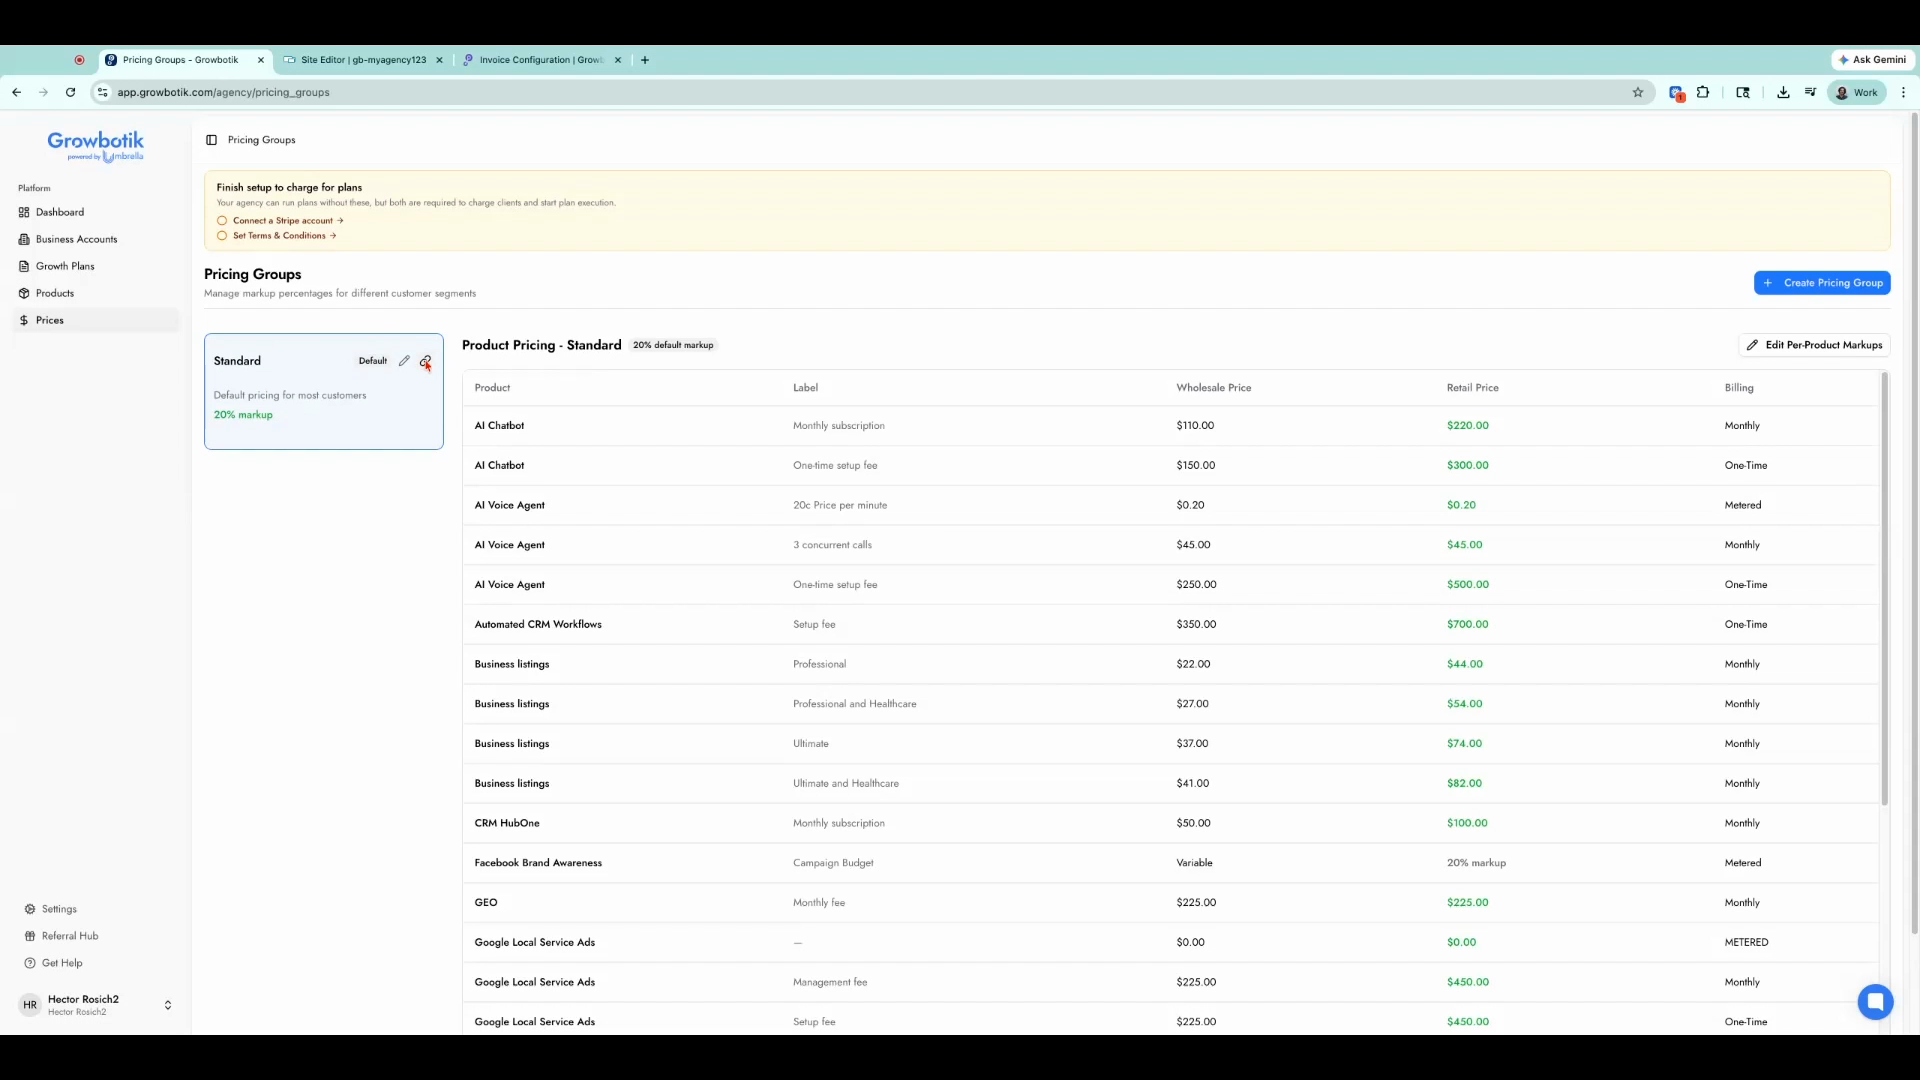
Step 15: From your Growbotic dashboard, go to Pricing, pick the right pricing group, and click Copy Plan link.
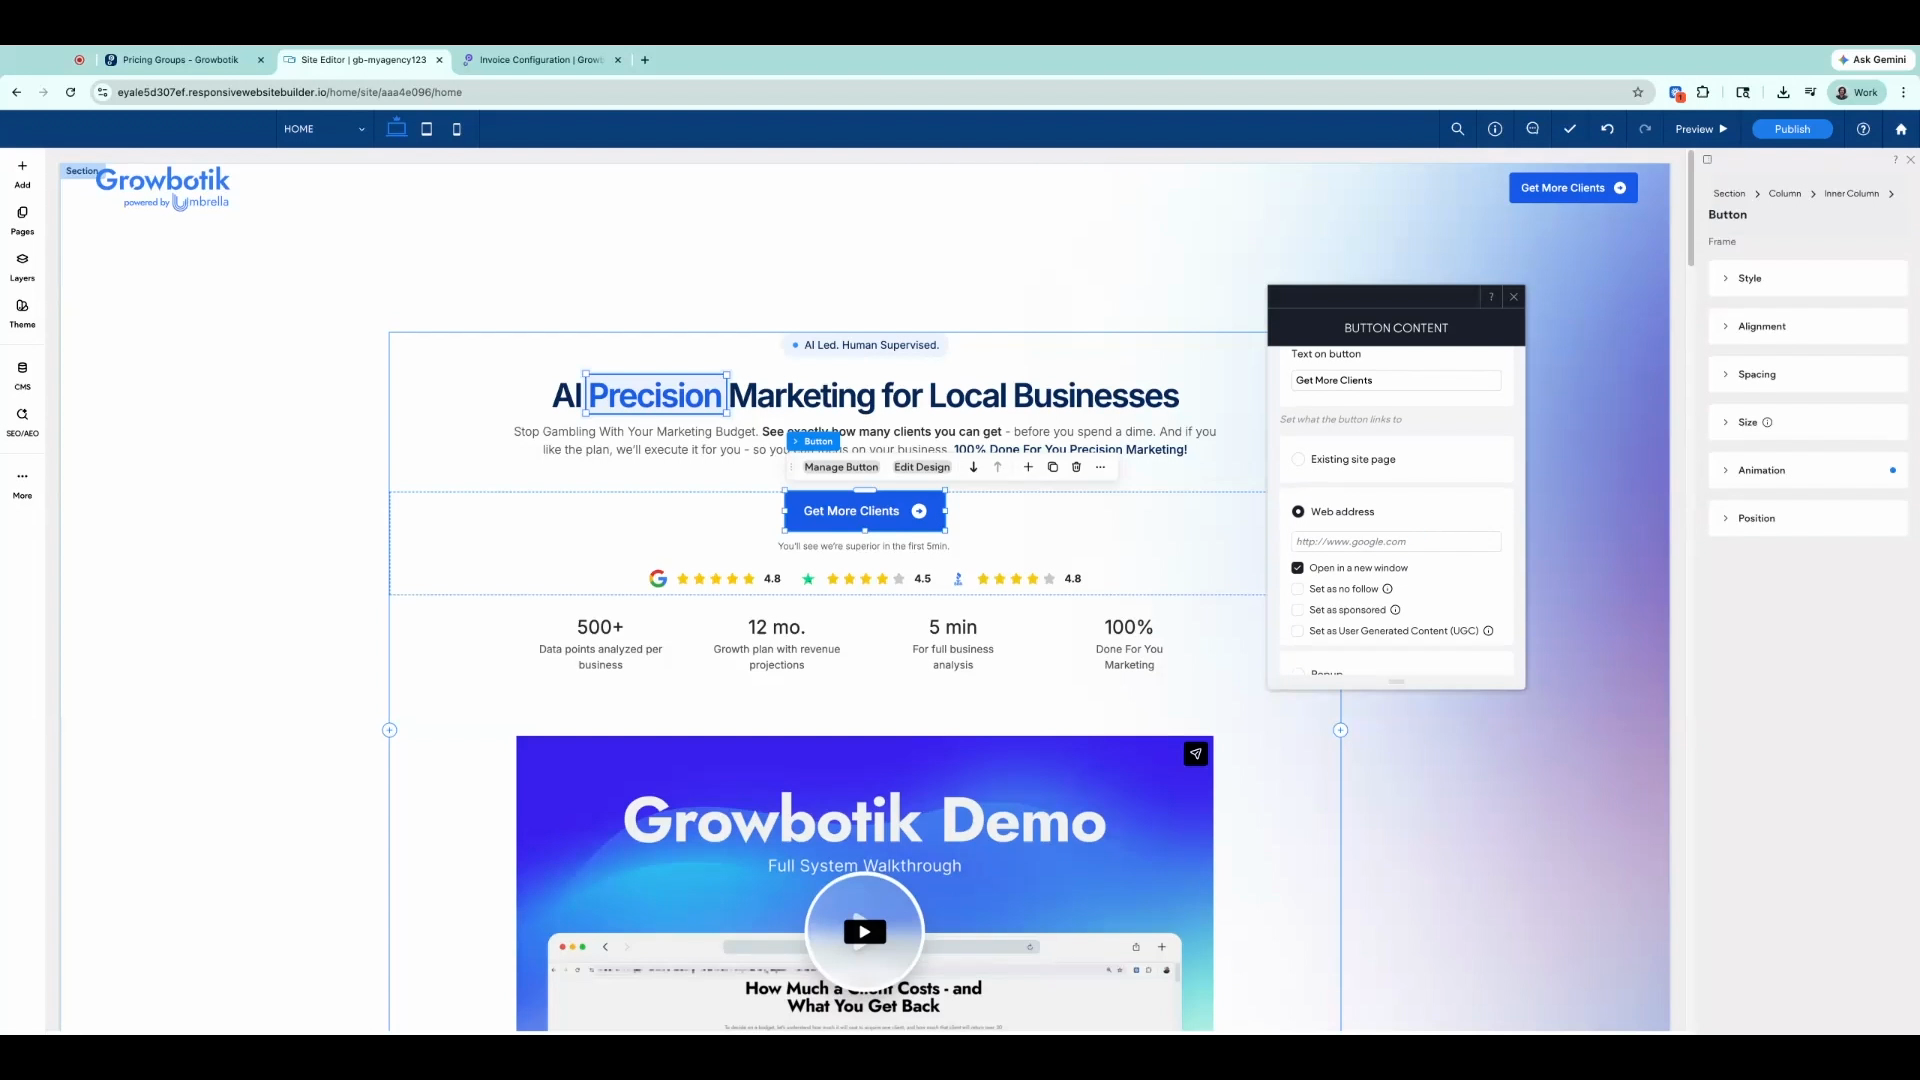
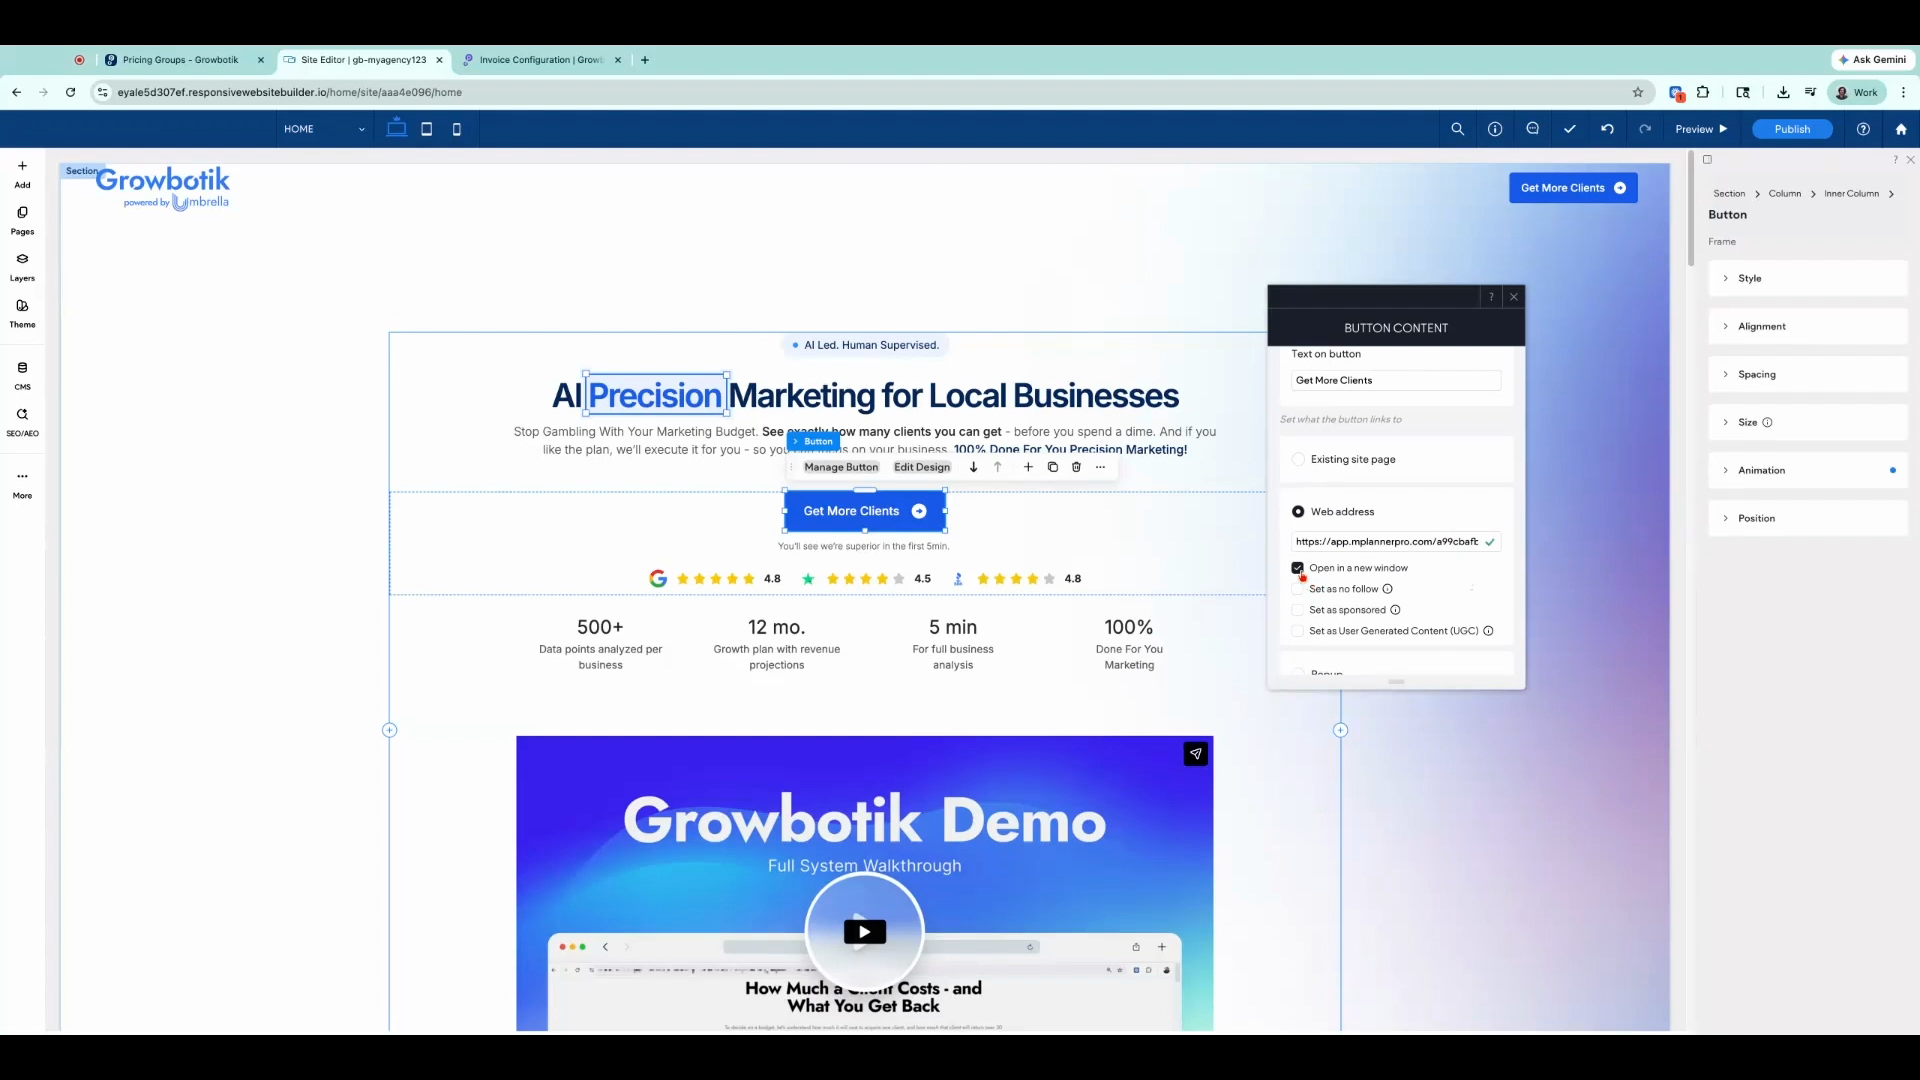
Step 16: Back in the Duda editor, click Manage button, switch to Web address, and paste in your plan link.
Step 17: Set the link to open in a new window (recommended).
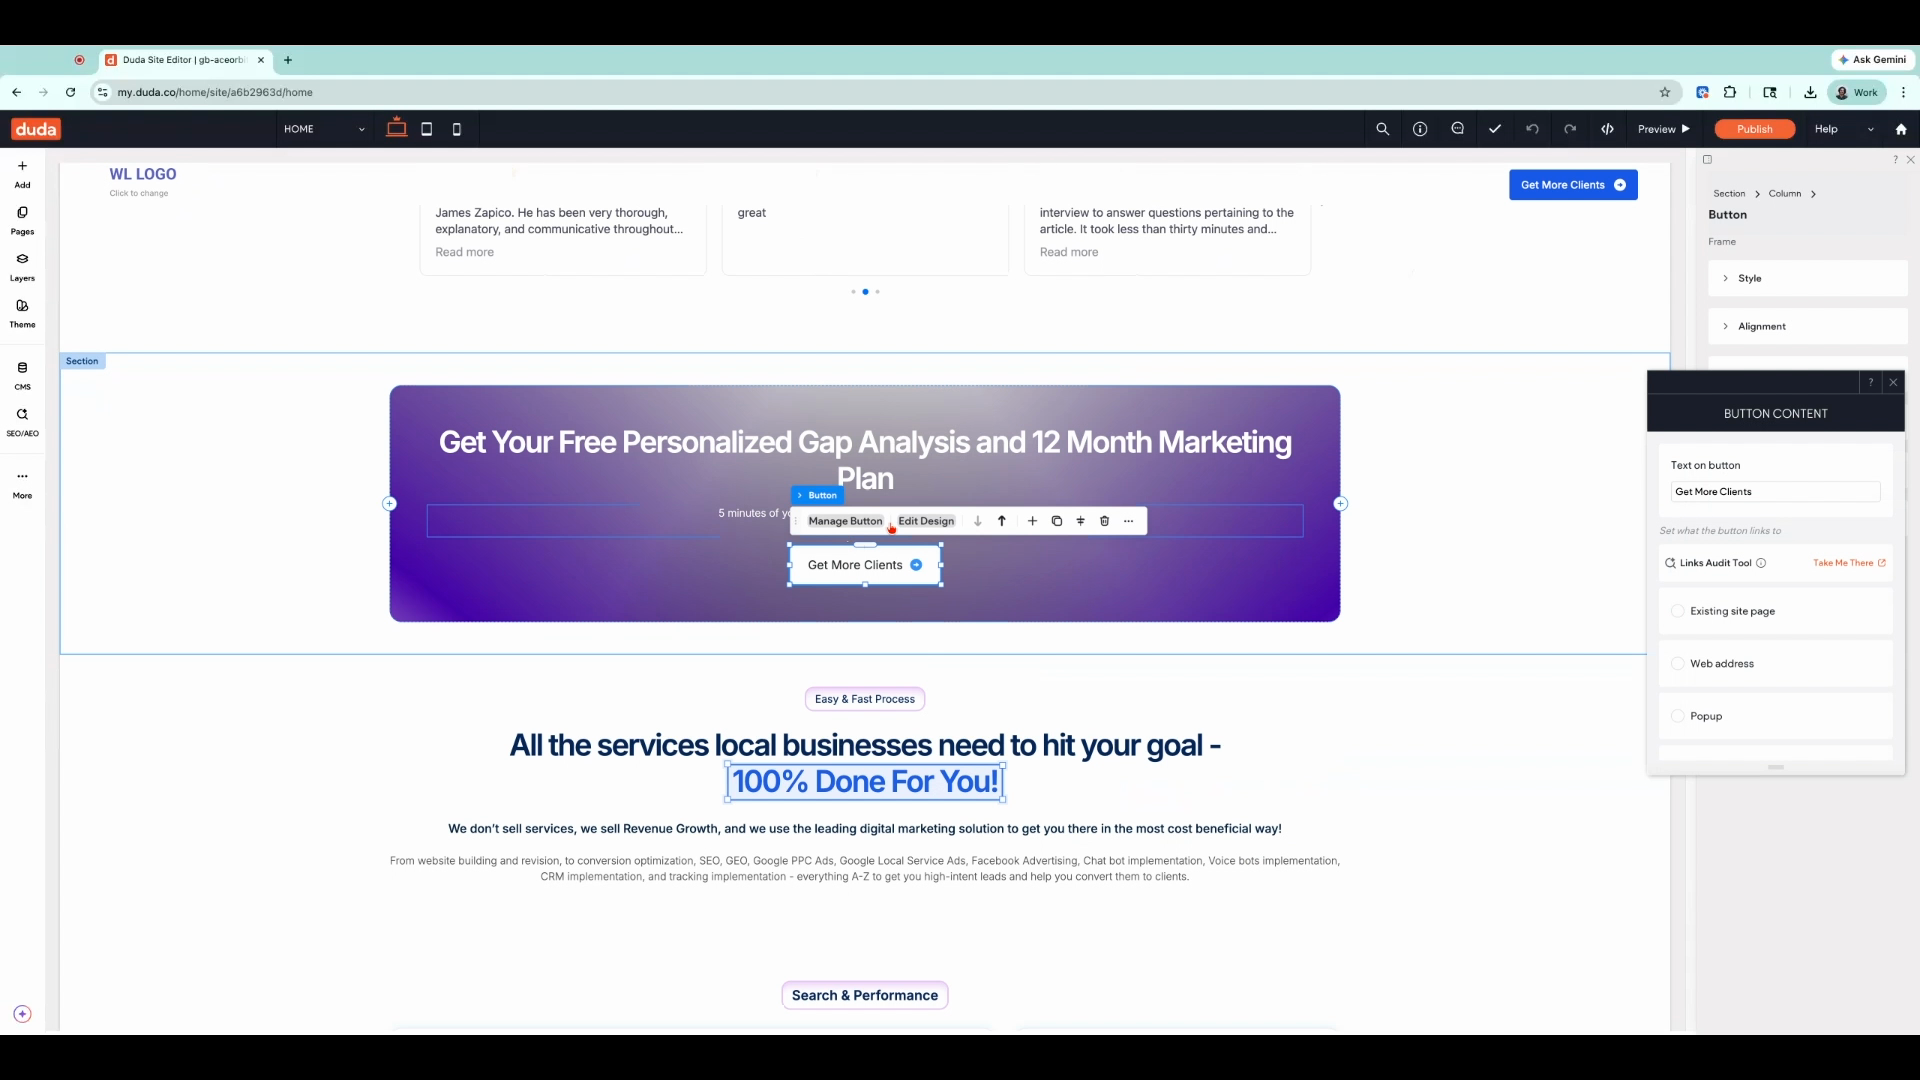
Step 18: Repeat this process for all get more clients buttons throughout your site to keep the customer journey smooth.
Part 6: Finalize Your Branding
Step 19: Update the secondary logo at the bottom of your site using the same image steps as above.
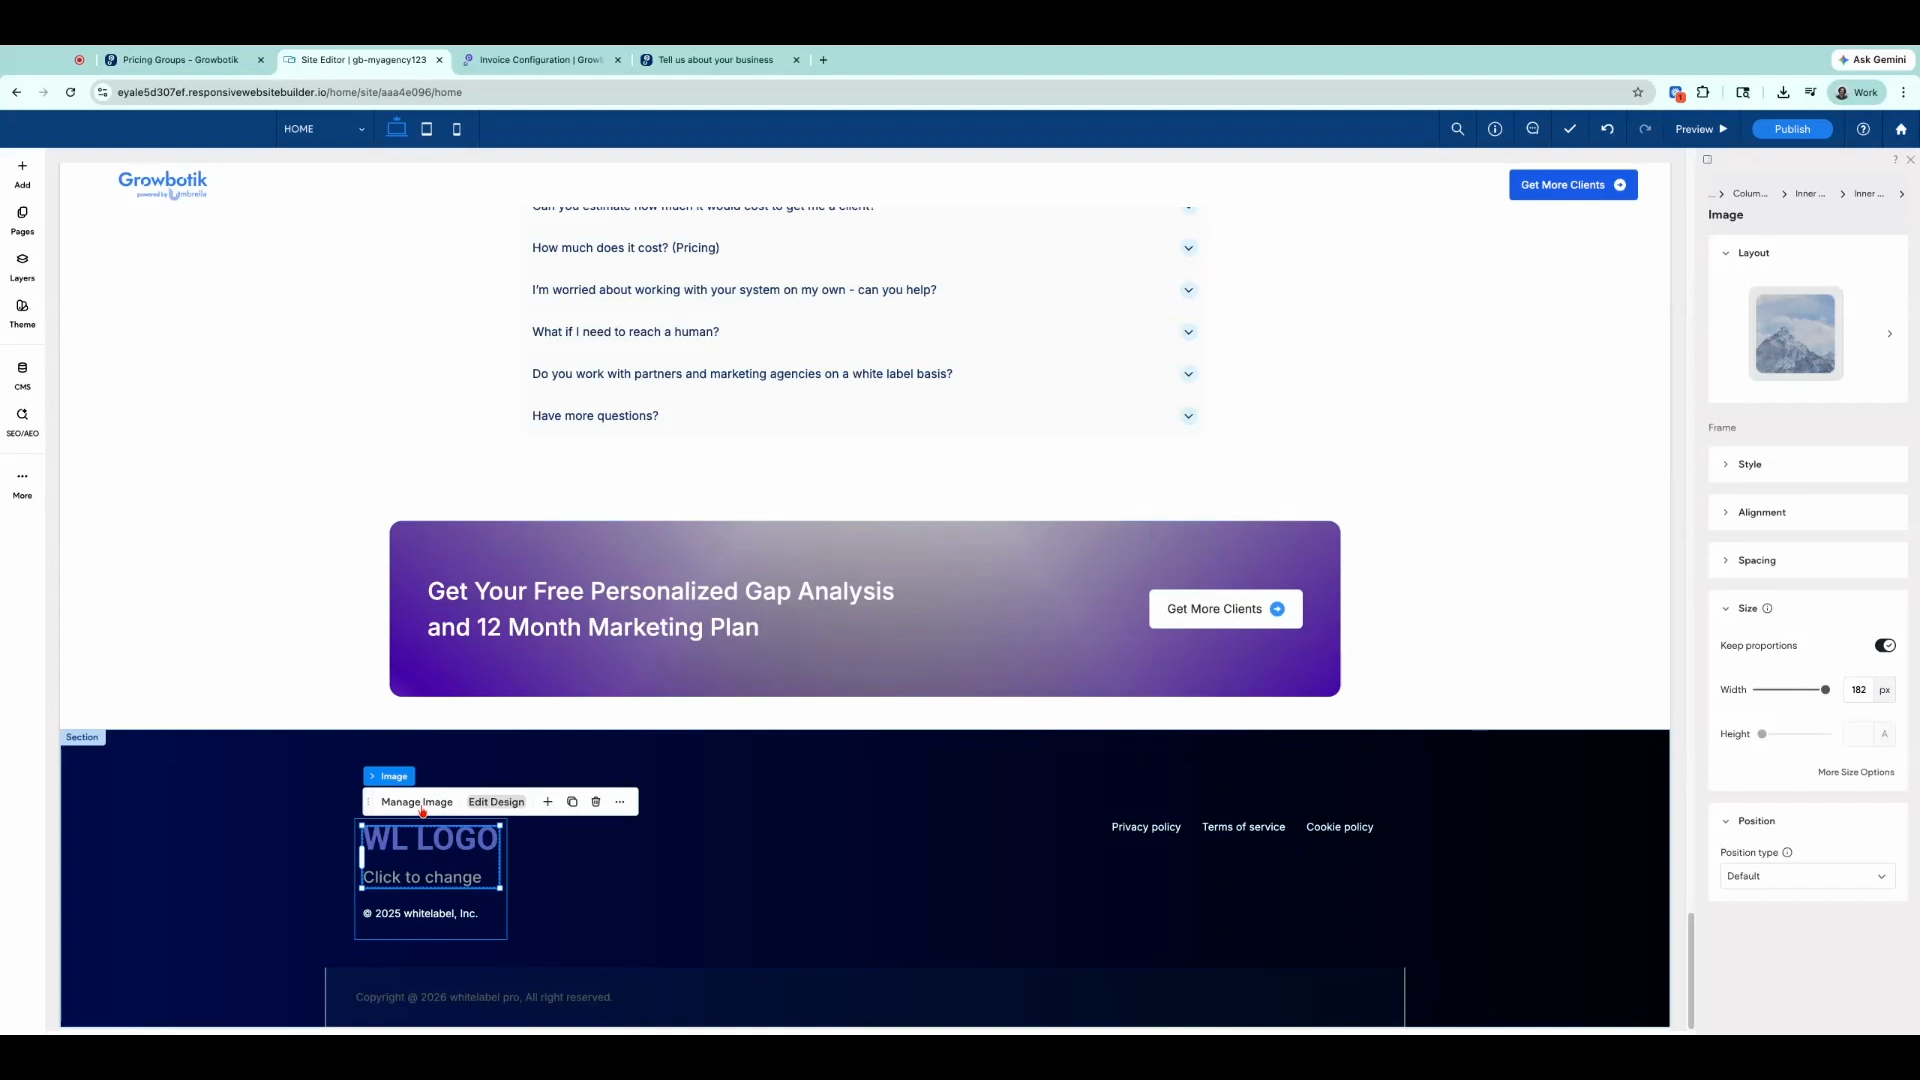
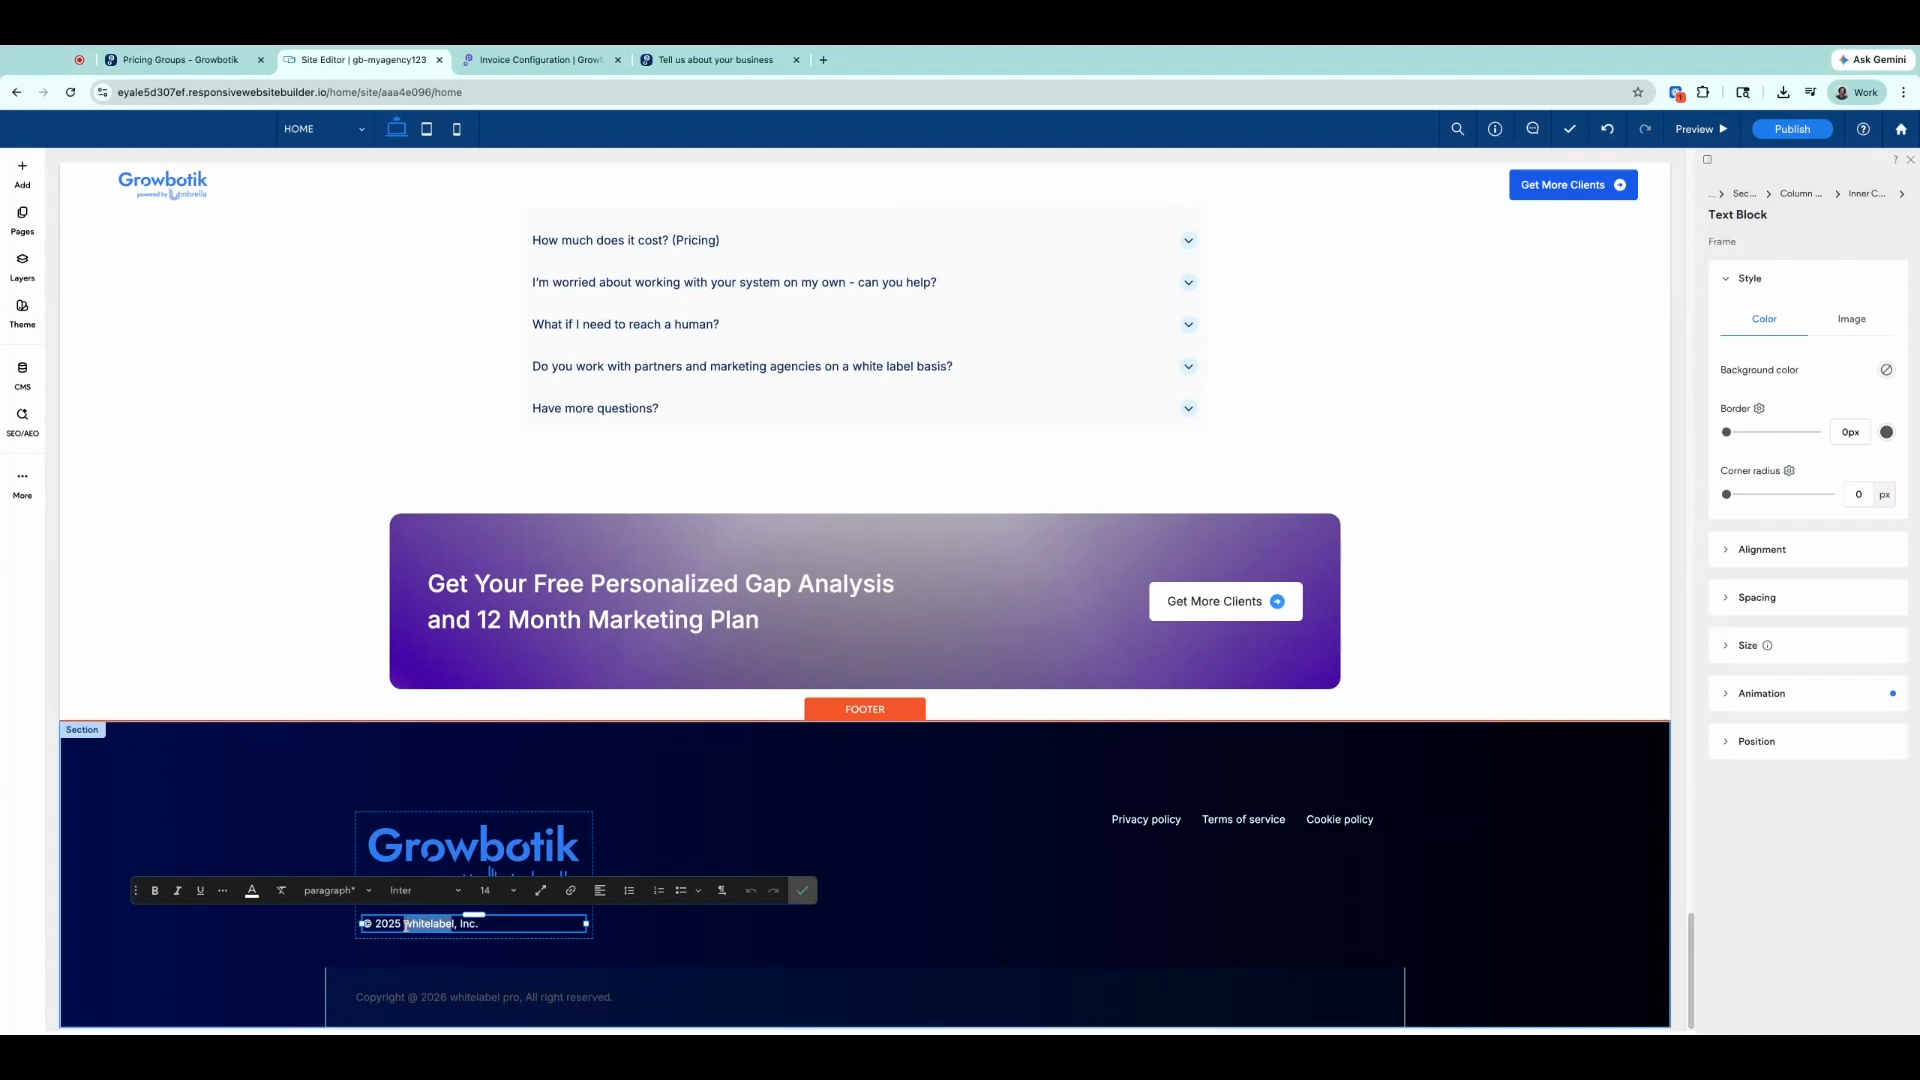
Step 20: Click on the “White Label Ink” and “White Label Pro” text to update with your agency name.
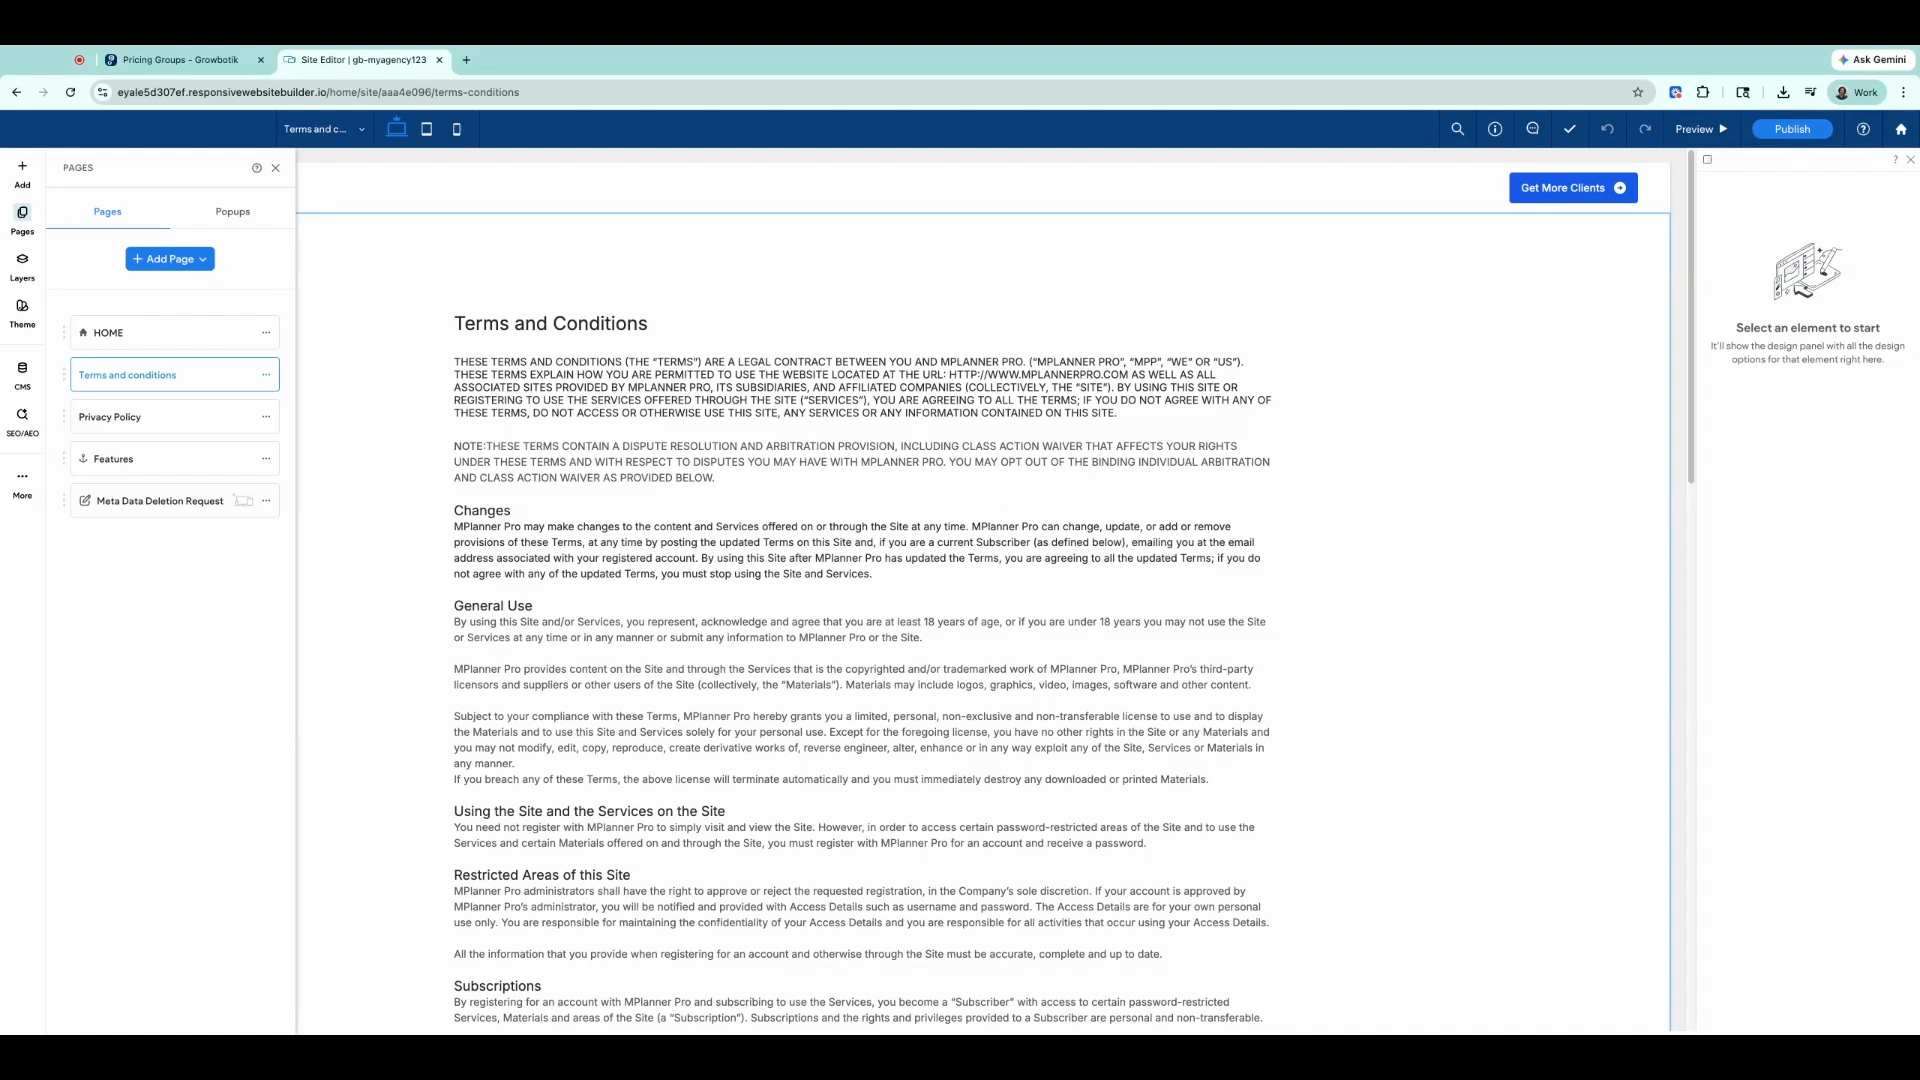
Step 21: Edit your Terms and Conditions and Privacy Policy pages by selecting Pages on the left. Tweak the templates to fit your agency.
Step 22: When satisfied, click Publish. Start the publishing process and follow the instructions to set up your DNS records.
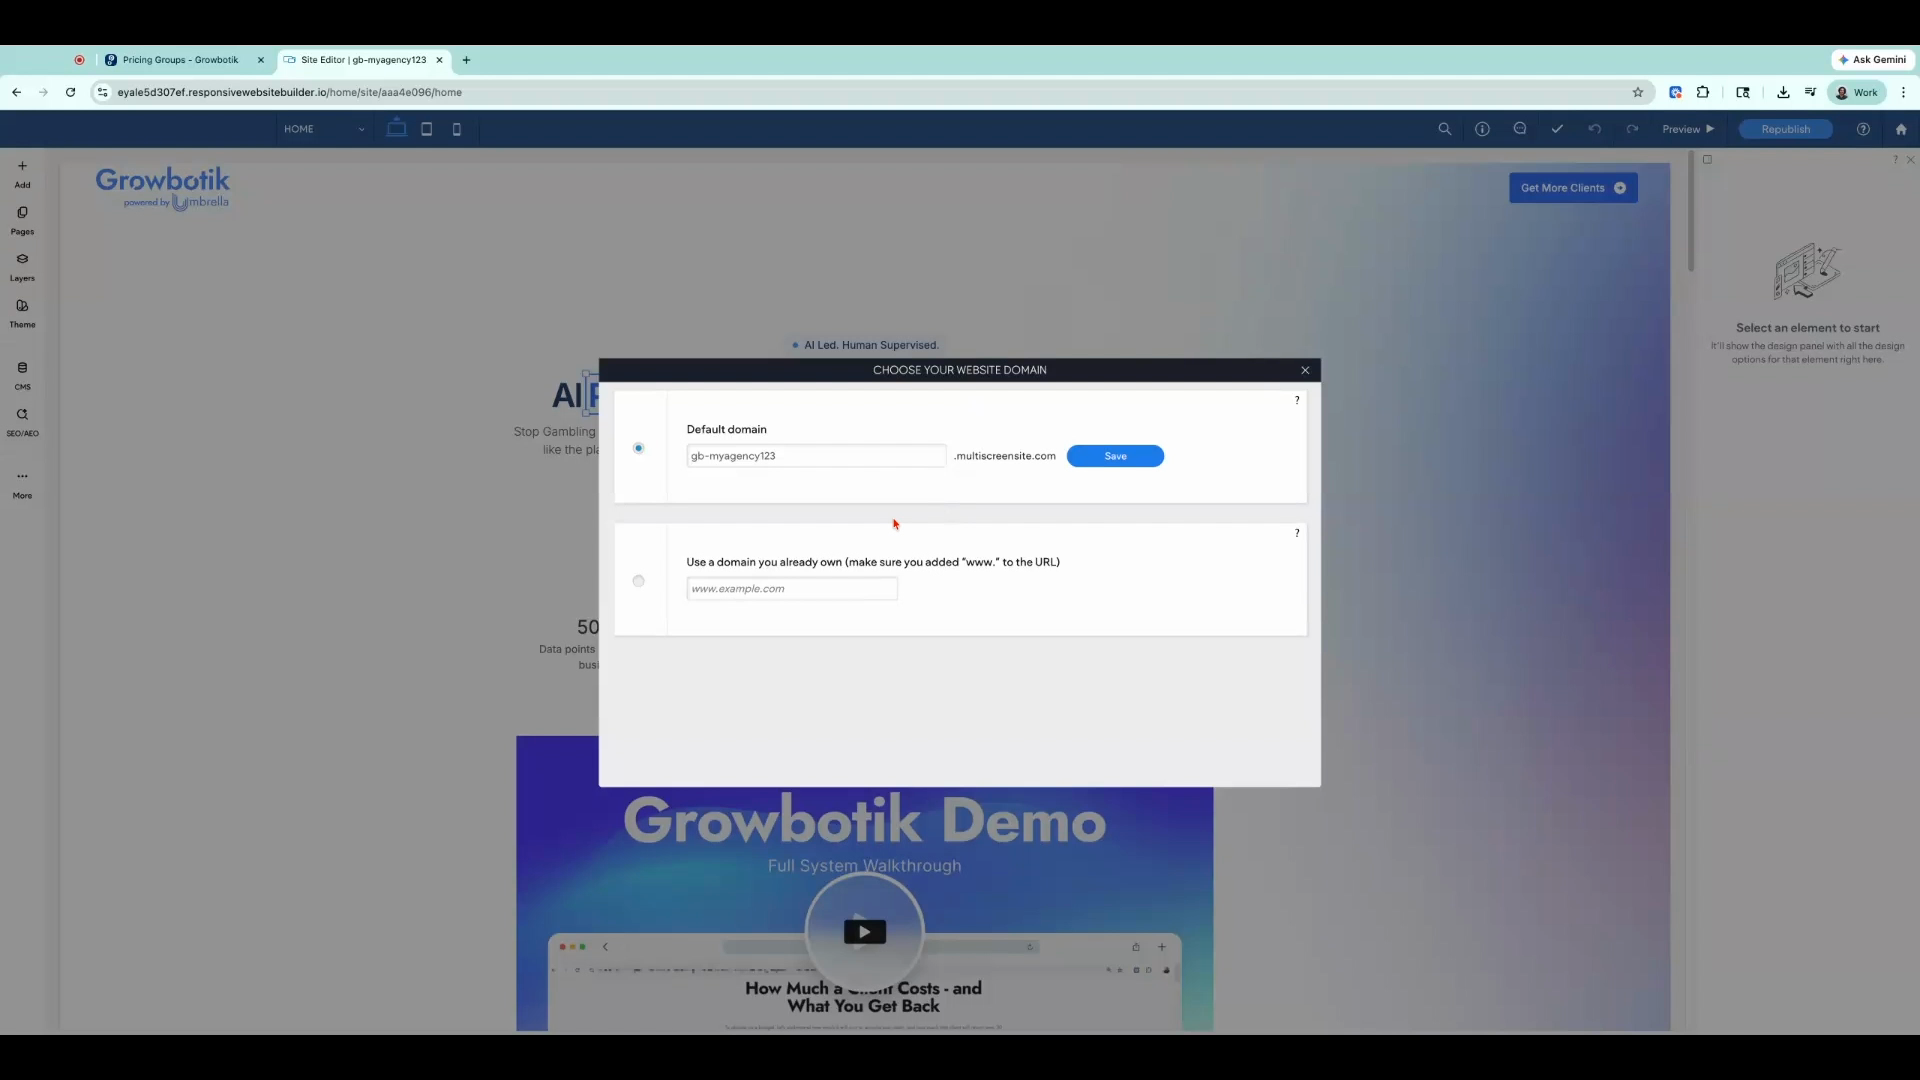
Step 23: Refer to the linked DNS setup article for a full walkthrough, and save your DNS records to complete the process and go live.
Your Growbotik agency website is now live. Every element — from your logo to your call-to-action buttons — is fully customizable and can be updated at any time. Review your content, confirm all links are working, and your site is ready to attract new clients.